Watercolor Botanical Studies: Professional Artist Guide
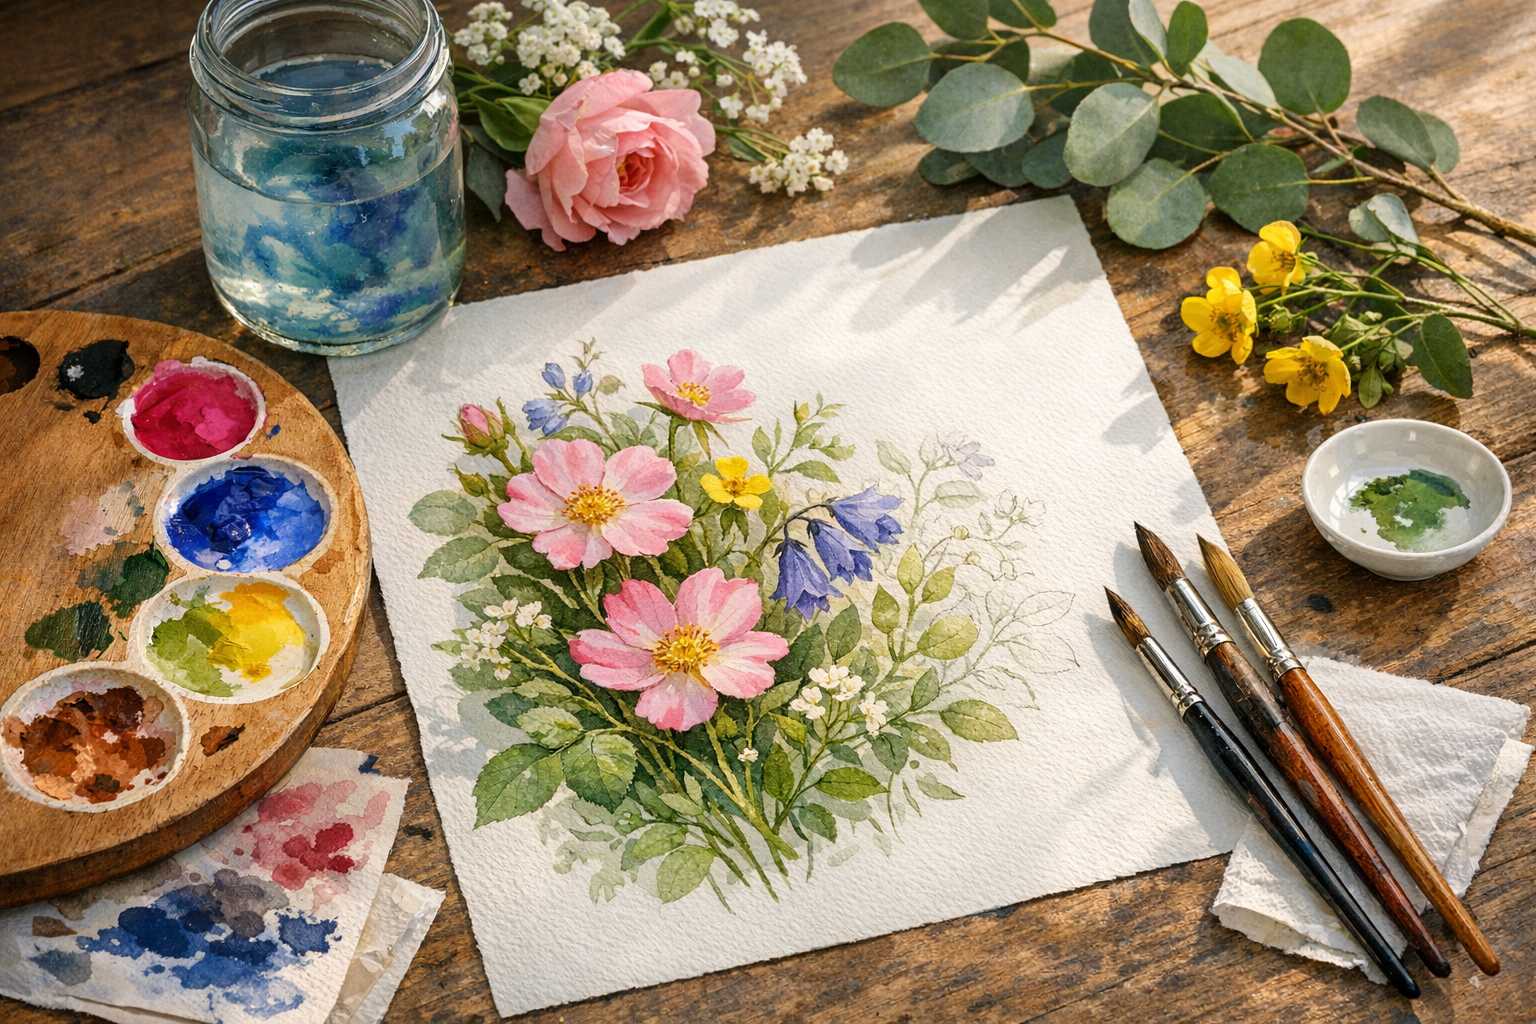
A Professional Guide to Watercolor Botanical Artistry
Botanical artistry has been alluring audiences for ages, and it seems modern artists are reigniting the love for it via watercolor techniques.
Don't fret if you're a novice or simply looking to hone your skills. This guide will walk you through creating awe-inspiring botanical illustrations. Let’s dive into the enchanting universe of watercolor floral study.
The Beauty in Botanical Studies
Botanical illustrations go beyond just attractive imagery. Stemming from the combination of scientific knowledge and artistic talent, these works demand meticulous observation. An artist’s task is not just to paint but to capture the nuanced story told by every petal, leaf, and stem.
Professionals in botanical artistry often collaborate with museums, publishers, and collectors. The craving for high-quality botanical works continues to surge in today's digital age.
Primary Materials for Botanical Watercolor Art
Choosing the Right Paper
Invest in high-quality watercolor paper. For botanical artistry, cold-pressed paper is the best choice. Its gentle texture aids in capturing fine details.
Hot-pressed paper produces smoother outcomes and is ideal for intricate line work and detailed illustrations.
The paper weight also counts. A minimum of 140lb is recommended to avoid bowing. For more serious work, professional artists usually prefer 300lb paper.
Quality of Paint
Your choice should be professional-grade watercolors, as budget options might not provide the desired vibrancy and durability.
For beginners, this basic palette should suffice: - Cadmium Yellow Light - Quinacridone Rose - Ultramarine Blue - Burnt Umber - Payne's Gray
Using these hues, you will be able to mix infinite shades suitable for various botanical works.
The Right Brushes
The brushes you use have a considerable impact. For botanical illustrations, round brushes are often the ideal choice.
You'll require: - Size 2 for intricate details - Size 6 for medium sections - Size 12 for washes and backgrounds
While synthetic brushes offer longevity, brushes made from natural hair provide superior paint flow.
Observing Techniques for Botanical Artists
Understanding Your Subject
Invest some time observing the plant you're going to paint. Note the way light hits various surfaces and how shadows add depth.
Taking pictures from multiple perspectives is a good technique, but don’t solely rely on photos. Observing live specimens can reveal subtle details which a camera might miss.
Sketching first will help you get a clear understanding of the structure prior to painting.
The Importance of Knowing Plant Anatomy
Getting familiar with basic botanical terms will only add to the accuracy of your paintings. Noticing the growth patterns of leaves and the symmetrical structures of flowers will reflect in your work. The authenticity of knowledge will resonate with viewers, even if they can't pinpoint why.
Mixing Colors for Realistic Outcomes
Different Shades of Green
The green you'll find in actual plants varies significantly from the one directly squeezed from the tube.
You can blend blues and yellows to achieve more realistic greens: - Mix Lemon Yellow + Ultramarine = Cool spring green - Blend Cadmium Yellow + Prussian Blue = Rich summer green - Combine Yellow Ochre + Payne's Gray for a = Muted autumn green
Flower Colors
Rarely will you find flowers exhibiting pure hues. Having a slight blend of complementary colors, Pink flowers often come with a hint of yellow undertones, and purple blooms might have warm red bases.
Try and blend hues on wet paper for natural color transitions.
Botanical Painting: A Step-By-Step Process
Composing Your Painting
Begin with a careful observation. Choose an interesting angle that showcases the plant's unique character.
Decide your light source. Consistent lighting will help portray believable highlights and shadows.
Your first sketch should focus more on getting the proportions and shapes right before getting into the intricate details.
Adding Layers
Patience is key in watercolor botanical illustrations. Opt for thin, transparent layers.
Start with lighter shades. Darkening is much more manageable than lightening.
Always allow each layer to dry thoroughly before applying the successive one. Impatience could lead to color mix-ups.
Giving Final Details
Leave the most intricate details for the final stage. Use a steady hand and good lighting.
When painting leaf veins, use diluted pigment instead of pure color. They are intended to accentuate, not dominate.
Cast shadows are integral for grounding your subject and offering the illusion of a three-dimensional structure.
Avoidable Mistakes
Over Manipulating Paint
The beauty of watercolor lies in its natural flow. Overbrushing can lead to a stiff, lifeless final product.
Know when to set the brush down. Sometimes, less is more.
Trust the process. Allow the water and pigment to create magic on their own.
Misjudging Color Temperature
Incorporating warm and cool shades add depth to your work. Avoid painting all elements at the same temperature.
Foreground elements tend to appear warmer, while background areas gear towards cooler tones.
Apply this principle to create realistic botanical illustrations.
Ill Planning of Value
Value takes precedence over color. The relative lightness or darkness, also known as value, helps bring out the structure while color adds interest.
Plan the darkest shadows and the lightest areas before you start painting to create a pleasing visual.
Tips on Professional Presentation
Documenting Properly
Keep detailed records of your subjects. Data such as date, location, and scientific name, when feasible, add value to your art.
Not only will this information be valuable to collectors and publishers, but it'll also help you trace your artistic evolution.
Successful botanical artists always thoroughly document their artwork.
Matting and Framing
Present your work professionally. A clean, well-cut mat significantly elevates the look of your final product.
Choose mat colors that are neutral and don't compete with your painting. Cream and off-white tones often work well for a range of botanical studies.
Use acid-free materials for archival quality. Your art deserves to stand the test of time.
How to Lay the Groundwork for Your Botanical Artistry Career
Discovering Your Niche
Brush up on the works of master botanical artists like Pierre-Joseph Redouté and Georg Dionysius Ehret. While you can incorporate their techniques into your practice but strive to bring out your voice in your works.
Having a consistent style aids professional success. Develop a recognizable approach when it comes to color, composition, and technique.
Your unique approach adds value to your work. Try to avoid copying other artists wholesale.
Marketing Your Art
Social media presents remarkable opportunities for botanical artists. Share not just your finished pieces but also your process.
Various platforms to consider are: - Instagram for visually appealing content - Pinterest for improving discoverability - Facebook for building a community
Establish connections with fellow artists and plant enthusiasts. Building relationships can open new opportunities.
Setting Price
Research artists with a similar skill set and expertise in your locality. Price your work fairly but also remember not to undersell your time and effort.
Consider all elements while pricing: materials, time, overheads, and profit. Professional work comes with a professional price.
Starting with smaller pieces to establish your reputation is a good approach. Gradually increase prices as the demand for your work grows.
Advanced Techniques for Veteran Artists
Negative Painting
Instead of painting the shapes directly, paint around them. This offers intricate effects, perfect for complex foliage.
Planning becomes extremely crucial here since negative painting demands forethought and patience.
The right use of this technique distinguishes amateur work from professional botanical illustrations.
Wet-in-Wet Effects
Creating soft, natural color blending is possible by dropping paint into wet areas—especially effective for flower petals and soft leaves.
Too much water causes chaos, too little prevents proper blending. So, it's essential to hit the right balance.
Before employing this technique on finished works, practice on scrap papers.
Granulation Effects
Certain pigments naturally separate on textured paper. Utilize this property for interesting bark and leaf textures.
Ultramarine Blue and Burnt Umber granulate beautifully, while Quinacridone colors tend to flow smoothly.
Understanding the behavior of your pigments improves your artwork remarkably.
Seasonal Thoughts for Botanical Artists
Spring Subjects
Fresh greens and delicate flowers that epitomize spring make for interesting subjects for botanical studies. Attempt to capture the tender quality characteristic of new growth.
Spring subjects change pretty quickly with the progression of the season, so work swiftly.
Budding flowers and sprouting leaves offer unique artistic challenges.
Summer's Bounty
Summer brings an abundance of botanical subjects. From full blooms to mature foliage - summer offers excellent painting opportunities.
Using strong contrasts in your summer pieces will capture the season's vibrancy and dynamism.
Consider painting outdoors when the weather allows. Natural light captures color nuances better.
Autumnal Subjects
As subjects change daily, an artist must work quickly to portray the fleeting beauty of autumn.
It’s crucial not to overdo the fall colors. Subtle variations are often more effective.
Remember to include green elements for contrast and harmony of tones.
Winter Studies
Bare branches and seed pods can lead to striking winter artwork. Simplified forms can result in impactful compositions.
During winter, when colors are limited, focus on structure and form becomes vital. Strong value contrasts take precedence.
Evergreen subjects bring much-needed color to winter botanical studies.
Wrapping Up
Blend of scientific observation with artistic vision gives birth to watercolor botanical illustrations. The combination of these disparate elements ends up in a work of art, which is as beautiful as it is meaningful.
Becoming proficient requires practice, patience, and detailed observation. Start with simple designs and slowly move on to more complicated ones.
Even the most celebrated artists started as beginners. Your skills will only get better with every new painting.
The botanical art community is open for new artists. Don’t shy away from sharing your work or seeking feedback.
Above all, enjoy the process. Losing yourself in the serenity of botanical painting offers a tranquil retreat from the commotion of everyday life.
Your journey towards mastery in watercolor botanical illustrations starts with a single brushstroke—so grasp that brush today, and start creating the botanical art you've dreamt of.
Nature's bounty offers inexhaustible inspiration material. It's your distinctive artistic vision that can breathe life into that inspiration on paper.