Atmospheric Effects in Watercolor: Mist and Fog Tutorial
Watercolor Tutorial: Achieving Atmospheric Effects Like Mist and Fog
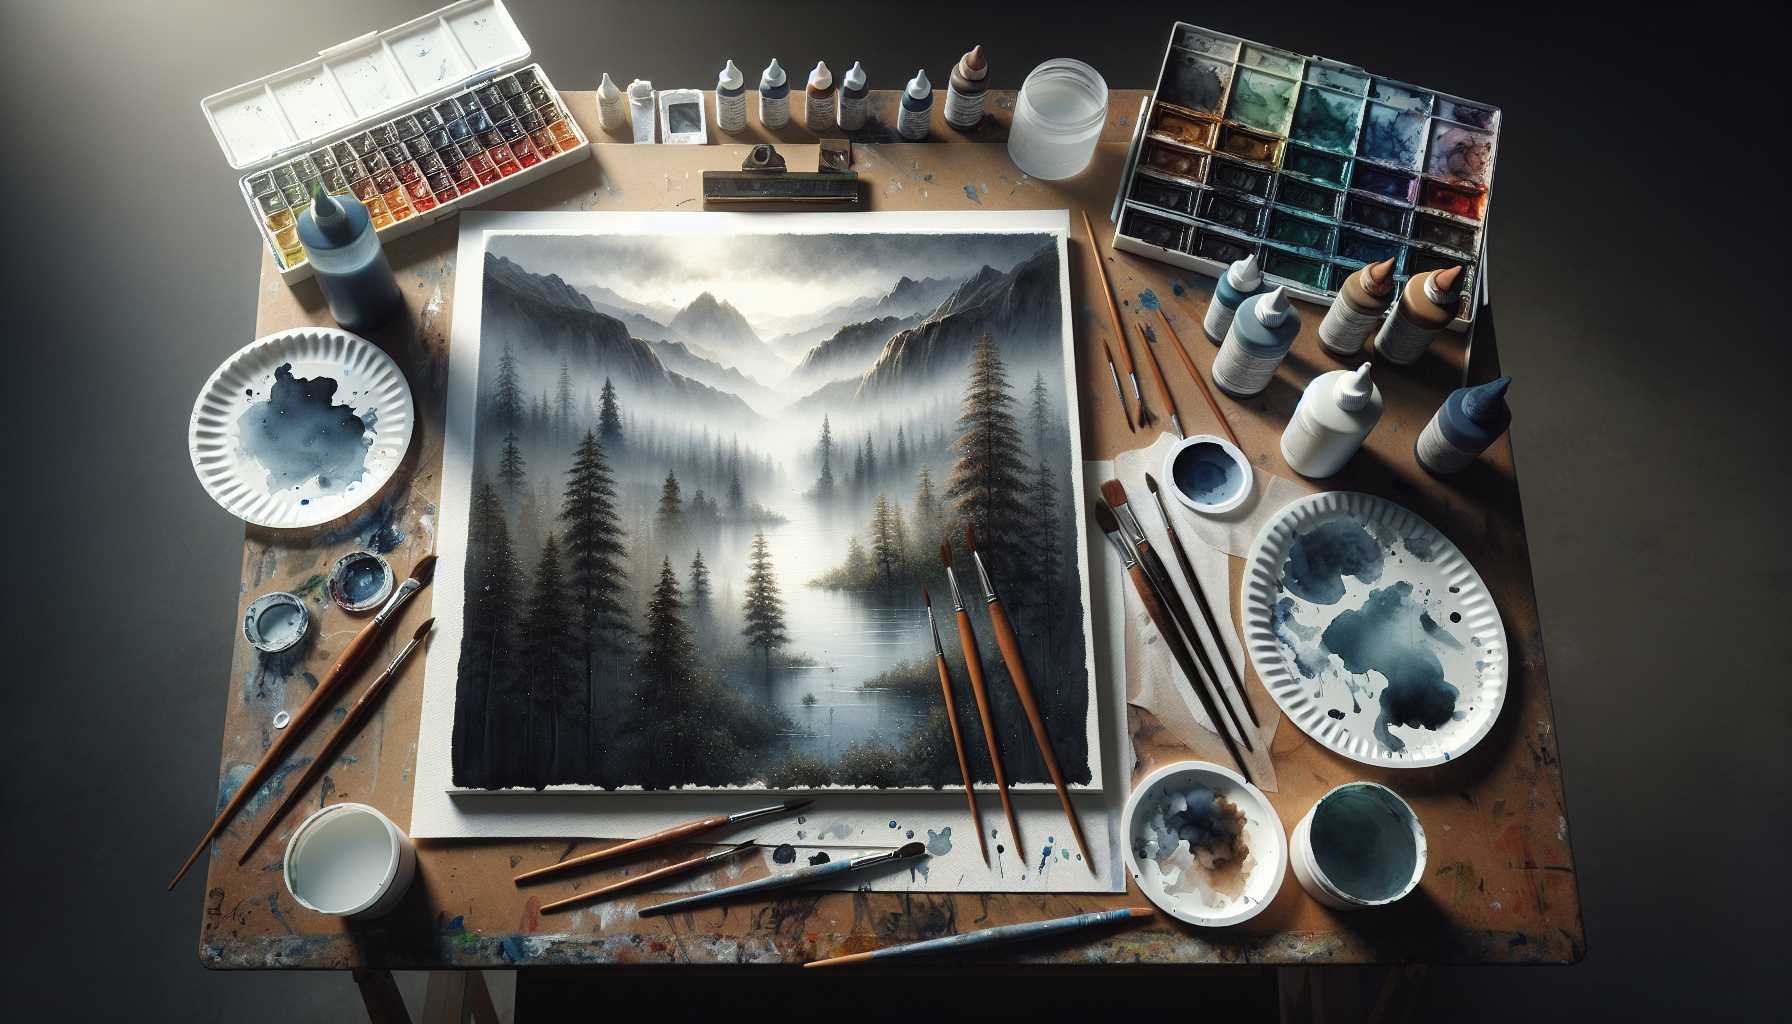
Ever been captivated by those serene, dreamlike landscapes rendered by artists? Allow me to walk you through the enchanting process of depicting mist and fog in watercolor paintings.
Assembling Your Required Materials
Here's what you need: - Cold-pressed watercolor paper - Gentle brushes (#8 and #12) - White gouache - Fresh water - Paper towels - Preferred watercolors
Helpful hint: I always have a hairdryer close at hand. It's my secret tool for rapidly drying layers for proper texture!
Grasping the Concept of Atmospheric Perspective
Imagine the appearance of fog in real life. Aren't distant objects usually lighter and less detailed? This is precisely the effect we're trying to reproduce.
Retain these crucial pointers: - Elements in the distance are lighter - Edges tend to blur - Colors lose their intensity - Details are typically obscured
Core Techniques for Crafting Mist
Now comes the exciting part! Commence with a faint wash of your choice of base color. I frequently blend ultramarine blue with a slight hint of burnt sienna.
Test out these methods: 1. Apply the wet-on-wet technique for smooth edges 2. Lift color while sufficiently moist 3. Add several layers of transparent washes 4. Incorporate white gouache for thick fog
Constructing Texture and Atmospheric Ambiance
This is the step I relish the most! Apply your washes layer-by-layer from light to dark, progressing from the backdrop to foreground. Ensure your edges remain soft where fog is in contact with objects.
Useful tips: - Start promptly while the paper is still wet - Employ a clean, moist brush for softening edges - Retain some white spaces for the most vivid fog effect - Gradually compose layers
Common Errors to Steer Clear Of
We've all had our fair share of blunders! Here are a few common issues you should avoid: - Overworking the paper excessively - Creating sharp edges where they should be soft - Overusing white gouache - Neglecting the significance of atmospheric perspective
Adding the Finishing Strokes
Get ready to put the final flourishes! Add delicate details to your foreground components. Remember, minimalism is key when depicting misty environments.
My preferred finishing touches include: - Light spritzes of water - Gently lifting with a spotless brush - Subtle white highlighting - Corrections for smooth edges
Practice is the Key to Mastery
Always remember that every accomplished artist started as a novice. Continue honing these techniques, and you'll notice progress with each artwork. For starters, how about a simple dawn landscape?
Share your artistic endeavors with other enthusiasts – it's a great way to learn and grow! If you need help, don't hesitate to leave your questions in the comments section.
Happy painting, folks! Let's bond over creating some magical misty marvels. 🎨
*Got a favorite atmospheric effect to paint? I'd love to hear your stories, so do share in the comments!