Sponge Painting with Acrylics: Texture Creation Guide
A Guide on Adding Texture to Your Paintings Using Sponge and Acrylics
Looking to add a dynamic texture to your artwork? Welcome to the fun and engaging arena of sponge painting using acrylics. It's an artistic technique that I dearly cherish and am thrilled to share with you all!
Materials required
Before kicking off, let's make sure we have all essentials: - Sponges, either natural or synthetic - Acrylic paints - Canvas or some paper - Container for water - Paper towels - Palette to mix paint - Protective covering for your workspace
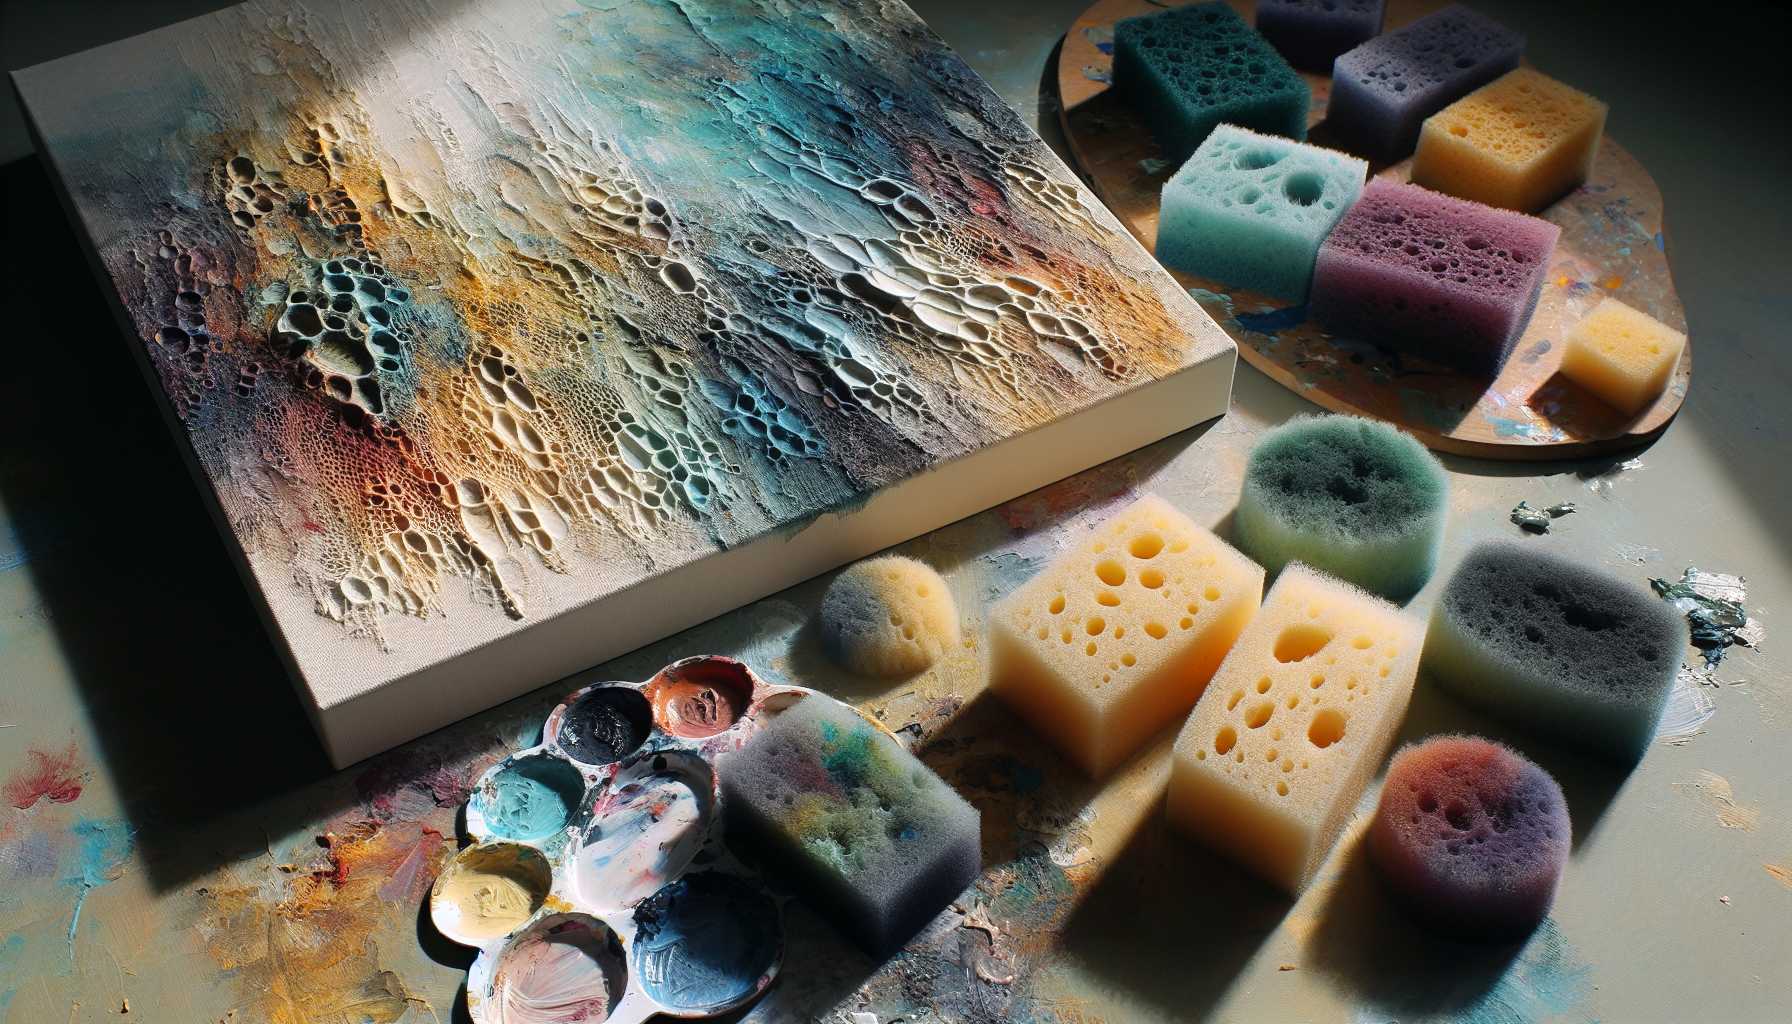
Picking the Right Sponges
Over time I've discovered that every sponge serves a unique purpose. Here's what works the best: - Authentic sea sponges to create organic textures - Ordinary kitchen sponges for consistent patterns - Synthetic craft sponges for specific shapes - Compressed sponges to draw fine details
Setting Up Your Workspace
Before we get started, let's make sure we're set up properly: 1. Protect your work area with a cover. 2. Moisten your sponges slightly. 3. Squeeze out excess water. 4. Dispense small quantities of paint onto your palette.
Fundamental Sponging Techniques
Here are some techniques I love to add texture: - Dabbing: Ideal for simulating cloud effects. - Stippling: Produces an amazing dotted pattern. - Dragging: Results in attractive streaky textures. - Twisting: Yields unique spiral designs.
Tips for Layering Colors
I've found these pointers work wonders: - Begin with lighter hues. - Let each layer dry thoroughly before adding the next. - Use contrasting shades for added depth. - Build layers gradually for optimum results.
Common Pitfalls to Dodge off
We've all fallen into traps! Here are some things to look out for: - Overloading the sponge with paint. - Excessively saturating the sponge. - Not giving layers enough drying time. - Applying too much pressure.
Applying the Final Touches
The details often hold the magic: - Accentuate with metallic paints. - Define elements with fine brush strokes. - Play with depth using glazing. - Protect your masterpiece with a coat of varnish.
Maintaining Your Tools and Storage
Preserve your tools with care: - Clean sponges promptly after use. - Let them dry out completely. - Keep in an area with good ventilation. - Substitute them when they start deteriorating.
Remember that every artist develops their own unique style over time, don't shy away from experimentation and remember to enjoy the process. The opportunities are infinite and I can't wait to see what you unravel.
Have you experimented with sponge painting before? Which textures are you eager to attain? Don't forget to share your experiences with us in the comments!
Wishing you a splendid journey in sponge painting!