Flip Cup Technique: Professional Fluid Art Tutorial
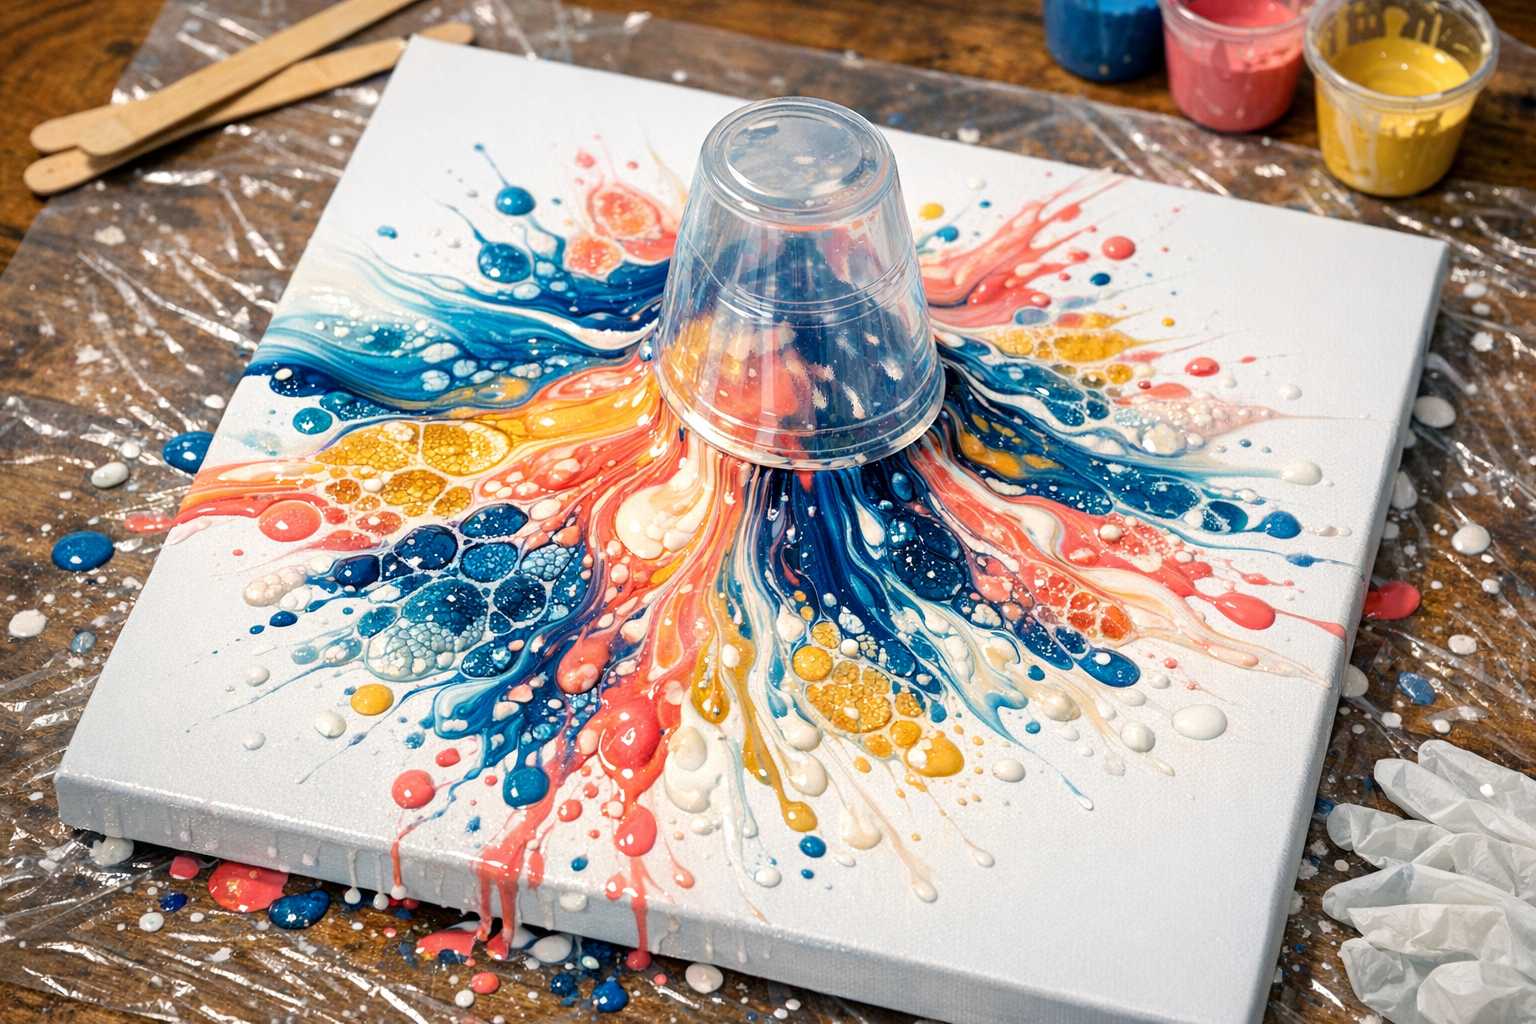
Mastering the Flip Cup Technique: A Detailed Guide to Fluid Art
SEO Overview
SEO Friendly URL: mastering-flip-cup-technique-guide-fluid-art
Major Keywords: mastering flip cup technique, fluid art guide
Meta Description: Discover the art of the flip cup technique with our comprehensive fluid art tutorial. Our guide outlines the materials required, offers tips on the correct mixing ratios, and shares professional tricks that will enable you to create stunning acrylic pours every time.
Understanding the Flip Cup Technique
The flip cup technique is an exhilarating approach in the realm of fluid art, known for producing captivating, unpredictable patterns that glide across your canvas just like magic.
The method stipulates layering paints of different colours in a cup, then turning it upside down on your canvas. The ensuing designs are always unique, just like snowflakes.
The flip cup technique is popular amongst artists, including beginners, as it requires little to no experience to produce beautiful pieces of artwork.
List of Needed Materials
Fundamental Items
To practice the flip cup technique, you will need the following:
- Acrylic paints (preferably 3-4 variations of colours)
- Pouring medium (such as Floetrol or any specialized medium)
- Plastic cups (disposable ones will do the trick)
- A canvas or wood panel
- Stirring sticks
- Gloves
- Drop cloths or plastic sheeting
Additional Helpful Items
Though optional, these items can greatly enhance your work:
- Silicone oil (useful for creating cells)
- Heat gun or torch
- Craft knife
- Level Surface
- Paper towels
Prepping Your Paint Mixture
Achieving the Perfect Consistency
The viscosity of your paint is a crucial factor in determining the quality of the final piece. Your paint should have the consistency of warm honey. If it's too thick, it won't spread evenly across the surface, and if it's too thin, the colors may blur together.
Begin the mixing process by blending each color individually. A 1:1 ratio of paint to the pouring medium is a good starting point. Some types of paint may require a little more or less pouring medium. Adjust the measurements to suit your needs.
Testing Your Paint Mix
To test if the consistency is just right, drop a small dribble from your stirring stick. It should flow smoothly without breaking apart upon touching the ground.
Flip Cup Technique Step-by-Step Guide
Step 1: Layering Your Colors
Choose your cup size based on the size of your canvas. For a 6-inch canvas, you would need about 2-3 ounces of total paint.
Begin by pouring the first colour into the cup, filling about 1/4 to 1/2 of an inch. Next, slowly pour your second colour over the back of a spoon, preventing the two colours from blending excessively. Continue the process with each subsequent colour. The final colour will be the first one to touch the canvas.
Step 2: Setting Up Your Canvas
Arrange your canvas on a level surface to ensure a uniform distribution of the paint.
Get your drop cloths ready in advance. It may get messy, but that is all part of the fun!
Step 3: Let The Flip Begin
This is where the excitement peaks. Position your canvas upside down on top of the filled cup, ensuring it is centered.
Grip the canvas and cup together tightly, take a deep breath, and flip them over swiftly.
Allow the setup to sit idle for about 30 to 60 seconds. This aids the paint in settling down and building up pressure.
Step 4: Cup Lift and Tilt
Now, gently lift the cup and watch as the colors cascade across the canvas.
Next, delicately tilt your canvas in various directions to help the paint reach the edges.
Remember, while you need to work quickly before the paint hardens, avoid panicking. Approximate drying time before the painting starts to dry is a few minutes.
Expert Advice for Enhanced Results
Color Selection is Key
Select colors that blend well together. Adjacent colors on the color wheel (analogous colors) can create a pleasant blend. Complementary colors, while they can create a muddy appearance upon merging, can also give rise to stunning contrasts.
The use of white or metallic paints can produce interesting highlights as these tend to rise to the surface.
Regulating Paint Flow
Thicker paint will stay separate and create firm sections, while thinner paint will blend more and create smoother transitions.
To create captivating cells and organic patterns, add a few drops of silicone oil to some of the colors.
Temperature and Humidity Factors
The temperature in your work area impacts the paint flow. Warmer rooms accelerate the flow of paint, while high humidity can slow down the drying process. Conversely, low humidity can lead to paint cracking.
Try to work in a dirt-free environment whenever possible to avoid particles ruining your smooth surface.
Common Slip-ups to Dodge
Paint Consistency Mistakes
Ensure you don't miss out on the consistency test—this might save you from disappointments later.
Overzealous blending can introduce air bubbles into the paint - Always stir slowly and calmly, letting mixtures sit before usage.
Errors in Timing
Avoid leaving the cup on for too long—this may cause the paint to overflow, forming unwanted patterns.
Hurried liftings are unproductive - Rapid, jerky movements can disrupt your designs.
Preparing Your Canvas
Always use a pre-prepped surface. Painting on raw canvas or wood can lead to uneven absorption of paint.
Make sure your surface is impeccably clean—oil or dust can lead to paint sticking issues.
Trouble Shooting Your Artwork
If the Paint Doesn't Flow
In case you notice your paint isn't flowing and is just sitting dismissed as a blob, that's an indication your paint is too thick. Gradually add more pouring medium.
If the paint is cold, it will flow more sluggishly. Ensure your materials are at room temperature before you begin.
If the Colors Look Muddy
The blending of complementary colors often results in a muddy appearance. Opt for analogous colour schemes to see if it makes a difference.
Dirty cups and stirring sticks can adulterate colors, maintain clean tools for each color.
If There are Cracks or Splits
Often the occurrence of cracks and splits can mean the paint was too thick or the canvas wasn't adequately prepped.
Avoid using thick applications in cold, dry conditions.
Final Touch-ups to Your Artwork
Wet Edges
Use a craft knife to tidy up drips on the edges of the canvas while the paint is still wet.
You may also choose to add paint to the sides of the stretched canvas later for a polished look.
Drying Process
Let the piece lay flat and cover it loosely with a piece of hardboard to protect it from dust but allow for air circulation.
Most art pieces will dry within 24-48 hours, though thicker applications might take a little longer
Adding Final Touches
Some artists prefer adding details using brushes after the base is dry. This further enhances some areas.
Others find beauty in leaving the pieces untouched post the flip cup process. Both methods hold their charm.
Further Advancing Your Skills
Experiment with Different Approaches
Experiment with different cup sizes. Smaller cups carve out more concentrated designs.
Employ multiple cups on one canvas to create intricate compositions.
Combine the flip cup technique with techniques like ring pours or straight pours.
Document Your Concoctions
Maintain a journal of your journey—chronicle successful color combinations and note down your paint-to-medium ratios.
Click pictures of your works in progress. This could help you comprehend how varying factors influence outcomes.
Join Fellow Enthusiasts
The fluid art world has an energetic online community. Share your work and get valuable advice from other artists.
Attend local art group meetings. Many have fluid art enthusiasts, and hands-on learning can exponentially speed up your progress.
Conclusion
The flip cup technique exposes you to countless creative options. Each piece offers a unique surprise ready to be unfolded.
Launch your journey with simple color combinations and compositions. As you advance, experiment with more intricate methods.
Remember that "errors" often lead to the most absorbing discoveries. Embrace the unpredictability that this medium offers.
Above all, find joy in the process as the pleasure of creating holds equal importance to the end piece.
Your journey in fluid art is just setting sail. Every flip of the cup brings with it a wave of new opportunities and thrilling outcomes. Enjoy the ride!