Easy Paint Layering: Simple Techniques for Depth Effects
Uncomplicate Paint Layering: Basic Techniques for Achieving Depth in Painting
Have you ever been amazed by the depth that professional artists incorporate into their artwork? This depth is achieved through the technique of layering paint. Let's put your worry to rest - it's a lot simpler than it appears!
Consider paint layering as crafting a colourful sandwich. With each layer, you're creating a deeper, more captivating story to your painting. Today, we'll explore these simple techniques that you can easily learn.
Learning the rudiments of Paint Layering
Layering paint is the process of incorporating various layers of paint to add depth. You can think of it like colour storytelling where each layer expresses a segment of your compelling art narrative.
The trick is patience. Make sure each layer is thoroughly dry before introducing a new layer. This helps preserve the purity of each colour layer; preventing colour mixing and muddled appearances.
Collate your layers starting with thin coats. Extra-thick coats could either take time to dry or lead to fissures in the solidified layer. Besides, thin layers blend seamlessly creating smoother depth transitions.
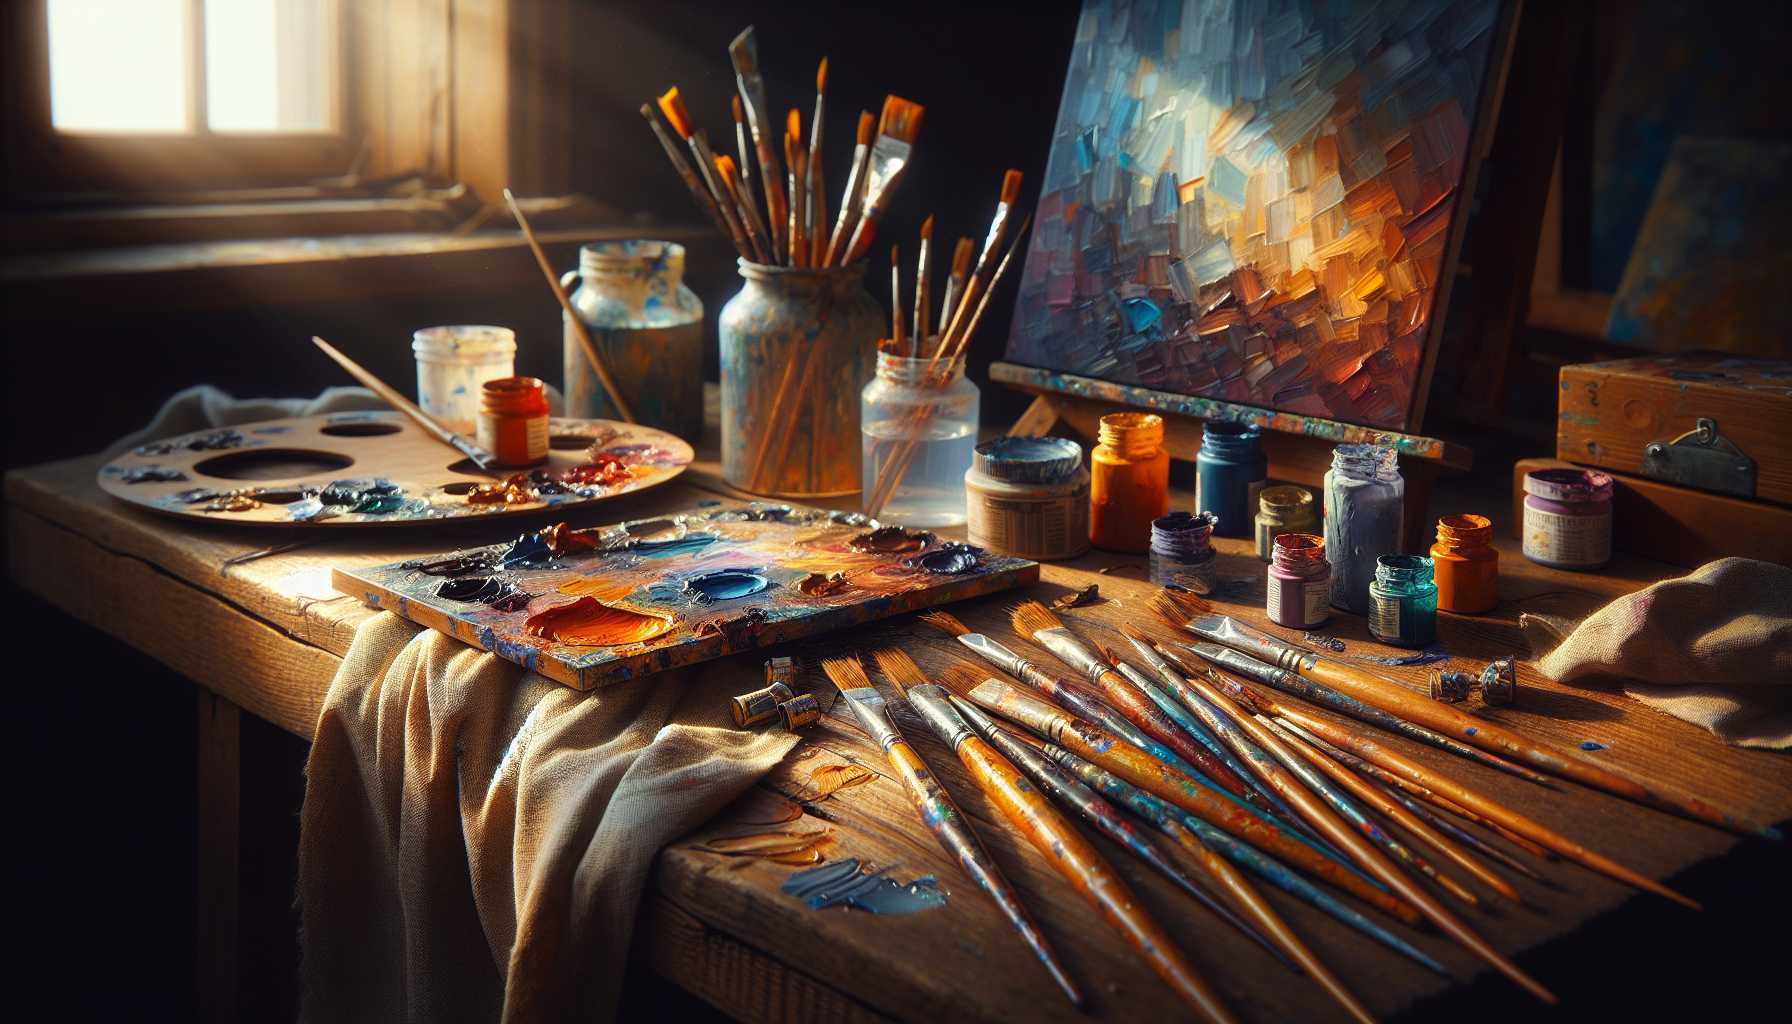
Essential Equipment for Layering Paint
To attain success in paint layering, you do not need high-priced tools. A standard set of simple tools can set you on your path:
- Quality made brushes of different sizes
- A durable palette knife for mixing your paints
- Clean water containers
- A palette to blend your colours
- Cloth rags or paper towels for wiping off excess paint
Choose brushes that retain their shape after use. When working with acrylic paints, synthetic brushes are ideal. For oil paints, natural bristles work best.
Always clean your brushes between different colour applications. Having dirty brushes could muddy your colours and ruin the effect of your layering.
Grasping the Wet-on-Dry Technique
This is the most straightforward layering technique for beginners. Here, you apply wet paint over completely dried layers of paint.
Kick-off with your base colour. Allow this to dry completely—exercise patience here, no rushing, and then proceed to apply your second layer of paint on top.
This technique is perfect for creating well-defined edges, clean colour transitions, and bold contrasts.
Depending on what you desire, you can layer as many times as you wish. Each layer adds more depth and increases the overall appeal of your artwork.
Advancing Wet-on-Wet Techniques
This technique involves applying fresh paint directly over still wet layers of paint creating natural, beautifully blended effects.
This technique requires you to paint quickly before the base layer starts to dry out.
Use gentle brush strokes. Applying forceful strokes can disturb the base layer and inadvertently cause blending of colours.
This technique is excellent for painting skies, bodies of water, and any other area where you would love to have smooth colour gradients.
Generating Depth with Colour Temperature
For an instant depth effect, take advantage of the phenotypes presented by colour temperature. Warm colours tend to look closer while cool colours seem to fade into the background.
Where applicable, incorporate warm colours like reds, oranges, and yellows in the foreground, and cool colours like blues, greens, and purples in the background.
For elements you want to bring forward, layer warm colours over cool ones and for those you want to recede, layer cool colours over warm ones.
This simple trick will lend a three-dimensional effect to your painting without needing to employ any complex techniques.
Creating Shadows and Highlights
Shadows and highlights are key factors in achieving realistic depth effects as they provide dimension to otherwise flat surfaces.
Start with a mid-tone colour as your base colour. Darker colours will serve as your shadows while lighter ones will create your highlights.
Do not rush to achieve your final result in one stroke, rather, build these layers slowly using thin layers.
Always pay attention to the direction of your light source. Shadows should fall in the opposite direction of the light source while highlights should directly face it.
The Fascination of Glazing
Glazing is the act of applying translucent layers over a base layer of opaque paint. This process produces a radiant, glowing effect that appears to shine from within.
This technique transformative can be achieved by mixing your paint with a glazing medium or using it thinly. The applied layer should be translucent, akin to stained glass.
Glazing offers a richness of colour that opaque layers cannot, and is perfect for deepening shadows or enhancing the warmth of colours.
When planning a glaze, be prepared to work swiftly and in smaller portions so that the glaze does not set before you're done.
Common Mistakes to Guard Against
Quite often, beginners make the mistake of hastening the drying process. Patience is an essential virtue when layering paint. Rushing may lead to undesired results, leaving the colours looking murky.
Avoid applying thick layers of paint. While they may take longer to dry, they may end up cracking over time. Thin layers, on the other hand, offer greater strength and flexibility.
Refrain from overworking your paint as this can ruin the layers underneath. This is a caveat to the principle of less is more.
Always ensure your brushes are clean. Dirty brushes may taint your fresh colours and consequently ruin your meticulously planned paint layers.
Beginner-friendly Practice Projects
Simple subjects such as apples and oranges are a good starting point for practice because of their shape, which is perfect for practicing light and shadow layering.
You might also try painting a simple landscape, with cool colours for representations of distant mountains and warm colours for nearby trees.
Skill practice with wet-on-wet techniques would involve painting skies filled with clouds. You get to learn how to blend colours quickly and smoothly.
You can also explore texture studies, and practice using alternating colours to create the textures of materials like wood, stone, or fabric.
Troubleshooting Your Layering Endeavours
You might notice your colours appearing murky; this probably means you are mixing your colours too much directly on your canvas. Instead, try blending colours on the palette.
If you encounter cracking paint, the paint layers were likely too thick, and thinner coats should be applied in the next attempt.
If paint layers are not adhering to your painting, the surface might be excessively glossy. A solution to this would be to gently sand the shiny areas before applying more layers of paint.
If you find the paint coverage uneven or patchy, your brush might be too dry. Submerge it more into the paint but remember to maintain thin consistency.
Enhancing Your skills to Intermediate Level
With the basic layering techniques under your belt, you can explore and experiment with diverse mediums. Bear in mind that each type of paint behaves differently when layered.
Forge ahead and test various combinations of techniques in a single painting. Try wet-on-dry applications in some areas, and wet-on-wet applications in others.
Learn from the professionals by studying master paintings and observing how they implement layering. Pay attention to where they apply warm and cool colours.
Taking photographs of your work at different stages helps you observe and appreciate how each layer contributes to the ultimate result.
Final Reflections on Success in Paint Layering
Layering processes provide unlimited creative potentials. Over time and with persistent practice, you'll develop an instinctive understanding for creating depth and dimension in your artwork.
Always keep in mind that every professional artist started as a beginner. Don’t get disheartened if your initial efforts do not reflect the gene of your artistic imagination.
Continue experimenting and enjoy the learning process. Layering is most effectively mastered through practical experience and inventive investigations.
Take a plunge into your paint layering journey today. Arm yourself with your brushes and paints, and commence the fascinating responsibility of creating artwork filled with stunning depth effects.