Dry Brush Techniques in Acrylic: Complete Step-by-Step Guide
The Art of Dry Brushing with Acrylic: An In-depth Step-by-Step Guide
Curious about the captivating textures found in paintings and how they're created? Let me guide you through the exciting realm of dry brushing in acrylic artwork! As a seasoned practitioner of this skill, I'm enthusiastic about imparting all that I've learned.
Understanding Dry Brushing
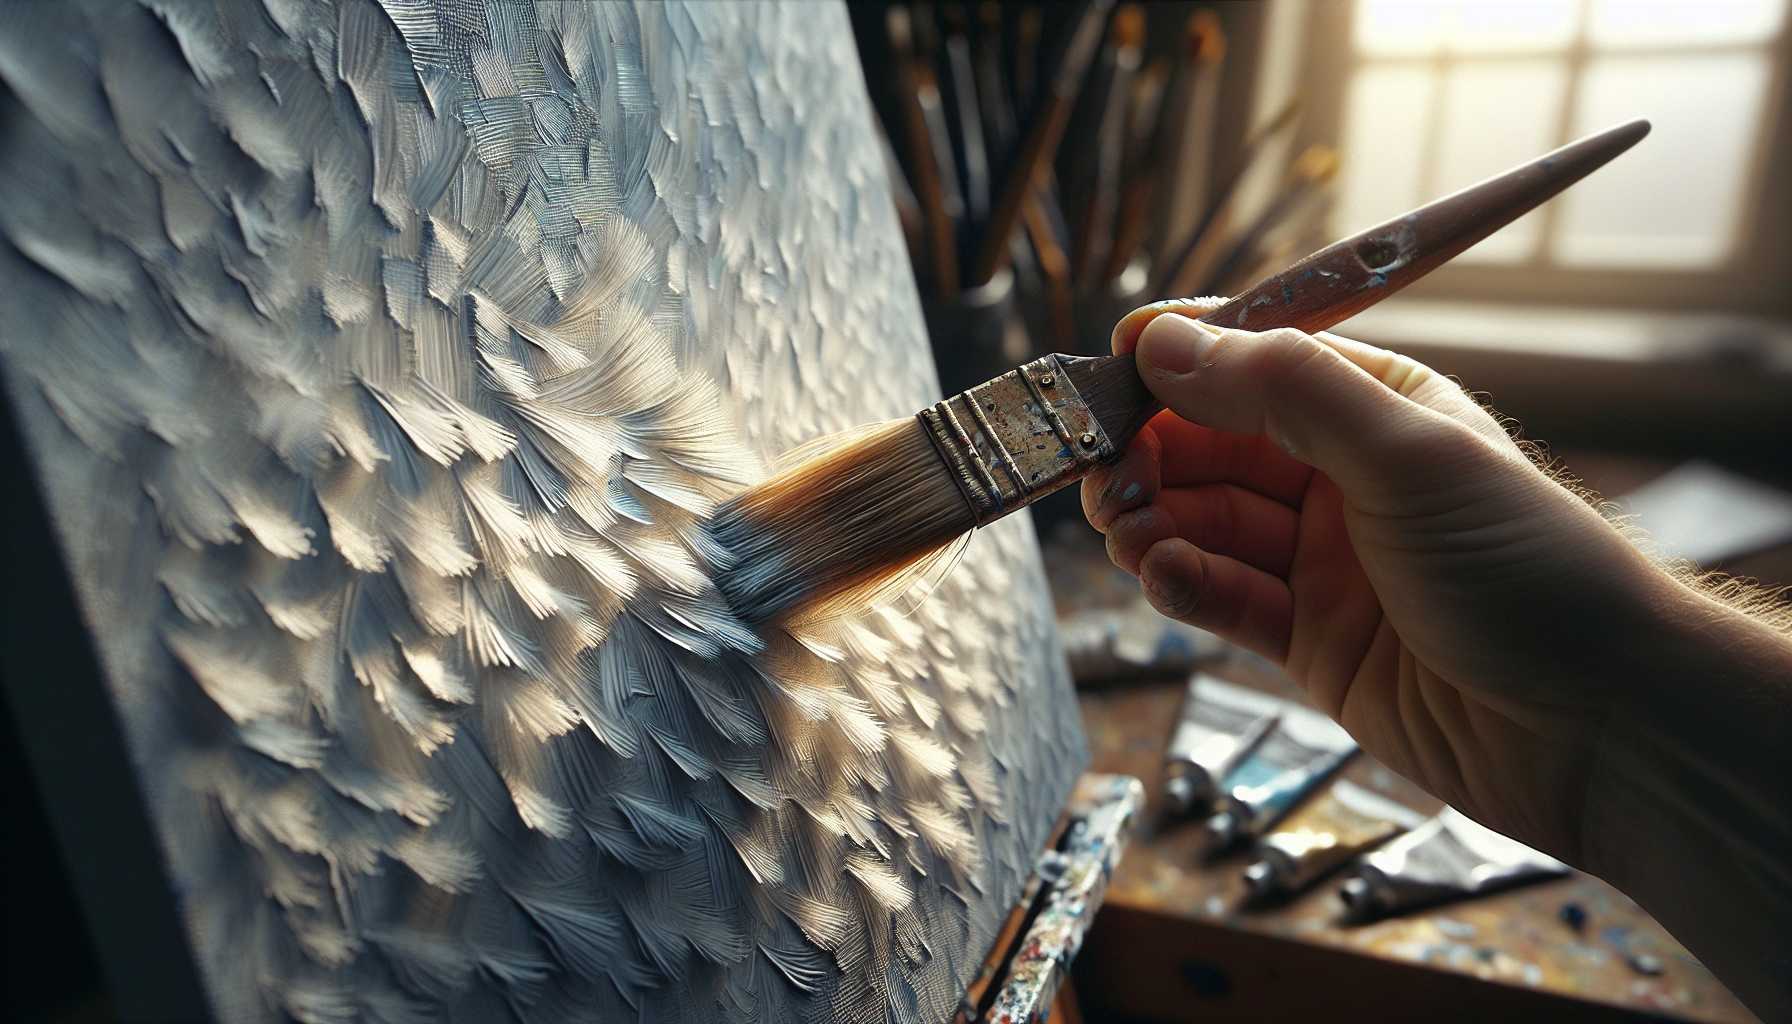
Dry brushing could be described as murmurs of color dancing across your canvas. Essentially, you're using a scant amount of paint on a dry brush, thus exhibiting delicate motifs and highlights. You could think of it as wielding your brush in the same tender way as one would handle a feather!
Must-Have Tools
Here is a list of necessities to kickstart your journey: - Brushes with stiff bristles - Acrylic color paints - Paper towels - Canvas or sheets of paper - A mixing palette - Your choice of background music (trust me, it aids the artistic process!)
Brush Preparation
Properly preparing your brush is vital: 1. Immerse your brush lightly in paint 2. Rub the majority of it out on a paper towel 3. At this point, your brush should appear almost devoid of paint 4. Have a practice stroke or two on some spare paper
Dry Brush Technique Basics
Now, let's dive into the enjoyable part: 1. Position your brush at an angle of 45 degrees 2. Apply gentle pressure (imagine you're removing dust from a fragile object) 3. Gently trail the brush across your chosen surface 4. Stick to one direction to maintain uniformity
Generating Varied Effects
Texture
- For rugged textures, use swift, petite strokes
- Long strokes are beneficial for fluent transitions
- Experiment with criss-crossing stroke patterns
Highlights
- Ideal for inducing a glistening atmosphere on objects
- Excels in bestowing depth and vision to landscapes
- Perfectly suited for detailing hair and fur
Pitfalls to Bypass
Even the best artists make errors, which is understandable! Some common ones to be aware of include: - Overloading the brush with paint - Pressing excessively hard - Hastening the painting process - Attempting to dry brush over wet paint
Insider Tips for Prosperity
Here are some insights from my many years of practice: - Try out the technique on spare paper first - Keep a soft grip on your brush handle - Periodically rest and review your work - Begin by establishing layers gradually
Expanded Uses
Once you've got the hang of the basics, explore: - Integrating with other wet art techniques - Creating ethereal effects - Infusing subtle color variations - Devising intricately textured designs
When to Resort to Dry Brushing
This method proves extremely effective for: - Illuminating rock surfaces - Constructing lifelike fur textures - Indicating remote foliage - Portraying weather-beaten exteriors
Concluding Words
Let's not forget that mastering dry brushing is synonymous with learning a dance; it necessitates continuous trial and patience. Initiate slowly, allow yourself to experiment, but above all else, relish the process! Your distinctive style will gradually evolve as you delve deeper into this exceptional technique.
I invite you to share your artistic pieces and personal experiences regarding these techniques in the comments. I’d be thrilled to observe your application of these methods in your artwork!
Overcoming Common Setbacks
Having difficulties? Here are some potential solutions: - If the paint appears dense, wipe off the excess - If your strokes seem sharp, handle your brush more lightly - If the paint is not adhering, scrutinize your surface treatment - If the outcome is inconsistent, try to add more layers
Now, it's your turn to unleash your creativity! Seize those brushes and embark on your artistic journey. Enjoy your painting! 🎨
Always remember, every accomplished artist began as a novice, so don't shy away from making mistakes and honing your skills through continuous practice!