10 Easy Tissue Paper Painting Effects for Beginners
10 Simple Techniques for Painting with Tissue Paper for Novices
Have you ever pondered about creating attractive art without spending a small fortune on art supplies? Your solution could be tissue paper painting! This economical and enjoyable method produces striking results that appear intricate but are quite simple.
Over the years, I've explored tissue paper painting and I'm thrilled to share these novice-friendly techniques with you. You probably have most of the necessary materials at home already.
What Makes Tissue Paper Painting So Unique?
Tissue paper painting spawns exclusive textures and colour blends that are challenging to accomplish with conventional painting techniques. The paper slightly dissolves when it's damp, generating organic, flowing patterns that look out of this world.
The best part about this method? You require no artistic prowess to give it a shot! These techniques are a breeze and consistently produce admirable results.
Gathering Your Basic Supplies
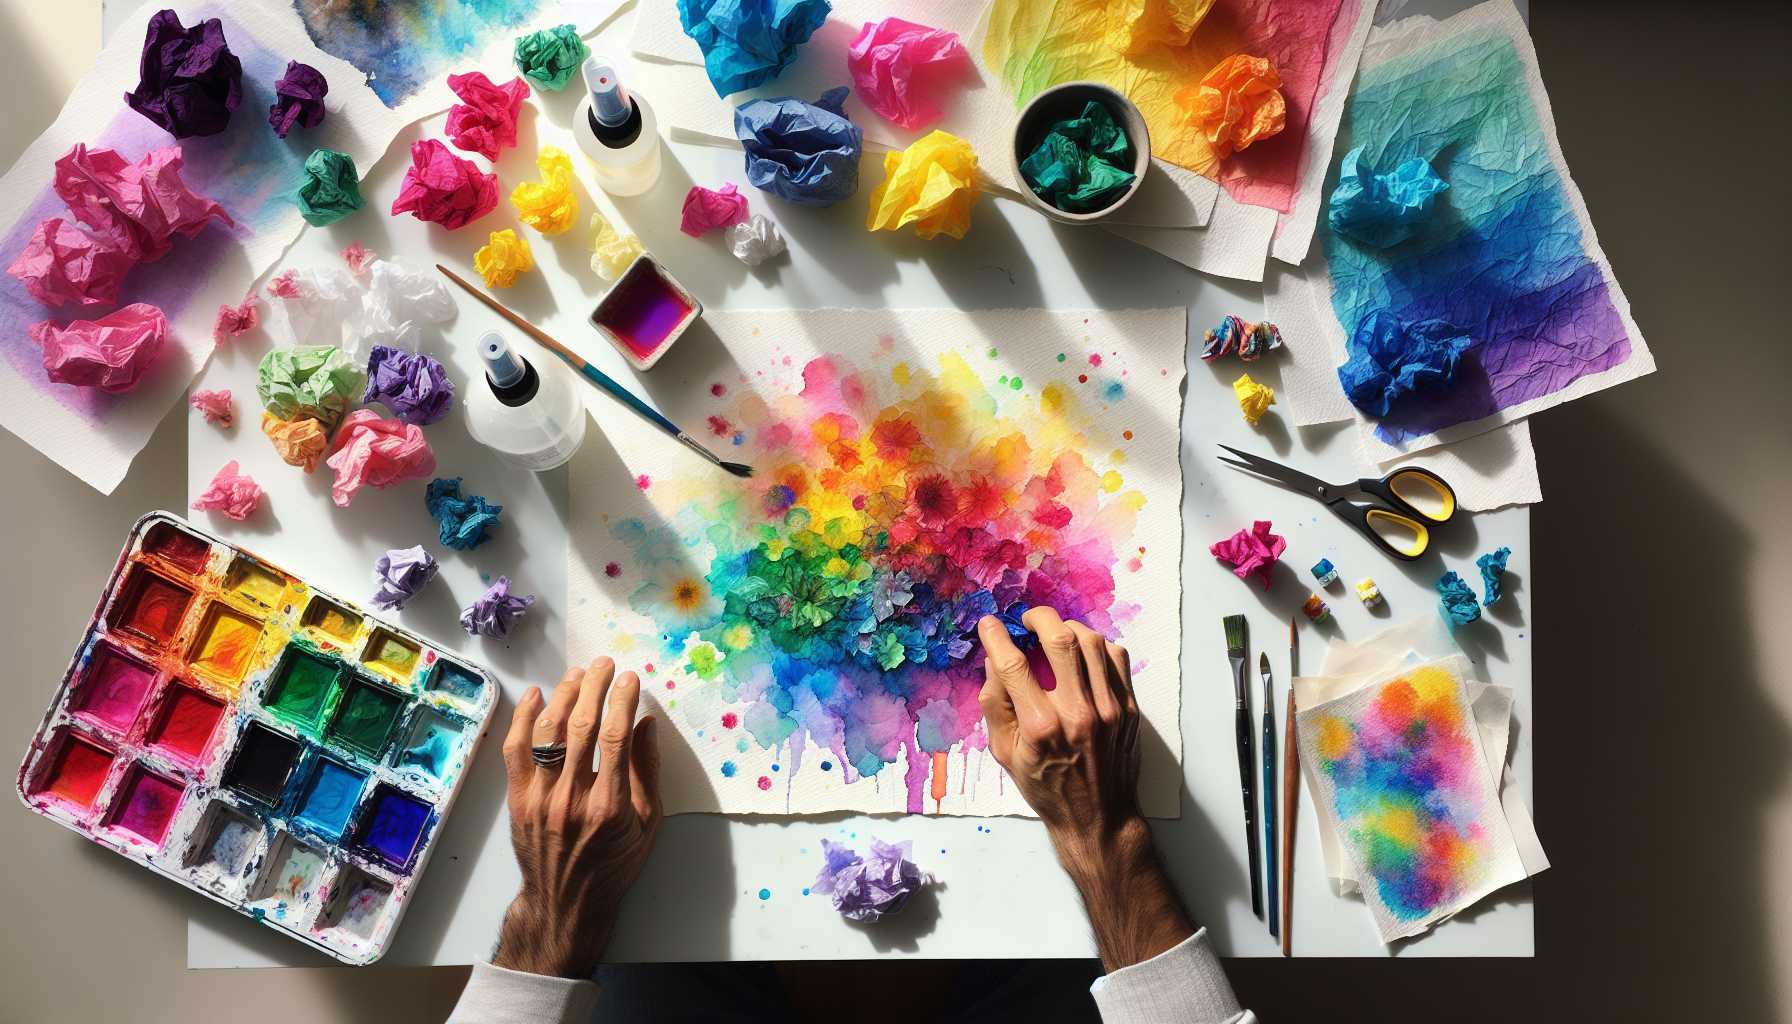
Before delving into the techniques, let's gather your required items:
- Coloured tissue paper
- Watercolour paper or canvas
- Water in a spritz bottle
- Paintbrushes
- White glue (Optional)
- Scissors
Compile all these items. You got it right, it's that easy!
1. The Dyeing Rainbow Effect
This method forms attractive colour transitions that flow seamlessly into each other.
Start by tearing different coloured tissue papers into minor segments. Overlay them on your damp watercolor paper. Spritz gently with water and watch as the colours merge together splendidly.
Remember, the charm is increased by its randomness, so there's no need for precision!
2. Textured Landscape Canvas
Desire to design dazzling landscape canvases? This method works best for novices.
Arrange green tissue paper strips for grass and hills on your canvas. Add blue pieces to depict the sky portions. Curl the tissue a bit for an extra textured appearance before laying it on your canvas.
Spritz with water and let the colours naturally merge. Remove the tissue paper once it's dry to reveal your beautiful landscape base.
3. Floral Impressions
Craft delicate floral without a need for any drawing aptitude.
Snip tissue paper into petal shapes. Pattern them like flowers on your damp canvas. The tissue will leave a stunning colour impression when detached.
Consider layering different colours for intricate blossoms. A pink over yellow combination forms gorgeous peachy tones!
4. Nautical Wave Design
Infuse the soothing vibe of ocean waves with your craft.
Use blue and green tissue paper in horizontal strips on damp canvas to create wave-like patterns. The colours will blend together that mimics actual water.
Incorporate white tissue sparingly for foam effects. This technique works best for creating a seascape.
5. Gradient Sunset Effect
Nothing trumps a splendid sunset lined with colours, and this method captures that magic ideally.
Organize tissue paper from yellow at the bottom to deep purple at the top, including shades of orange and pink in between. Spritz generously and watch your sunset come alive.
The more swiftly you apply the colours, the smoother your gradients will be. The end results will certainly be a sight for the sore eyes!
6. Abstract Geometrical Shapes
Modern art aficionados will find this contemporary technique quite fascinating.
Snip tissue paper into geometrical shapes - triangles, circles, squares and overlap them in patterns. Some shapes will blend to create new colors at intersection points.
This technique gives you a lesson about colour meshing while producing striking modern art pieces.
7. Nature-Inspired Foliage Impressions
Transmute your space with this organic method that brings nature indoors.
Cut or tear tissue paper into leaf shapes and layer them haphazardly across your canvas. The overlaying creates effects that resemble the forest flooring.
Use autumnal colours - oranges, reds, and yellows - for artwork that successfully captures the essence of fall.
8. Fluffy Cloud Effects
Create soft, puffed clouds that appear incredibly realistic.
Employ white and light gray tissue paper. Tear into cloud-like formations rather than cutting clean edges. Apply to blue background paper that's slightly damp. The white tissue forms perfect cloud patterns against the azure sky.
9. Butterfly Wing Models
This symmetrical technique gives rise to stunning butterfly-inspired craft.
Fold your canvas in half. Arrange colourful tissue pieces only on one side. Spritz with water, then fold the canvas to transfer colours to the other side.
Unfold to reveal perfectly symmetrical patterns akin to butterfly wings!
10. Glass Window Illusion
Imitate the elegance of beautiful stained glass windows.
Snip tissue paper into petite, irregular shapes similar to glass pieces. Arrange them with small gaps between each piece akin to the lead lines in real stained glass.
The usage of bold, deep colours adds to the authenticity of your stained-glass appearance.
Suggestions for Better Outcomes
Here are some tips I've gathered from my experience:
Work Swiftly - The best results are seen when everything is slightly damp. Ensure that no area dries completely.
Caution with Water - An excess of water can spoil the colours. Start with a light sprinkling and add more if necessary.
Experiment with the removing timing - Try removing tissue paper at different stages. Sometimes, longer contact can result in stronger, deeper colours.
Plan your colour combinations ahead, reminding yourself that colours will mix at overlap points.
Avoidable Beginner Mistakes
Don't worry - mistakes are part and parcel of learning! Here are some common ones:
Overuse of water can result in muddled colours. Start with a light hand and build up gradually.
Early removal of tissue paper won't leave sufficient colour. Patience is key.
Overlapping of too many colours at a singular area can create unattractive brown areas. Give your colours space to breathe.
Kick-Start Your Artistic Journey Today!
Ready to venture into tissue paper painting? Just choose one or two techniques from this guide. Get comfortable with those prior to moving on to more intricate methods.
Remember, in the art realm of tissue paper painting, mistakes don't exist - they're just fortunate accidents that often churn out better results than initially anticipated!
The beauty of this medium rests in its unpredictability. Your craft will be singularly distinctive even if you repeat the same steps twice.
Final Thoughts
Tissue paper painting switches on a universe of artistic potential without crippling your budget. These ten techniques will engage you for weeks, making you simultaneously learn about colour and composition.
Most importantly, indulge yourself in the process! The elation one feels when watching colours blend and flow matches the satisfaction of viewing the completed artwork.
Curious to know which effect you'll try first. Can't wait to hear all about your tissue paper painting adventures!