Sunset Painting Tutorial: Easy Steps for New Artists
Easy Steps for Beginners: A Guide to Painting a Sunset
Have you ever desired to encapsulate the enchantment of a sunset on canvas? I recall my initial attempt—an exhilarating yet anxiety-laden endeavor. Allow me to steer you through this vibrant recreational pastime with several simple steps I've gathered from my painting experience.
Preparing Your Painting Essentials
Before we delve into the details, let's assemble our essential art supplies: - Acrylic paints in the colors of yellow, red, orange, blue, white, and black. - A canvas of your choice in size. - A set of brushes in various sizes. - An artists' palette or a simple paper plate. - A cup filled with water. - Some paper towels.
A little advice from my side: it's always recommended to begin with acrylics—they're merciful and swift to dry!
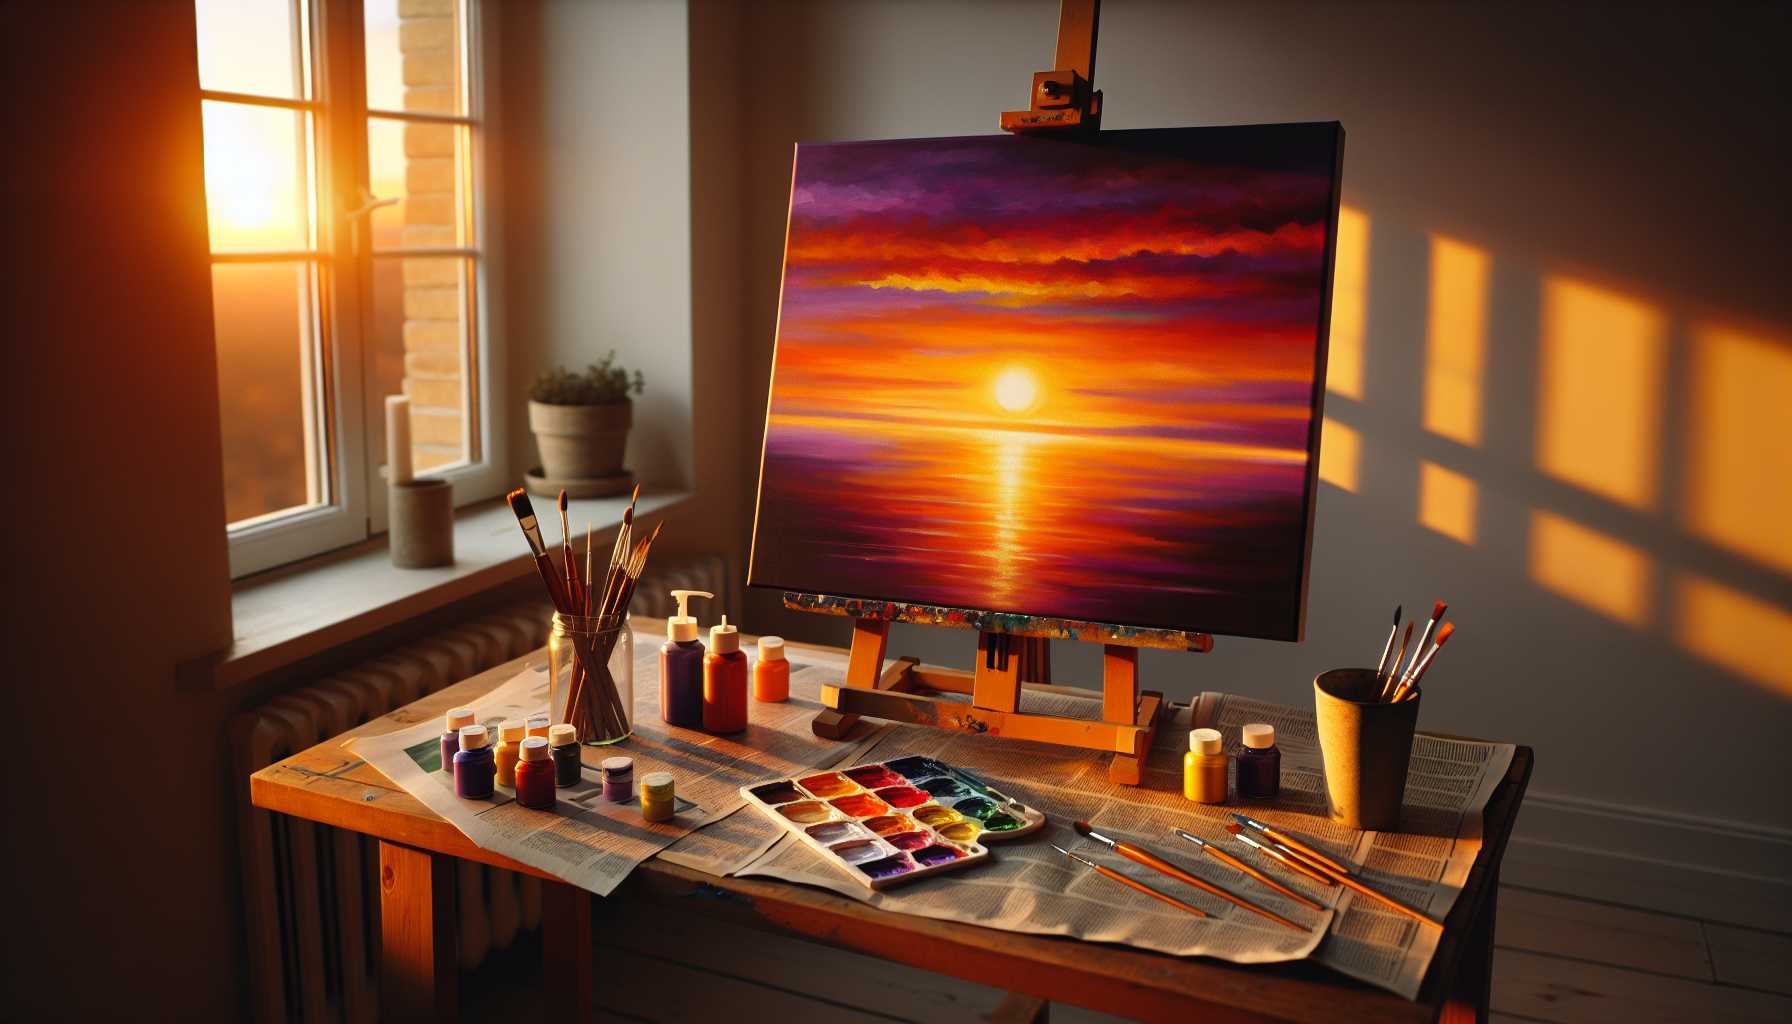
Preparing Your Artistic Space
Trust me on this, a well-organized and comfortable setup makes a significant contribution to your painting experience: - Look for a bright, well-lit spot. - Save your table from staining by covering it with newspaper. - Keep a cup of water at hand. - Be prepared with some reference photos.
I got to grasp the importance of this after I unintentionally stained my cherished table!
Setting The Scene With Sky
This is where the spectacle commences: 1. Prepare your foundational colors by mixing orange, yellow, and red. 2. Initiate the painting from the horizon line. 3. Progress upwards using progressively darker hues. 4. Smoothly blend whilst the paint is still moist.
Remember, there's no 'one-size-fits-all' sunset—each one possesses its unique charm!
Embedding The Sun
This is the segment I adore the most: 1. Decide the locale for your sun (An off-center position usually gives an appealing result). 2. Combine bright yellow with a hint of white. 3. Create a flawless circle. 4. Cast soft, ambient edges.
Professional Tip: Adopt a conservative approach while painting the sun!
Crafting Clouds
Now we bring in some romantic clouds: 1. Merge white with your sky hues. 2. Use a light and wispy brush technique. 3. Gently fade the borders. 4. Introduce darker shades for depth.
Don't be overly concerned about making perfect clouds—mother nature makes them beautifully imperfect!
Finishing Touches
The impact lies in the detailed strokes: - Introduce silhouettes if you wish. - Accentuate the edges of the clouds. - Soften the rigid lines. - Take a few steps back and evaluate your painting.
Achieving Success: Valuable Tips
Here are a few things which I wish someone had shared with me when I was a novice: - Be patient and allow sufficient time. - Refrain from overanalyzing. - Keep your colours damp for effective blending. - Improve through consistent practice.
Remember, every maestro was once a beginner. Your premier sunset painting might not be exactly as you envisioned, but it is an integral part of your artistic development!
Preserving Your Artistic Endeavour
Once you've completed your painting: - Allow it ample time to dry. - Sign your masterpiece. - Apply a coat of varnish if you wish. - Display it with pride!
The act of crafting sunset paintings is akin to seizing tangible snippets of magic. Each painting session unravels new techniques and heightens your confidence. So, seize those brushes and commence your artistic journey—I am eager to witness your creations!
Don't forget to share your artistry and to keep nurturing your skills. Wishing you an exhilarating painting adventure, friends!