Simple Sky Painting Tutorial: Cloud Effects for Beginners
Easy Sky Painting Guide: Mastering Cloud Effects for Beginners
Have you ever found yourself gazing up at the mesmerizing sky, and wishing you could capture its beauty on a canvas? You're definitely not alone! Painting skies might seem daunting at first, but it's ultimately one of the most rewarding subjects for beginners.
In this guide, we will cover everything required to create impressive sky paintings with lifelike cloud effects. Rest assured, we will make this an effortless and enjoyable process.
Why Begin with Sky Painting?
Sky painting is the perfect starting point for beginners. Here's why:
- Mistakes feel natural and add artistic flair
- There are no strict rules you must adhere to
- It's quick to complete
- It rapidly builds confidence
- It generates eye-catching results
The best part about it? Each sky you paint will possess its own unique charm, much like the actual skies above us!
Much-Needed Materials
Before we commence, let's gather the necessary supplies. Expensive materials aren't a prerequisite to get started:
Paints required: - White (preferably titanium white) - Ultramarine blue - Prussian blue - Yellow ochre - Raw umber - Payne's gray
Brushes needed: - Large flat brush (between 1-2 inches) - Medium flat brush - Small detail brush - Fan brush (optional, but advantageous)
Other necessary supplies: - Canvas or canvas board - Palette knife - Paper towels - Container for water - Palette for color mixing
Grasping Sky Colors
Real skies aren't simply blue and white. They're filled with a multitude of subtle hues that transition between day and night.
Morning skies typically display gentle hues of pink and yellow, Midday skies are dominated by bright blues and clear whites, while Evening skies flourish with warm oranges and purples.
Begin by observing actual skies. Capture photographs for reference and acknowledge how colors merge and fluctuate from horizon to zenith.
Fundamental Sky Painting Technique
The first step will be to start with a basic blue sky. This root technique can be applied to all subsequent sky paintings.
Step 1: Canvas Preparation
Initiate by ensuring your canvas is clean and dry. Aim to position it tilting slightly towards you. This enables the paint to flow downwards naturally, simulating real cloud formation.
Step 2: Combination of Base Colors
Generate three shades of blue: - Light blue (by mixing white with a small portion of ultramarine blue) - Medium blue (by increasing the amount of ultramarine blue) - Dark blue (by blending ultramarine with a hint of Payne's gray)
Step 3: Implementing the Gradient
Commence at the top using your darkest blue hue. Employ horizontal strokes with your large flat brush.
Ensure that your work is done swiftly while the paint is still wet. Gradually include more white as you navigate downwards. The horizon should represent your lightest shade of blue.
Blend while the paint is still wet by using gentle horizontal strokes. Refrain from overworking it - keep the appearance loosely and naturally flowing.
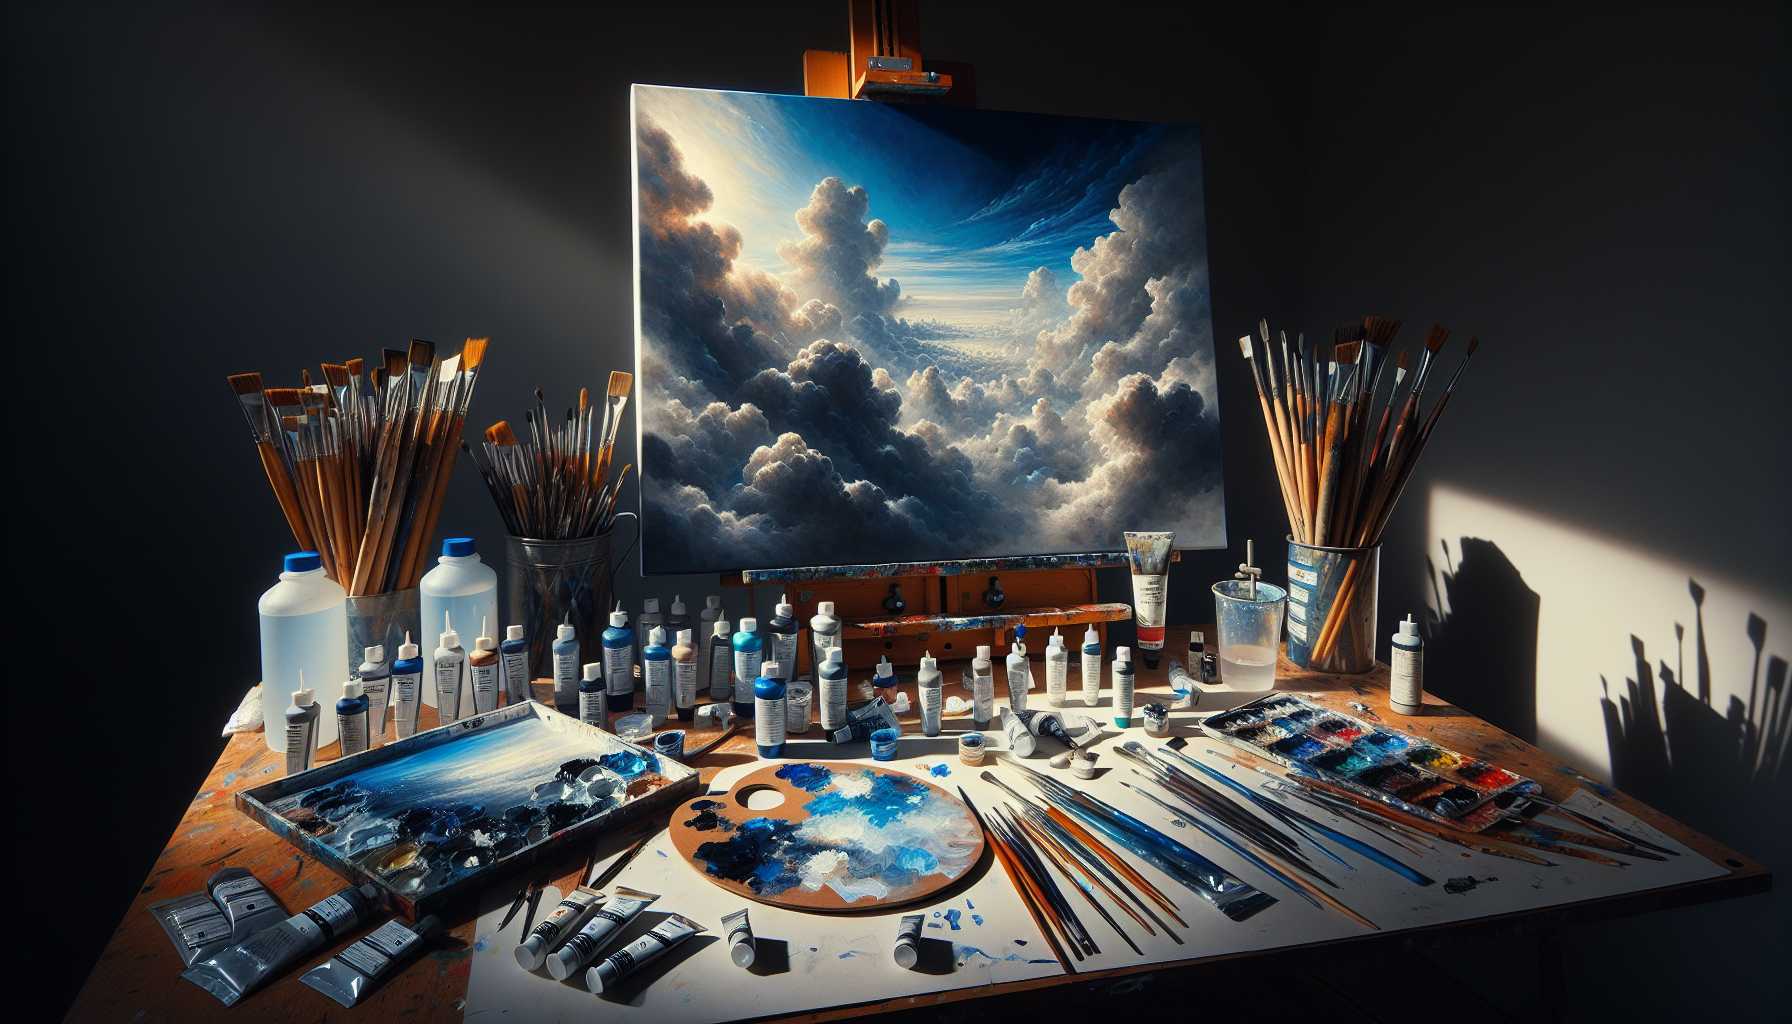
Crafting Lifelike Cloud Effects
The exciting part is now upon us - adding clouds! Clouds are quintessential in bringing skies to life.
Understanding Cloud Shapes
Real clouds aren't flawless cotton balls. They possess:
- Irregular borders
- Diverse densities
- Regions of light and shadow
- Soft, voluminous shapes
Fundamental Cloud Painting Technique
Step 1: Begin with a slightly damp sky background Step 2: Load your brush with white paint (avoid thinning it) Step 3: Use dabbing and gentle circular motions Step 4: Vary pressure for different cloud densities Step 5: Add shadows using a light gray mixture
Crafting Cloud Shadows
Clouds aren't purely white. They possess shadows that contribute to their dimension.
Create a light gray color by combining:
- White paint
- A small portion of ultramarine blue
- A hint of raw umber
Apply shadows to the bottom and inner regions of clouds. Keep the shadows soft and unobtrusive.
Diverse Cloud Varieties to Experiment With
Once you've mastered basic clouds, consider trying these variations:
Cumulus Clouds
These are the quintessential fluffy clouds. They're perfect for beginners.
- Paint them with irregular, uneven edges
- Ensure the bottoms are flatter compared to the tops
- Add more shading underneath
- Keep edges soft and well-blended
Wispy Cirrus Clouds
These are thin, high-altitude clouds that streak across the sky.
- Use less paint on your brush
- Create them with extended horizontal strokes
- Aim to keep them translucent
- They're well-suited for the fan brush technique
Storm Clouds
These are dramatic and moody clouds that bring a heightened sense of drama.
- Use darker shades of grays and blues
- Create heavier, more looming cloud formations
- Include more pronounced contrasts
- Paint irregular, intimidating shapes
Color Temperature in Skies
Understanding how warm and cool colors work will significantly enhance your sky paintings.
Warm colors (reds, oranges, yellows) seem to come forward. Cool colors (blues, purples, greens) appear to recede.
Incorporate this knowledge: - Use warm colors for sunrise/sunset scenarios - Use cool blues for midday scenes - Mix both for captivating contrasts
Frequent Beginner Errors to Avoid
We all commit errors - it's a key element of the learning process! Here are common ones to be aware of:
Overblending the Paint
Fresh paint blends beautifully. Overmixed paint becomes muddied. Work quickly and with determination.
Making Clouds Excessively White
Pure white clouds seem artificial. Introduce subtle color variations. Authentic clouds reflect the colors of the sky.
Creating Repetitive Clouds
Variety plays an integral part in making skies interesting. Alter your cloud sizes, formations, and placements.
Overlooking Light Direction
Ascertain where your light originates from. Maintain consistent shadows throughout your painting.
Comprehensive Beginner Sky Drawing Tutorial
Let's delve into drawing a straightforward sky together:
Step 1: Sky Background (5 minutes)
Paint your blue gradient from dark to light. Work with wet-on-wet to ensure smooth mixing.
Step 2: Visualize Your Clouds (2 minutes)
Plan out where your clouds will be located. Avoid lining them up - vary the heights and spaces.
Step 3: Draw Main Clouds (10 minutes)
Begin with larger clouds using white paint. Utilize dabbing actions, instead of brushing.
Step 4: Inject Cloud Shadows (5 minutes)
Mix light gray and integrate shadows at the bottom of clouds. Keep it subtle.
Step 5: Refine and Soften (3 minutes)
Merge harsh edges. Introduce small, wispy clouds if needed.
Advice for Crafting Stunning Skies
Ready to create breathtaking skies? Try these advanced tips:
Implement Bold Color Contrasts
Don't be timid with strong colors. Sunset skies can accommodate bright oranges and saturated purples.
Incorporate Focal Points
Make certain cloud areas more detailed or dramatic. This attracts the viewer's attention.
Inject Atmospheric Perspective
Distant clouds appear to be lighter and less detailed. Closer clouds exhibit more contrast and definition.
Experiment with Texture
Try different brush techniques:
- Stippling to express texture
- Cross-hatching for stormy effects
- Glazing for elusive color layers
Sharpening Your Sky Painting Abilities
Like any skill, sky painting becomes better with practice. Here's how you can continue improving:
Daily Sky Studies
Set aside 15-20 minutes to paint quick sky studies each day. Concentrate on observing rather than seeking perfection.
Photo References
Compile a collection of sky photographs. Refer to these when the weather is unfavorable for outdoor observation.
Explore Different Times of Day
Morning, noon, evening, and nighttime skies all present distinctive challenges and beauty.
Experiment with Mediums
While our main focus has been on using oils/acrylics, consider exploring watercolors or pastels for variant effects.
Completing Your Sky Painting
Final touches can noticeably elevate your sky painting:
Validate Your Values
Squint at your painting. Can you discern good contrast between light and dark areas?
Soften Diagonal Edges
Use a clean, dry brush to blur any edges that appear too abrupt.
Inject Final Details
Small additions like far-off birds or subtle color variations can instill life.
Know When to Finish
It's alluring to keep working, but fresh paintings usually look superior to overworked ones.
Wrapping Up
Congratulation on reaching this juncture! You're now equipped to create alluring sky paintings.
Remember, every accomplished artist began at the same spot you're in now. Your debut sky painting might not flawlessly match your vision - and that's entirely normal.
The secret lies in persisting with practice and reveling in the process. Each painting you complete will impart new lessons about color, light, and technique.
Embark with basic blue skies and gradually progress to dramatic sunset scenes. In no time, you'll be crafting skies that vividly encapsulate the allure and majesty of the real deal.
So, go ahead and grab your brushes, merge those brilliant colors, and start painting! The sky is your limit - quite literally.
Enjoy your painting adventure!
We'd love to know: What will be the first sky you paint? Let us know about your own sky painting journey in the comments below!