Resin Wave Art: Coastal Fluid Painting Techniques
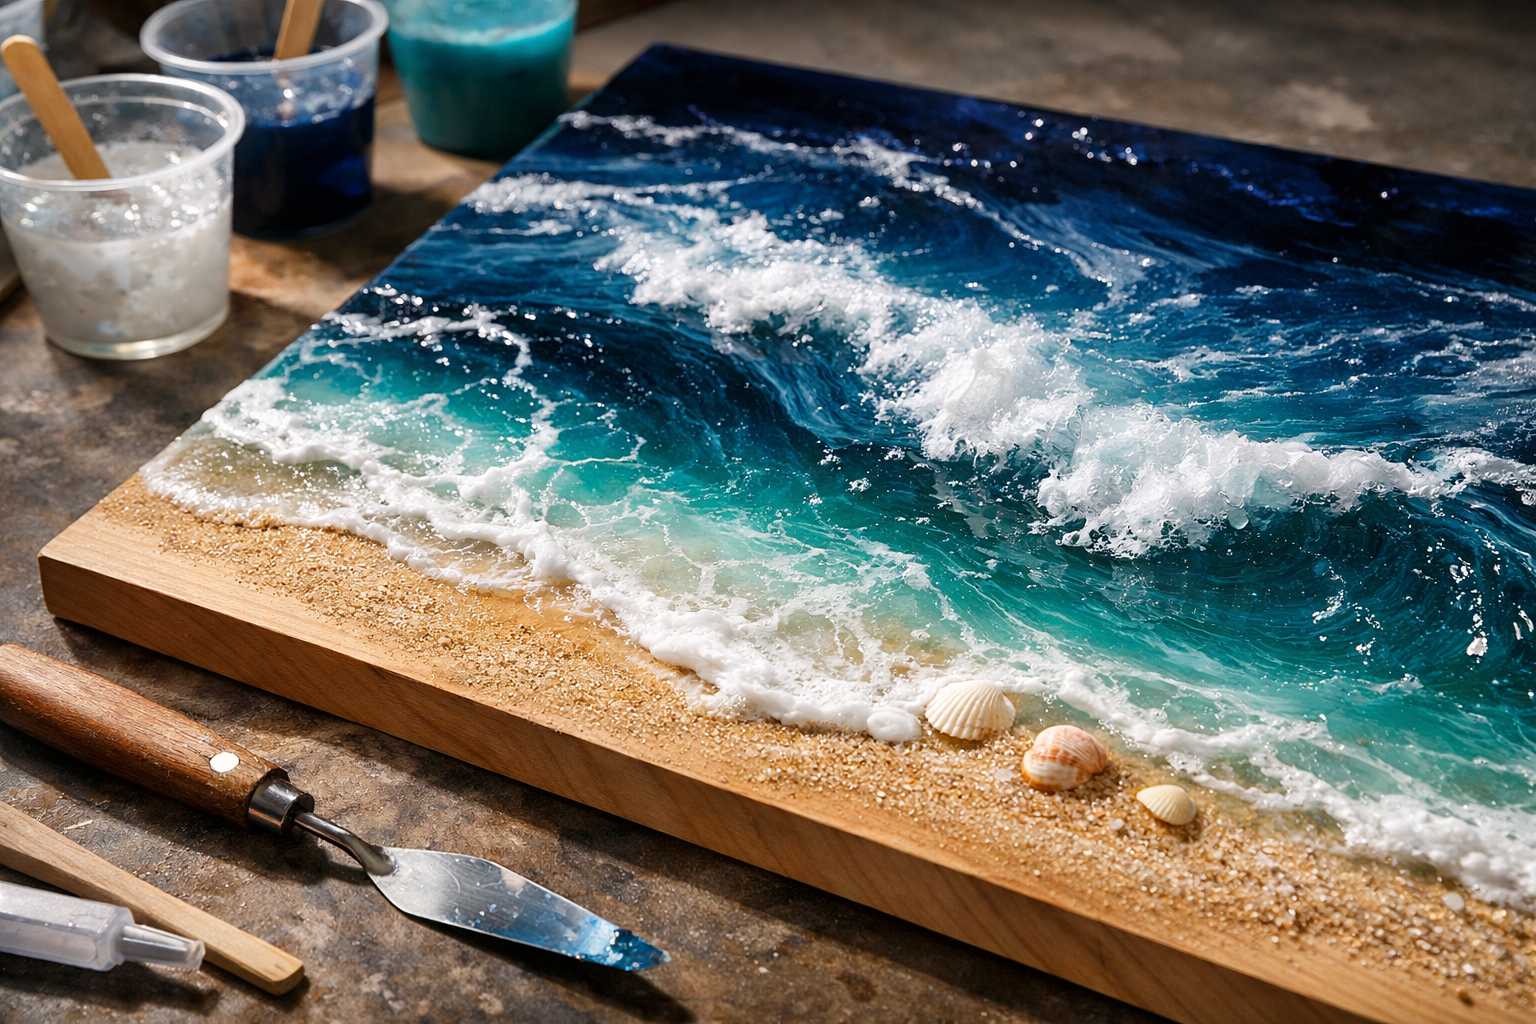
Recreating Sea Waves with Resin Art: Techniques of Fluid Coastal Artistry
Ever gazed upon the seashore's crashing waves and longed to immortalize that magical spectacle? The enchanting art form of resin wave art gives you the opportunity to achieve just that. This form of fluid artistry captures the charisma of the ocean and transports its beauty right into your home.
Understanding Resin Wave Art
Resin wave art is an exciting blend of epoxy resin with pigments to architect striking oceanic scenes. The fluidity of the resin emulates water movements impeccably. Artists superpose varying color layers to illustrate depth and motion, rendering an image that resembles static waves on the canvas.
This form of art gained traction on various social media platforms, with artists sharing alluring videos of cascading resin that mirror real water flowing. The creation process, in itself, is a beautiful spectacle, that often rivals the final artifact.
Essential Supplies to Aid Your Artistic Journey
Begin your journey with common rather than costly supplies. Here's what every beginner necessitates:
Resin Essentials: - Art specific epoxy resin - Stir sticks and mixing cups - Digital scale for precise measurement - Torch or heat gun - Disposable gloves for safety
For Pigments and Colors: - Shades of blue pigments - White pigment - Turquoise or teal - Optional: Mica powder to add shimmer
Canvas and Tools: - Wood panel or canvas board - Palette knife - Brushes made of silicone - A plastic drop cloth
Remember, safety is paramount. Always ensure adequate ventilation in the workspace and equip yourself with a mask and gloves during the resin mixing process.
Setting Up Your Workspace
It's vital to pre-set your workspace prior to opening any materials. Resin, once mixed, has a specific working time limit beyond which it cannot be used. Hence, there's no room for a pause once you embark on your creative journey.
Ensure your work surface is well-covered with plastic sheets or newspaper. Keep your canvas elevated with the help of cups or blocks, allowing the surplus resin to naturally drip off the edges.
Keep a check on the ambient temperature and level of humidity. Ideally, resin works best in the temperature range of 70-75°F. A humid environment can lead to hazy outcomes.
Defining Basic Wave Art Techniques
The Dirty Pour Technique
After individually mixing your chosen colors in separate cups, pour the lightest color (typically white) first, following up with shades of blue from lightest to darkest. It’s important not to overmix the colors as some distinction enhances the look.
Gradually tilt your canvas and allow gravity to dictate the resin's course. The fluid resin will organically create wave-like patterns. The palette knife can be useful here to accentuate this movement.
The Layered Wave Technique
This method offers a more realistic depth. Start with your primary ocean color, let it rest for about 10 minutes before drizzling wave-shaped white resin on top.
Utilize a brush to softly diffuse the edges; this helps the layers intermingle, creating an illusion of translucent water.
The Blow Technique
This technique involves pouring thin white resin strips over the blue base and then using a straw or a low setting heat gun. The blown white resin generates patterns that replicate sea foam.
However, it's essential to be gentle with your blowing. Excessive force turns the soft waves into chaotic disruptions.
Crafting Realistic Coastal Colors
An authentic ocean view is not just blue. Careful observation of coastal images will reveal a variety of shades.
Shallow Water Shades: - Light turquoise - Seafoam green - Crystal clear spots
Profound Water Shades: - Navy blue - Prussian blue - Traces of purple
Foam and Bubble Colors: - Pure white - Off-white cream - Light gray shades
Start your color blending with the lightest shade, gradually incorporating darker pigments. Remember, it's easier to darken a shade than to lighten it up.
Advanced Coastal Art Techniques
Introducing Sand and Texture
Adding fine sand to your resin mix creates a realistic shoreline texture. Blend sand with clear or light tan resin and apply along the lower edge of the canvas.
Use a toothpick to form sand wave patterns, but be swift as the resin will begin to cure quickly.
Building Depth with Layers
Professional artists usually implement multiple resin layers. Pour your primary ocean resin layer first, allow it to fully cure (approximately 24 hours), then proceed with additional wave detailing on the second layer.
This technique achieves remarkable depth, as the light would interact differently with each layer, eluding a three-dimensional effect.
Adding Natural Elements
Including small shells or sea glass enhances the artwork's realism. Embed them in the initial layer and pour clear resin over them, making them appear suspended within the resin.
Opt for elements that do not react with the resin. It’s crucial to refrain from using materials that contain moisture.
Troubleshooting Common Complications
Bubbles in Your Artwork
Bubbles can form in anyone's mix. To eradicate surface bubbles, employ a heat gun, moving it swiftly across the surface to avoid prolonged exposure at one spot.
Preventive measures are better than rectifying actions. Mix your resin gently to avoid forming bubbles, and let it rest for about 2 minutes before pouring.
Problems with Color Separation
Occasionally, colors may not blend uniformly, often due to differing resin temperatures. Ensure all your materials are at room temperature before starting.
In case of color separation, immediately use a palette knife to blend the affected areas and work quickly to rectify.
Uneven Surfaces
The weight of the resin can lead to warping on canvas boards. To avoid this, use rigid supports beneath the canvas. Marine plywood is an excellent choice for larger canvases.
Before you begin, ensure your working surface is level, use a bubble level if necessary.
Refining and Preserving Your Artistry
Keep in mind that resin curing continues for about 72 hours. Avoid disturbing your piece during this time, as dust and debris can stick to its tacky surfaces.
If needed, cover the piece with a cardboard box, preferably with ventilation holes cut on the sides. This ensures dust protection while still allowing air to circulate.
For added gloss and any added protection, some artists prefer adding a final clear coat- but do wait until the initial layer has completely cured.
Showcasing Your Oceanic Art
Resin art comes alive in natural light. Hang your artworks where they can catch the natural light from windows, this lighting enhances the depth effects.
However, avoid prolonged exposure to direct sunlight. UV rays can yellow certain types of resin over time. Fortunately, most art-grade resins come with built-in UV protection.
Looking at resin art at varying angles give different perspective as the appearance of the art changes. This unique feature makes the placement crucial, often more so than traditional paintings.
Further Enhancing Your Skills
Kickstart with smaller trial pieces; canvas boards are generally less expensive than larger canvases and perfect for refining your technique before graduating to larger pieces.
Observe other artists at work online; social media is replete with artists sharing their unique techniques and processes.
Engage with online artist communities; these platforms provide valuable tips, offer solutions to common problems and are generally very supportive to beginners.
Final Thoughts
Resin wave art is a captivating way to introduce some oceanic tranquility into your living space. While it requires some learning and practice, the techniques are quite beginner-friendly. Start basic and gradually upgrade your skills.
Embrace the uniqueness of each of your creations, understand that no two resin flows are identical. This unpredictability is part and parcel of the charm that defines this art form.
Remember, your initial attempts might not perfectly align with your imaginative vision, but that is completely normal. Keep practicing, don't cease experimenting with innovative techniques.
The ocean offers an infinite array of moods and hues for your art to capture. Begin your adventure with resin wave art now and bring the astounding beauty of the coast into your home.