Easy Paint Pouring for Beginners: No-Skill Abstract Art Guide
Paint Pouring 101 - A Beginners Guide to Crafting No-Skill Abstract Art
Ever scroll through Instagram and find yourself entranced by those vivid, fluid abstract paintings? It may surprise you to know that you can create these captivating pieces yourself!
Paint pouring, one of the most accessible art forms, doesn't require extensive training or inherent artistic ability. Just a few basic supplies, coupled with a dash of excitement for getting a little messy, is all you need.
An Introduction to Paint Pouring Art
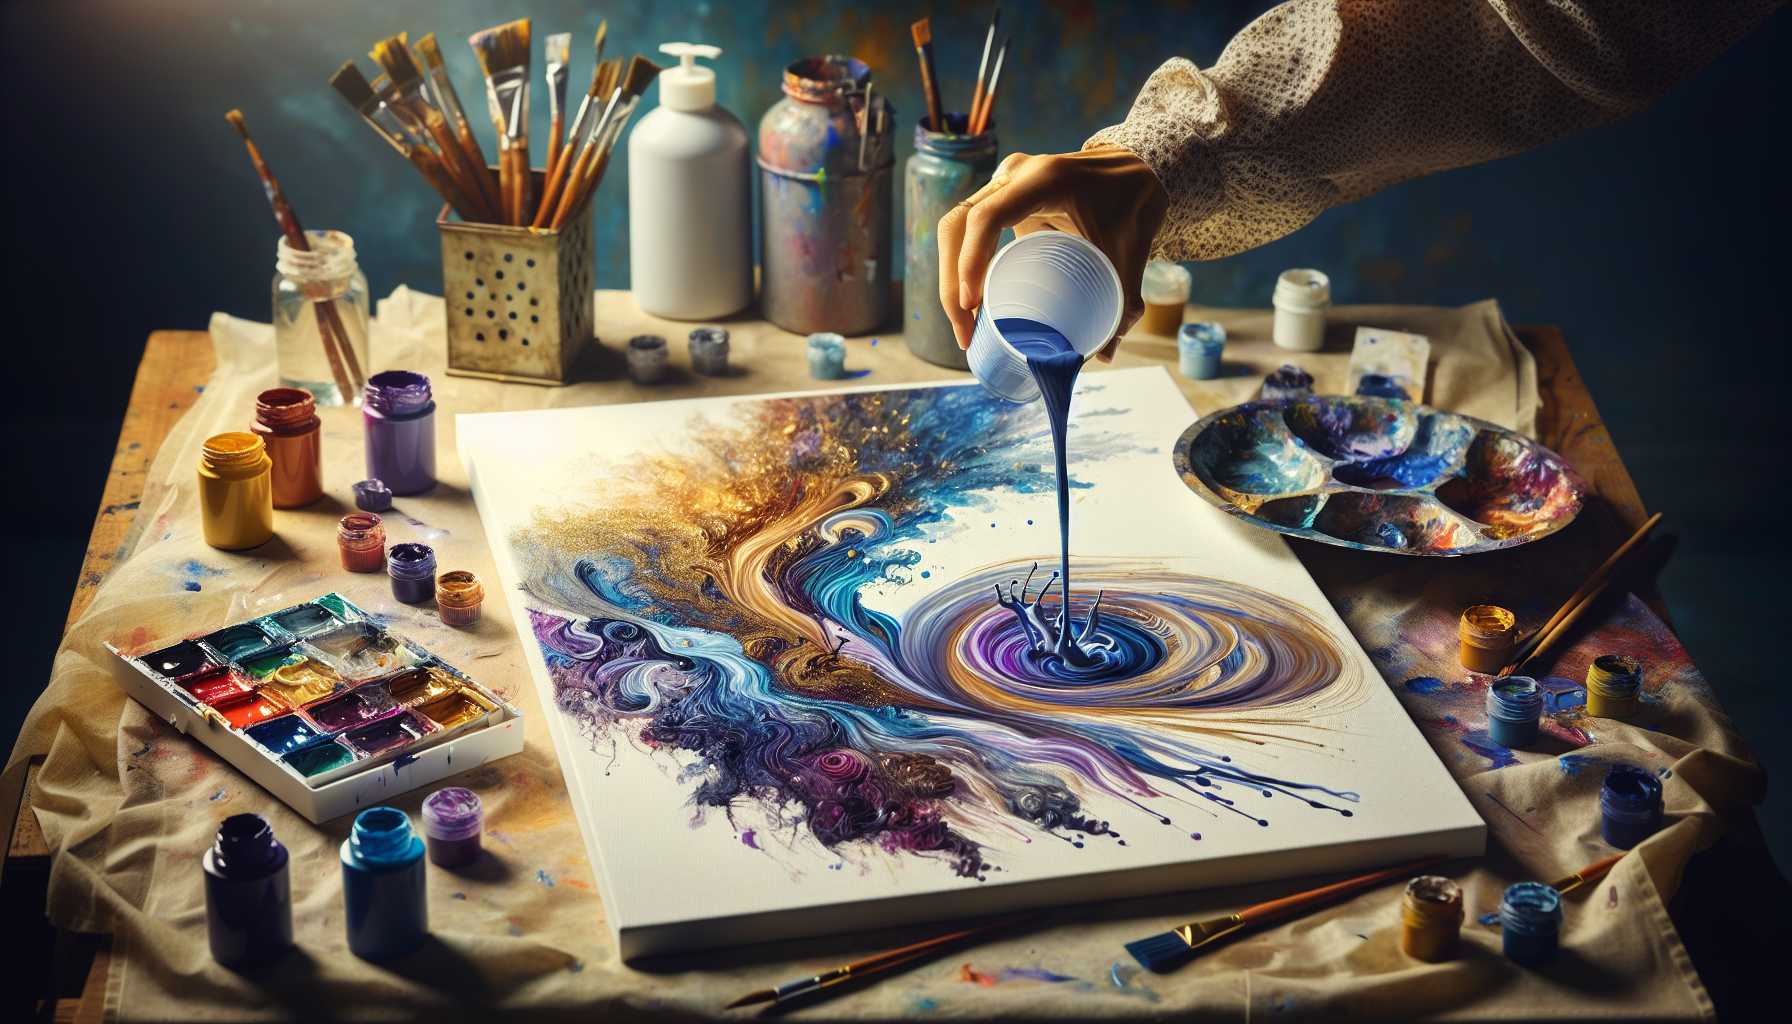
The process of paint pouring is as straightforward as the name suggests. You pour paint, in a liquid form, onto a canvas, letting gravity efficiently blend it to create natural organic patterns that a brush could never replicate.
This magnificent art form goes by various names. It may be referred to as fluid art, acrylic pouring, or flow art. These names all represent the mesmerizing unfolding of colors on the canvas.
An exciting point to keep in mind - no two pieces are the same with this art form. Even if you use the same colors and approach, each piece will boast its unique flair.
Why Beginners Should Give Paint Pouring a Go
Now, you might be wondering why paint pouring is gaining such popularity among budding artists. Here are a few reasons:
Firstly, it's a sketch-free art form. You're free from worrying about the proportions as the paint naturally creates its design.
Secondly, there are no such things as mistakes in paint pouring. If a part doesn't fit into your vision, you can always add more paint or adjust the way you tilt the canvas.
Thirdly, immediate results are a huge plus. Even if your first piece doesn't align perfectly with your vision, chances are it'll still look fantastic.
Lastly, it's incredibly therapeutic. The sight of colors flowing and merging is calming and can offer stress relief after a tiring day.
Essential Items Needed for Paint Pouring
Before delving into the techniques of paint pouring, let's cover the basics you'll need to get started. Rest assured, you can begin with simple supplies and upgrade as you progress.
Paint
When it comes to suitably viscous paint, acrylic paint is perfect for the job. When starting, inexpensive craft paints are more than sufficient. Student-grade acrylics are ideal for beginners.
Steer clear from watercolors or oil paints. Their consistency doesn't suit paint pouring techniques.
Pouring Medium
This agent ensures your paint flows seamlessly. Floetrol, a popular choice, is readily available at any hardware stores in the paint section.
Despite the availability of professional pouring mediums from art stores, the aforementioned Floetrol fits the bill without digging a hole in your pocket.
Canvas or Surface
Start small with canvases around the 8x10 inches mark. While canvas boards are a budget-friendly option for practice, you can also experiment with wood panels, ceramic tiles, or even vinyl records. The world is your canvas!
Mixing Cups
Delegate each color to separate disposable plastic cups. Solo cups are an ideal choice due to their sturdiness.
Stirring Sticks
For mixing your colors, simple wooden craft sticks or plastic spoons are sufficient. Remember to have one for each color to prevent color mixing.
Protective Gear
Using disposable gloves will keep your hands clean. An apron or old clothes will safeguard your outfit since you can expect things to get quite messy with paint pouring!
How to Prepare Your Paint
Preparation of your paint is crucial in this artform. A perfect pour is as good as the preparation behind it.
Begin by blending your acrylic paint with the pouring medium in a 1:1 ratio. Adjust the mix according to consistency, which should resemble the flow of honey.
Make adjustments by adding water if the mixture appears too thick, and more paint if too thin. A steady stream should form when you lift your stirring stick.
Ensure you thoroughly mix each color in separate cups, eliminating all lumps and air bubbles. It takes a few minutes per color, but the effort brings results.
Beginner-Friendly Paint Pouring Techniques
Now comes the exciting part! Let's look at some simple techniques that can produce stunning results.
Dirty Pour
For beginners, the dirty pour is an easy and fun approach. Layer your mixed paints in one cup without stirring. Use different colors for varied effects.
Pour the entire cup onto one spot on your canvas. Witness the colors spreading and creating unique designs.
Gently tilt the canvas to cover the entire surface. Witness the beautiful blending of colors.
Clean Pour
For a clean pour, pour each color separately onto various spots on the canvas.
Tilting techniques help the colors meet and blend, giving you increased control than a dirty pour.
You can experiment with pouring the colors in lines, spirals, or random patterns for unique effects.
Flip Cup
The flip cup technique generates bold, exciting patterns. Layer your paints in a cup like in the dirty pour. Place your canvas face-down on the opened cup.
All at once, flip the cup and the canvas together. Remove the cup slowly and watch the colors spill and spread in a circular pattern.
This method creates beautiful cells and unique interactions of color.
Tips and Tricks for Better Results
Here are some insider tips that will enhance your paint pouring game from day one.
Create your artwork in a dust-free environment. To protect against paint splatter, cover your work area with plastic sheets or newspapers.
Ensure you pour on a leveled surface. Your canvas should initially sit flat. You can tilt for effects afterward.
Don't overthink the process. Some of the most satisfying paint pours are born when you let go and allow the paint to flow naturally.
Remember to photograph your work during the process. Paint continues to blend and move as it dries. There might be stages that you prefer over the final result.
Keep extra paint mixed, it's better to have a surplus than run short while pouring. You can store leftover paint for your next adventure.
Watch Out For Common Beginner Mistakes
Every novice has their learning moments. Here are the most frequent speedbumps and how to evade them.
Avoid making your paint too thin as watery consistency can result in muddy colors and poor coverage. Strive for a honey-like consistency.
Resist using too many colors at once. Limiting your palette to three to five colors usually offers better results.
Don't hasten the drying process. Allow your masterpiece to dry naturally for at least 24 hours, as forced drying can result in cracking.
Try not to touch the wet paint. It may be tempting, but fingerprints rarely enhance a painting.
Don't anticipate perfection on your first try. Paint pouring guides you on a gentle learning curve, and you learn something new with each pour.
How to Create Cells in Your Paint Pours
The appealing circular patterns you spot in pour paintings are called cells. These are sought after features and are easier to create than they seem.
Add a few drops of silicone oil to some of your paint colors. Silicone is lighter than paint and rises to the surface, forming cells.
A swift pass over wet paint with a kitchen torch also works wonders in cell creation. The heat initiates cell formation.
The use of paint colors with varying densities can lead to naturally occurring cells, as some colors may sink or rise depending on their weight.
How to Finish and Protect Your Artwork
Upon complete drying, you should protect your work. Acrylic artworks require a protective finish to avoid any damage.
Spray varnish is an apt choice for beginners. Opt for either a matte or gloss finish to suit your preference. Apply with thin, even coats.
While brush-on varnish is another option, ensure you do not ruffle the underlying paint layer. Allow each coat to dry thoroughly before applying the next.
Experienced artists may prefer resin finishes for a high-gloss, gallery-style look. Starting out, you may want to stick to simple varnishes for ease of application.
Enhancing Your Paint Pouring Skills
Paint pouring tends to leave its practitioners hooked. As you embark on this artistic journey, you might find yourself eager to experiment and improve.
Experiment with different color combinations. While knowledge of color theory might help, there's no harm in mixing unexpected combinations.
Try different pouring mediums. Each medium affects the flow of paint differently. Some might lead to a higher formation of cells while others might result in smoother blending.
Join online communities dedicated to paint pouring. Facebook groups and Reddit communities are excellent platforms to share your work and receive feedback.
Explore YouTube tutorials from expert pourers. Even the most basic videos can teach you something new.
Troubleshooting Common Problems
Every now and then you might encounter some issues. Here's how to troubleshoot common problems:
If your paint isn't flowing well, it could be too thick. Try adding a bit of pouring medium or water to thin it.
Overmixing or using more colors than necessary often results in muddy colors. Stick to a restrained palette and let the colors blend naturally.
Cracking usually occurs when paint is applied too thickly or dries too quickly. Use thinner layers and allow the paintings to dry naturally.
If paint starts running off your canvas, you can try building up the edges with tape or use a thicker consistency.
Embarking on Your Paint Pouring Journey
Equipped with all this information, you're ready to start your paint pouring adventure. Remember, the first step is always getting started.
Don’t wait for the perfect conditions or expensive supplies. Gather your basic tools and give it a go. Your first pour might leave you pleasantly surprised!
If possible, set up a dedicated workspace. Having everything ready at hand lets you pour whenever inspiration strikes.
Most importantly, let loose and enjoy the process. Paint pouring is about embracing joy, creativity, and shedding inhibitions of perfectionism. Celebrate the "happy accidents" that occur.
The art world awaits your unique visions. So, grab your cups, mix that paint, and let the magic of creativity flow!