10 Easy Paint Pouring Techniques for Stunning Abstract Art
Shedding Light on Paint Pouring
Paint pouring is essentially a fluid art method whereby acrylic paints are combined with pouring mediums. You then pour this concoction onto a canvas in different styles creating organic patterns and visually stunning color mixtures.
Contrary to popular thought, you don't need to be an expert like Picasso to excel. Most of the hard work is done by the paint itself! It's therapeutic, enjoyable, and surprisingly addictive.
The Necessary Tools You Will Need
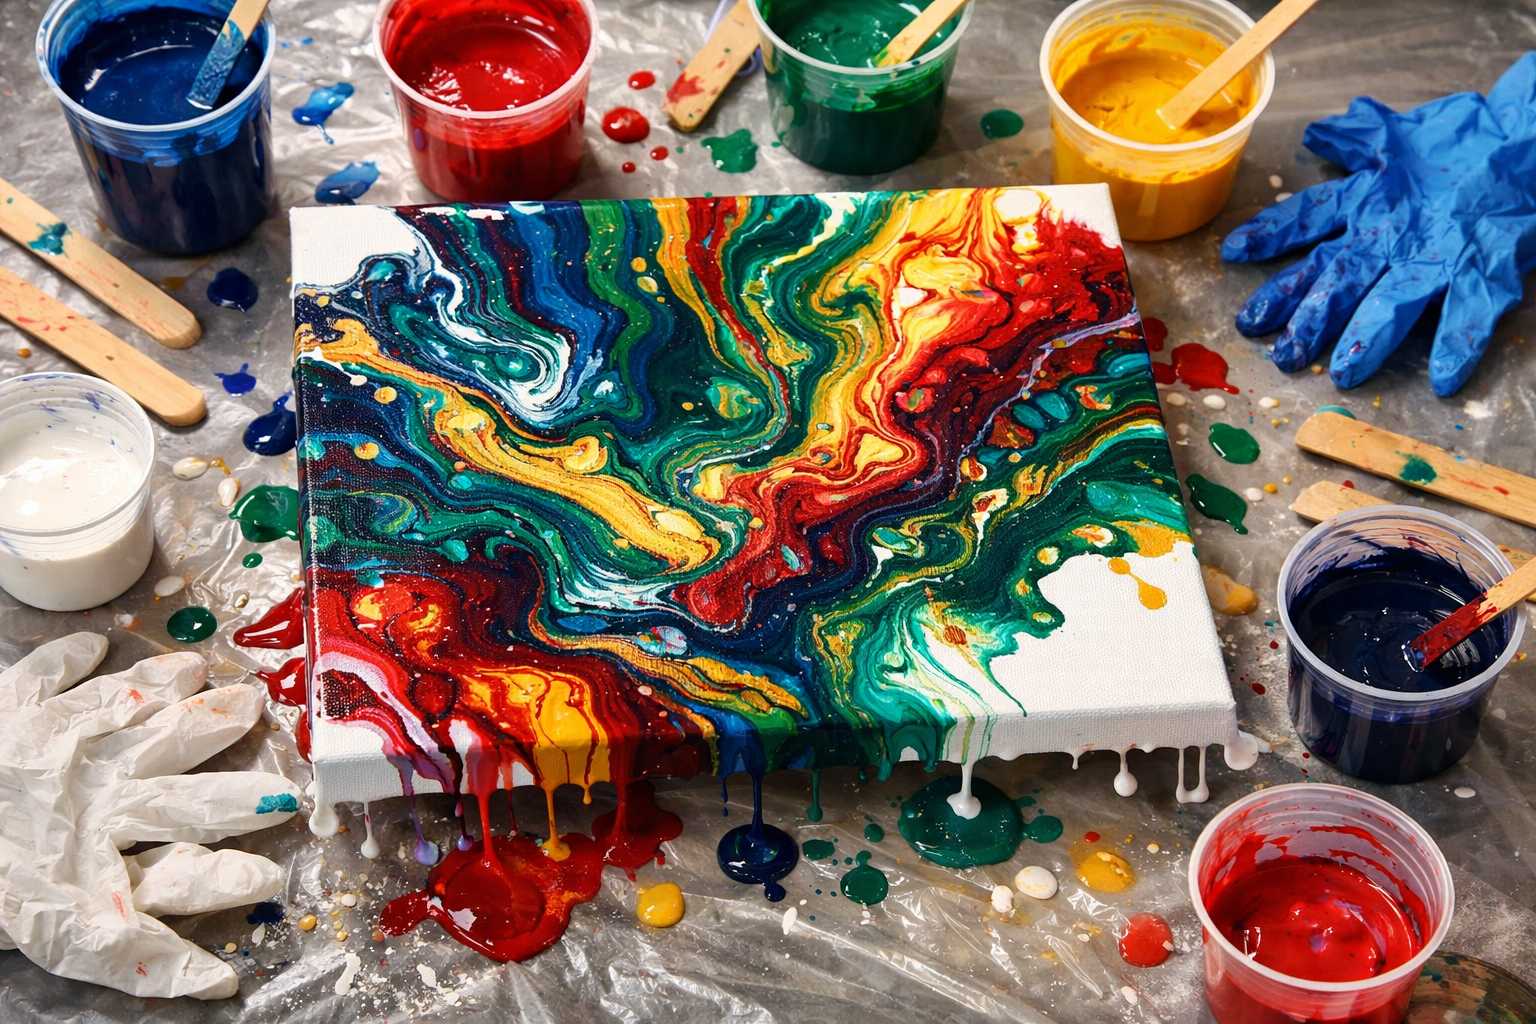
Before we delve into the techniques, here are the necessary supplies to get you started:
- Acrylic paints (Craft paints are excellent for beginners)
- Pouring medium (Floetrol or a commercial pouring medium)
- Canvas or canvas boards
- Plastic cups
- Wooden stir sticks
- Gloves
- Drop cloth or plastic sheeting
- Hair dryer (optional)
Pro tip: The primary colors, coupled with white and black, make a good starting point. These basics alone can be used to create awe-inspiring pieces!
1. The Classic Dirty Pour Technique
Ideal for beginners, this forgiving technique always yields pleasing results.
Simply mix each selected paint color with your pouring medium in distinct cups. Adhering to a 1:1 ratio for most craft paints is ideal. Stack the colors in one cup without stirring and then pour the entire concoction onto the center of your canvas.
Watch as the colors naturally spread, creating spectacular marbled effects. Easily assist this process by tilting your canvas ever so slightly.
2. The Flip Cup Method
A technique that introduces an element of surprise to your masterpiece. You won't have the slightest inkling of what you're going to get!
Similarly to the dirty pour, layer your mixed colors in one cup. Subsequently, place your canvas face-down on the cup. Then quickly perform a flip action with the cup and canvas simultaneously, followed by lifting the cup upward.
This results in your paint gathering in a distinctive puddle at the center. Tilting your canvas will facilitate the spread of colors, thereby producing beautiful concentric circles and flowing patterns.
3. Tree Ring Pour Technique
This technique is aimed at achieving spellbinding circular patterns reminiscent of tree rings or water ripples.
Start by pouring a small quantity of your first color in the center of the canvas. Add the next color directly on top of the earlier one and continue in this alternating manner, pouring at the same spot every time.
This results in the colors naturally pushing outwards in rings. Each color you pour creates a new ring, ending with a colorful bullseye featuring unique variations.
4. The String Pull Method
String pulling provides for the creation of dramatic lines and shapes throughout your painting. Even though it appears complex, it's quite straightforward and incredibly gratifying.
Commence with a dirty pour or flip cup base as your foundation. While the paint is still wet, drag a piece of string through it. Yank the string in any direction - curved, linear, or zigzagged, depending on your preference.
Swiftly lift the string for neat lines. The string displaces the paint, revealing stunning underlying colors and setting in dynamic movement.
5. Swipe Technique for Dramatic Impacts
Swiping technique generates striking contrasts and daring color transitions. This technique is one of my personal favorites!
Pour your base colors onto the canvas. Place a contrasting color in lines across the canvas surface. Using a palette knife or card, proceed to swipe through the paint in a fluid motion.
This usually results in breathtaking cells and color interactions. The key lies in confident and steady movements. Hesitation or repeating a swipe can ruin the intended effect.
6. The Thrilling Funnel Pour Adventure
Funnel pouring introduces unique layered effects and interesting flow patterns. A funnel is an absolute must for this technique.
Mix your colors as you usually do. Then pour them into the funnel, layering one color at a time. Hold the funnel over your canvas and let the paint flow out naturally.
Feel free to move the funnel around, creating different patterns. The funnels' slim opening creates concentrated streams of color, spreading beautifully once they land on the canvas.
7. Dutch Pour for Remarkable Blooms
The Dutch pour technique involves using air to manipulate wet paint - creating floral-like blooms and organic forms.
Start with a base coat of paint on your canvas. While it's still wet, drop different colored paints on top. A hairdryer comes in handy for blowing these colors outward from each drop point.
The blown air creates petal-like extensions. It's quite fun to alter the air pressure or direction to create different effects. This technique tends to offer some highly dramatic results.
8. Balloon Smash Technique
A fun and interactive method that employs a balloon to create unique textures and patterns. It's a favorite among kids!
Simply pour your paint mixture onto the canvas. While the paint is still wet, apply a balloon gently into different areas of the canvas.
The balloon creates fascinating dimples and spreads the paint in unpredictable patterns. Balloons of different sizes can be used for a range of effects. Quick balloon removal helps to retain the pattern.
9. Colander Pour Method
Several pour points concurrently are achievable with a colander. The colander technique gives rise to intriguing multi-stream effects.
Place a colander over your canvas. Pour your mixed paint into the colander, allowing it to drip through multiple holes at once.
The outcome is numerous small pour points forming compound layered patterns. Move the colander around to cover different areas of your canvas. This technique works wonders, particularly with contrasting colors.
10. Negative Space Pour
This advanced technique uses tape or stencils to articulate defined shapes within your pour - a blend of controlled elements and impulsive fluidity.
Stick painter's tape to your canvas to form the desired shapes or letters. Proceed to pour your paint over the entire surface using any technique you prefer.
Once the paint is entirely dried, remove the tape to reveal pristine negative spaces engulfed by your beautiful pour painting. This technique is ideal for creating meaningful artwork or personalized gifts.
Habits for Successful Paint Pouring
Temperature matters: A moderately warm working environment with temperatures around 70-75°F is optimal for paint flow.
Consistency is key: Your paint should possess the consistency of warm honey. Adjust by adding more medium if it's too thick.
Don't overmix: A gentle stir will keep bubbles at bay and maintain color segregation.
Level your surface: A level comes in handy for ensuring even paint flow.
Patience Pays: Allow ample dry time before moving your masterpiece, usually between 24-48 hours.
Troubleshooting Common Problems
Paint refusing to flow? More pouring medium may be what's required if the mixture is too thick.
Colors appear muddy? You might be overmixing or using too many colors. Stick to around 3-4 colors at most.
Lack of cells? A drop of silicone oil in some of the colors might do the trick. But use sparingly!
Paint cracking while drying? Likely cause is too thick a pour. Thinner layers will typically work better.
Finalizing Your Masterpiece
When your masterpiece is completely dry, it's important to preserve it. Apply clear acrylic sealer or varnish for enhanced preservation and to add a professional finish.
Don't forget to sign your artwork! With each painting, you've created something unique and beautiful. Monitoring your progress by photographing your pieces and sharing your creations is also advisable.
The Beauty of Experimentation
The beauty of paint pouring is its freedom. There are no strict rules, and the shared techniques can be modified and combined with others.
How about mixing techniques in one piece? Try starting with a tree ring pour and then adding some string pulls. Imaginative color combinations are also worth a try. Some of my favorite pieces have been unintentional!
There is no need to fret over making mistakes. In the realm of paint pouring, happy accidents usually lead to the most visually stunning effects. Embrace the unpredictability.
Kickstart Your Paint Pouring Journey Today
Possibilities within the world of paint pouring are endless. Regardless of whether you're in search of a soothing hobby or aiming to create captivating wall art, these techniques provide a starting point.
Keep in mind that every artist was once a novice. Your initial attempts may not mirror the perfect examples six million Pinterest users double-tap on, and that's perfectly normal. Gather insights from each of your pours.
Collect your supplies, spread out that drop cloth, and start experimenting. You might stumble upon your newfound favorite creative outlet! The world of fluid art beckons, ready for you to plunge in and claim it!
Enjoy your art pouring adventure, and remember - the best technique is the one that brings you the most joy.