Portrait Reference Photography: Perfect Shot Guide
Guide to Taking Perfect Portrait Reference Photographs
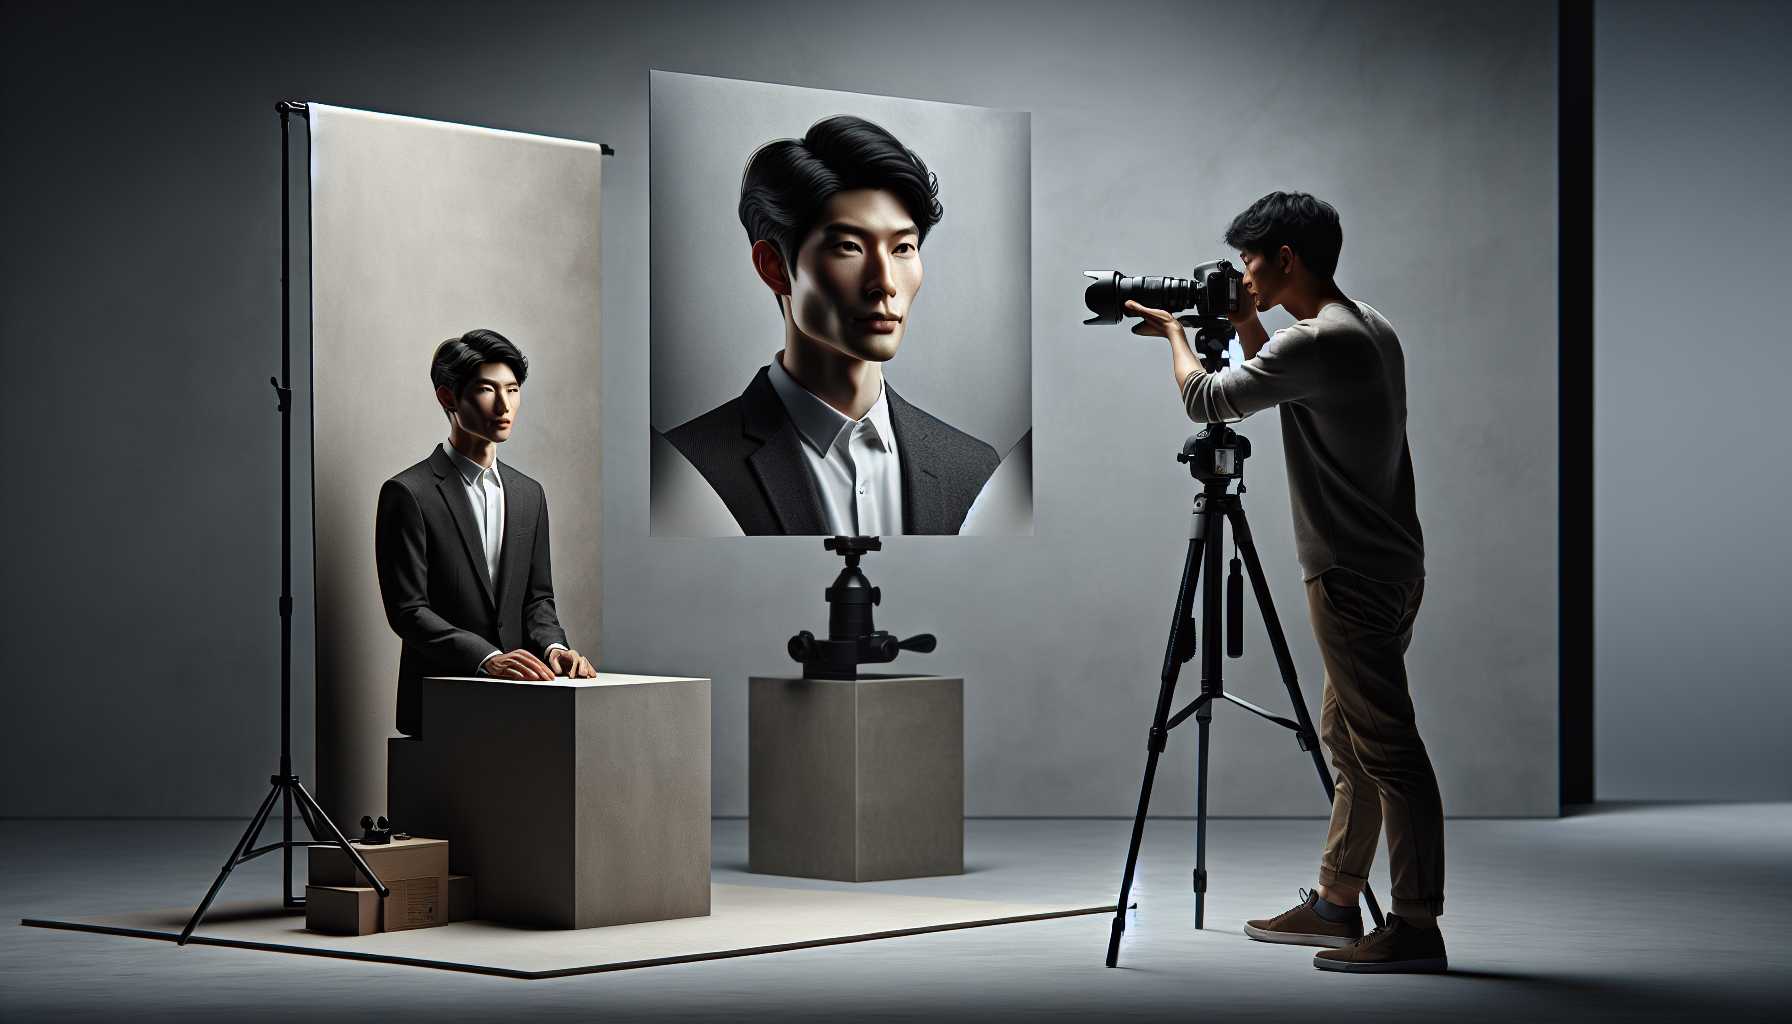
Taking superb portrait reference photos isn't a difficult task. This guide is designed not only for artists seeking drawing references but also for photographers looking to enhance their skills. It provides useful tips to help you capture captivating portrait references consistently.
The Essence of Portrait Reference Photography
Portrait reference photography serves a definite purpose as you're creating images that others will examine and reproduce. Thus the emphasis is on clarity and detail, superseding any artistic touches.
Good reference photos need to display precise proportions, capture authentic lighting and shadows, and most importantly, provide distinct details for artists to follow.
Basic Tools Required for Reference Portraits
Expensive gear isn't a prerequisite for capturing decent reference portraits. A rudimentary DSLR or mirrorless camera, or even a modern smartphone, can yield impressive results.
A 50mm lens is recommended because it replicates natural proportions, mirroring our visual perception of the world, making it excellent for reference work.
A tripod holds value due to its ability to stabilize your camera, ensuring consistent framing. Your subjects will appreciate its usage as shooting sessions will be shorter.
How to Perfect Lighting for Reference Photos
Natural light should be your number one lighting choice. During the day, position your subject near a large window, and the soft, diffused light will accentuate facial features seamlessly without creating severe shadows.
Direct sunlight should be avoided as it casts unflattering shadows and could cause the subject to squint. Days with overcast skies offer uniform lighting, ideal for outdoor shoots.
Indoor lighting can also be utilized by implementing numerous light sources to mitigate harsh shadows. A mixture of main light and a fill light adds dimension without melodrama.
Selecting the Appropriate Background
Simple backgrounds are the go-to option for reference photos. Smooth walls, seamless paper, or outdoor locations with bare minimum distractions are perfect.
Busy patterns or vivid colors should be evaded, as they compete with the subject, making the reference less effective. Neutral tones such as gray, white, or soft blues are an excellent choice.
Consider the final application of your reference photo. Artists may opt for entirely neutral backgrounds, while photographers might favor slight texture or color.
Adopting Poses for Reference Shots
Ensure poses are comfortable and natural without appearing forced or exaggerated, as they inadequately translate into reference material. Instruct your subject to remain relaxed and maintain normal breathing.
Commencement should be with straightforward angles like front-facing, three-quarter, and profile shots. These timeless poses forever remain in vogue and provide extensive reference material.
Pay heed to hand placement and body positioning as awkward hand positioning can sabotage an otherwise perfect shot. Give your subject something to engage their hands if required.
Setting Camera for Crisp Reference Photos
Sharp focus is mandatory in reference photography. Use single-point autofocus for accuracy and focus on the subject's eyes, the most significant portion of any portrait.
Configure an aperture between f/5.6 and f/8. This offers an ample depth of field to retain facial features sharpness and ensures optimized lens performance.
Endeavour to keep your ISO as minimum as possible. Raise in ISOs creates noise that can blur crucial details. Use adequate lighting instead of enhancing the ISO setting.
Handling various Subject Types
Photographing children demands patience and swift reaction. Maintain a short, entertaining session, provide snacks, rest when necessary, and aim to capture genuine smiles rather than forced ones.
Most adults welcome guidance and communication. Provide a clear explanation of what they're meant to do, direct subtly about posture and expression. Better understanding of the process makes people feel comfortable.
Elderly subjects often have fascinating character visibly etched on their faces. Assign extra time with lighting to accentuate their distinctive features respectably.
Post-Production Tips for Reference Photos
Edit minimally and naturally. Overdoing filters or adjustments undermines the purpose of reference photography, which is an accurate portrayal.
Adjust exposure and contrast cautiously. The objective is clarity and not an artistic impact. Ensure skin tones appear natural and realistic.
Appropriate sharpening without overdoing it should be observed. Excessive sharpening creates artifacts that can misinform artists using your references.
Common pitfalls to Sidestep
Never be hasty during the process. Superior reference photos necessitate patience and an eye for detail. Capture multiple shots from each pose or angle.
Avoid extreme close-ups unless required specifically. Conventional portrait framing like head and shoulders provides the most versatile reference material.
Do not neglect communicating with your subject. Explain breaks, amend their position gently, and ascertain they feel comfortable throughout the shoot.
Developing your Reference Photo Catalog
Arrange your photos methodically. Arrange them into folders based on subject type, lighting condition, or pose category to save time in the future.
Think about model releases if you intend on sharing or selling your reference photos. Clear agreements serve as protection for you and your subjects.
Constantly learn and experiment. Every session presents an opportunity to learn something new about lighting, posing, or interacting with people.
Conclusion
Astounding portrait reference photography combines technical aptitude with personal connection. Your focus should remain on capturing clear, well-lit images that reflect authentic expressions and provide precise details.
Frequently practice these techniques. The more you practice, the smoother the whole process becomes. Your subjects will feel more relaxed, resulting in improved photos.
Bear in mind that the best reference photo correctly serves its purpose. Occasionally this means compromising artistic touches for clarity and functionality, totally acceptable because your primary aim is to create useful tools, not just beautiful photos.