Portrait Detail Guide: Eye and Lip Painting Mastery
A Comprehensive Guide to Mastering Eye and Lip Painting in Portraits
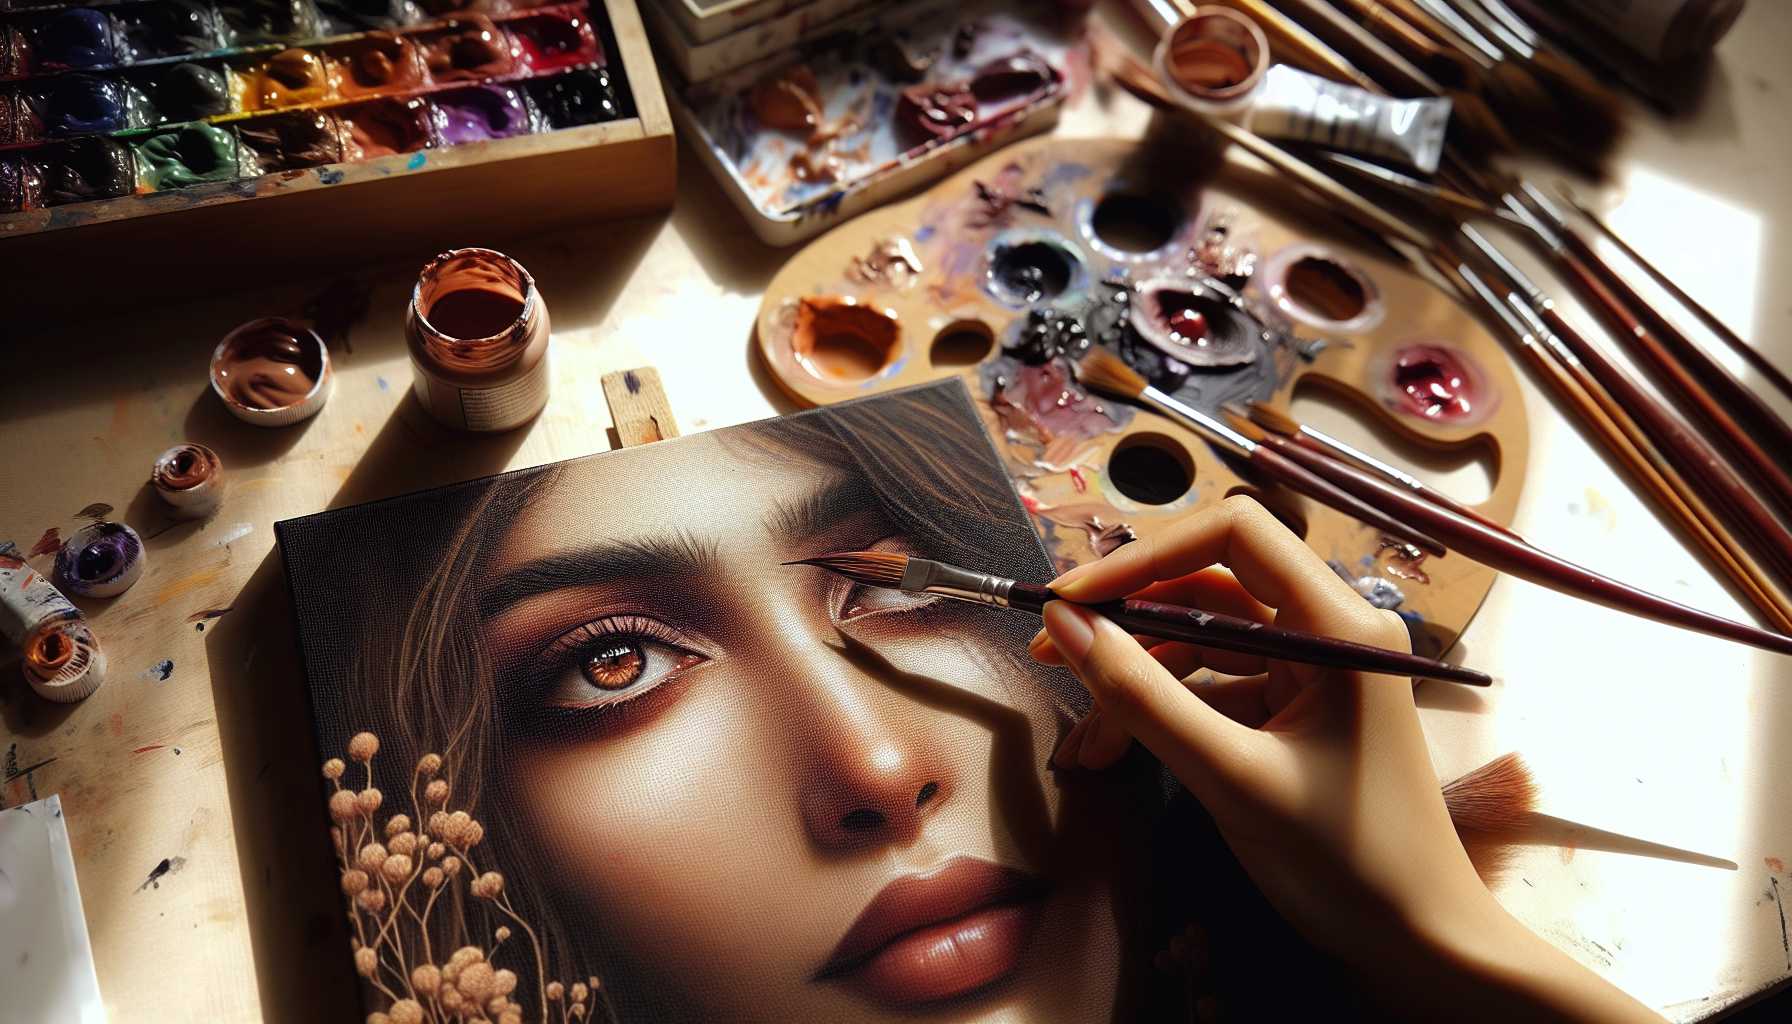
Creating breathtaking portraits begins with perfecting the most expressive features - the eyes and lips. These elements can either enhance or undermine your work. This guide provides insight into the techniques that will elevate your portrait painting abilities.
Unveiling the Complexity of the Human Eye for Artists
The human eye is intricate in its design, but you don't need a medical degree to understand its key structures. The key components to focus on include: - The eyeball itself - The upper and bottom eyelids - The tear ducts - The eyebrows and lashes
Each of these elements is essential in creating a realistic depiction of eyes. Intently study reference photos to understand how light interacts with these different surfaces.
Key Techniques in Eye Painting
Commence with Basic Shapes
Starting with simple forms is advisable. The eye socket closely resembles a triangle, and the eyeball is spherical. Begin by loosely mapping out these shapes as it can help avoid common proportion errors.
Seamless Eye Colors
Eye color isn't a single shade. For instance, brown eyes often contain specks of gold, amber and even green. Blue eyes frequently have underlying gray tones.
Mix colors slowly and in layers to achieve a depth of color. Avoid using pure color directly from the tube.
Rendering Realistic Reflections
Eyes, being wet surfaces, naturally reflect light. Carefully position your main highlight to align with your light source. Adding smaller, secondary reflections brings an extra touch of realism.
The Intricacies of Painting Irises
The iris is filled with remarkable detail, with radiating patterns flowing from the pupil outward.
Paint these patterns using thin, firm strokes. Subtly vary the colors. Some areas should appear lighter, others deeper. Avoid uniformity in your lines - natural irises display irregularities that make them distinct.
Mastering Eyelids and Lashes
Eyelids have depth and cast shadows. Painting the rim where the lashes sprout is a small detail that enhances realism.
Since lashes naturally clump together, avoid painting each one individually. Instead, group them while varying their direction.
Basics Of Lip Painting
Lips present a unique challenge. Although they are softer than eyes, they are equally expressive.
Grasping Lip Structure
Lips have distinguishable areas: - The cupid's bow (center of the upper lip) - The corners of the lips - The central groove (philtrum) - The fullness of the lower lip
Each of these areas reflects light differently. Pay attention to how natural shadows fall on these areas.
Blending Colors for Natural Lips
Start by avoiding intense shades of reds and pinks. Natural lip colors are often more subdued.
Combine warm and cool colors, and include tiny proportions of complementary colors for a rich effect. Mixing cadmium red with burnt umber results in beautiful natural tones.
Varying Temperatures
Lip color varies on different parts. Centers are typically warmer while edges prefer cooler tones.
This shift in temperature gives your painting a natural volume.
Textures and Highlights on Lips
Lips have delicate horizontal texture lines. Suggest them gently with your brush, without overemphasizing.
Place highlights on the fuller parts, usually, the lower lip receives more light than the upper lip.
Common Mistakes in Portrait Painting to Avoid
Rushing into Details
Take your time and build your portrait gradually. Firstly, establish the overall shapes before moving to details.
Many artists neglect the eye shaping process and rush into painting the lashes. This approach often leads to stiff and unnatural results.
Ignoring Overall Balance
The eyes and lips must blend properly with the entire face. Frequently step back and view your work from a distance.
Compare proportions with your reference and make necessary adjustments before the details develop too far.
Choosing the Wrong Color Temperature
Cool light gives birth to warm shadows while warm light results in cool ones.
Apply this principle to every surface you paint to maintain consistent lighting throughout your portrait painting.
Advanced Techniques for Exemplary Results
Layering for Depth
Transparent color layers create an amazing depth. Feel free to apply thin glazes over dry base colors.
This method is particularly effective for iris colors and lip tones.
Controlling Edges
Hard and soft edges direct the viewer's gaze. Make critical focal points sharper and less important areas softer.
The edge of the pupil should be defined, while the outer bounding of the iris can be a bit softer.
Atmospheric Effects
Features farther away have less contrast. In a face, certain areas recede a bit.
Lower eyelids are often softer than upper ones. Use this attribute to create natural depth.
Some Exercises for Improvement
Everyday Eye Studies
Dedicate 15 minutes every day to painting eyes using reference photos. Broaden your scope by focusing on different ethnicities and age groups.
Each face educates you in unique ways about color and form.
Study of Lip Value
Try painting lips in grayscale as an initial exercise. It aids in gaining a better understanding of form without the distraction of colors.
After mastering values, you can then gradually introduce color complexities.
Practice with a Mirror
Your face can provide a great reference tool. Natural lighting discloses delicate color relationships.
Make it a ritual to paint your features regularly, and you'll start noticing improvements in a short span.
Necessary Tools and Materials
Paintbrush Selection
Small brushes with pointed ends are preferable for detailed work. Sizes 2-6 are adequate for most portrait needs.
Synthetic brushes maintain their points excellently, while natural hair brushes allow for seamless blending.
Essential Palette Colors
Initially, keep your palette limited to:
- Titanium white
- Ivory black
- Burnt umber
- Raw umber
- Cadmium red light
- Ultramarine blue
- Yellow ochre
These colors are sufficient to create any needed portrait tone.
Nurturing Your Skills Over Time
Mastery of portraits requires patience. Don't anticipate achieving perfection instantly.
Set manageable goals and focus on one technique for each painting session.
Participate in local art groups or join online communities. Feedback significantly speeds up your learning progress.
Concluding Thoughts on Achieving Portrait Excellence
Creating lifelike eyes and lips demands consistent practice and patience. Commence with simple studies and gradually incorporate complexities.
Remember, every veteran artist was once a novice. With regular practice, your unique style will naturally evolve.
Prioritize observational skills over perfection. The best portraits capture the spirit of the subject, not just physical accuracy.
Keep practicing, keep learning, and most importantly, keep enjoying your artistic journey. With consistent practice and a genuine love for the craft, your portrait skills will undoubtedly bloom.