Portrait Angle Guide: Dynamic Pose Selection Tutorial
Guide to Choosing Portrait Angles & Poses: A Dynamic Tutorial
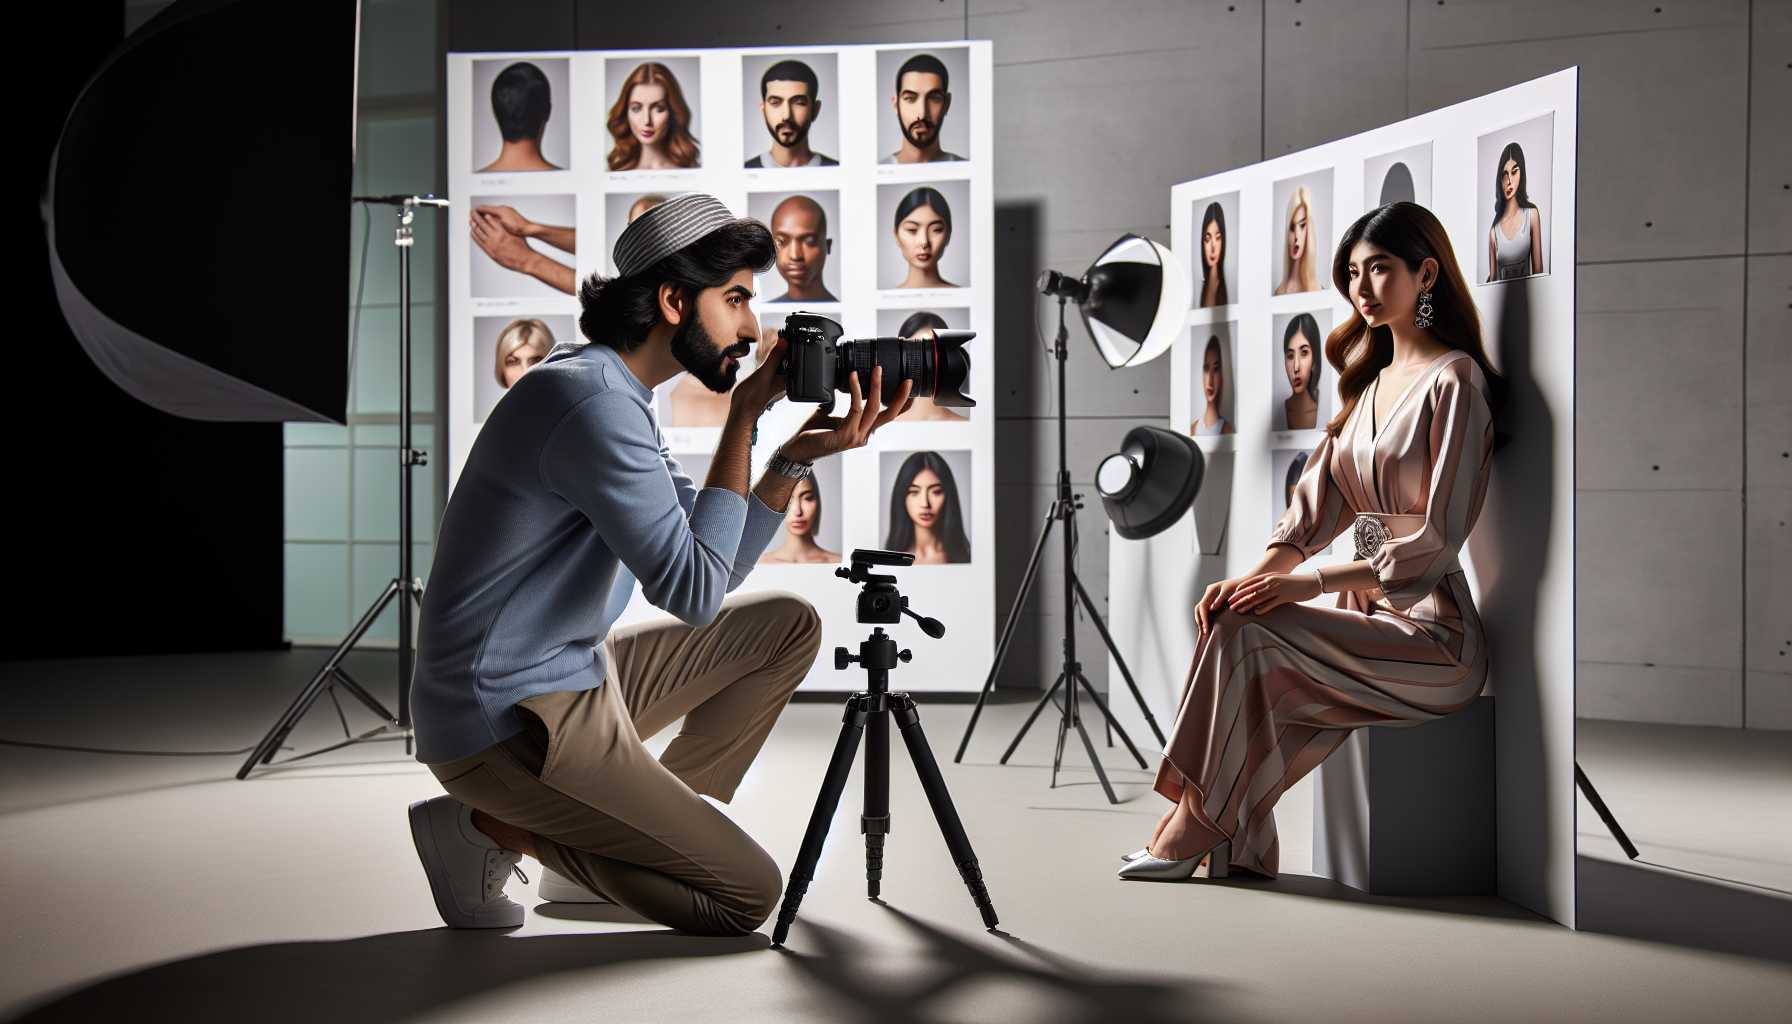
Phenomenal portrait photography is not solely about the quality of your camera. It involves understanding the interplay between angles, poses, and the magic that their combination can create. This guide will serve as an excellent stepping stone for beginners or apt refresher for experienced photographers on the art of dynamic portrait photography.
An Overview of Portrait Angles
The right angle in portrait photography can be instrumental in capturing an appealing shot. It can enhance the subject's appreciation and narrates its own story.
Explaining the basics, every angle imparts a unique message to the viewer.
An Eye-Level Angle Classic
The beauty of eye-level shots lies in their ability to strengthen connections and inspire intimacy. The height of your camera at eye level of the subject makes this angle exceptionally natural and comfortable - perfect for both casual and professional portraits.
The Elevation of High Angle Shots
When you're shooting from an elevated perspective, the subject can seem smaller, hence more approachable and innocent. High angles are especially adept in capturing the essence of children's portraits and adding a whimsical touch to fashion shoots.
The Power of Low Angles
Photographing from a lower angle can make your subject appear more assertive and confident. It gives the impression of looking upwards towards them. The technique breathes life into corporate portraits and adds an extra touch of drama to creative shoots.
The Foundation of Dynamic Pose Selection
Capturing a great pose is not a stroke of luck but a well-directed effort backed by a thorough understanding of body language. The key is to guide your subject into striking yet natural poses.
Fundamentals of Body Positioning
The shoulders are a good starting point. A slight tilt can have a more intriguing effect than a straight-on position. Turning the body a bit away from the camera can create a slimming effect and add depth. Encouraging the subject to put their weight on the back foot can prevent awkward leaning towards the camera.
Placement of Hands and Arms
The way hands are positioned can either make or break a portrait. Avoid letting them dangle lifelessly on the sides. Engage the subject by suggesting they touch their face, hold a prop, or rest on their hip. Triangular arm positioning not only adds visual interest but a professional finish too.
Advanced Techniques for an Enhanced Angle
Ready to amplify your portraits? These advanced techniques will give your work the edge it deserves.
The Dynamic Dutch Angle
Tilting your camera can instil energy and motion in your portrait. However, moderation is the key to maximising this impact. Dutch angles suit creative portraits and fashion photography. They impart a fresh, contemporary vibe.
Profile Mastery
Side profiles are a beautiful way to highlight the elegant structure of bones. They seem eternal and refined. Ensure that the subject's eye that's further from the camera remains visible to maintain a connection. A complete side profile can create a sense of distance.
The Three-Quarter View
This angle captures both the frontal and side aspects of the face. It's universally flattering and can veil natural asymmetries of the face. It's ideal for professional headshots.
Lighting Adjustments for Different Angles
The significance of lighting in how angles work can't be overstated. Each angle requires a different lighting approach. Mastering this relationship can elevate your portrait photography game to unprecedented heights.
Frontal Light Portraits
Direct light from the front harmonises well with eye-level angles. It delivers uniform light across the face. Be on the lookout for harsh under-nose shadows and use diffusers or reflectors to soften the light.
Side Lighting Drama
Side lighting can instil a sense of drama and depth in a portrait. It accentuates texture, casts dramatic shadows, and complements profile shots perfectly - ideal for artistic portraits.
The Magic of Backlighting
Backlighting or rim lighting creates stunning visual effects. It beautifully differentiates your subject from the background. Use reflectors to light up the front of the face and prevent forming a silhouette.
Common Angle Errors to Dodge
Even professionals can make common errors. Recognising these can ensure immediate improvement in your work.
Unflattering Camera Heights
Shooting from too low can cause double chins, while too high can make your subject look juvenile. Find the perfect balance for each individual - usually, a little above their eye level does the trick.
Neglecting Body Language
Dysfunctional hand placement and tense shoulders can degrade excellent angles. Always make a mental note to scrutinize your subject's body position thoroughly. Adjust and perfect each pose with patience - it will reflect in the ultimate result.
Overlooking Backgrounds
Impressive angles can be undermined by distracting backgrounds. Consider the background every single time. Simple, clean backgrounds let your ace angle work take centre stage, while cluttered set-ups can demand undesired attention.
Practical Tricks for Guiding Poses
Instructing poses might feel peculiar initially. These tips will ensure a smoother process for you and your subject.
Start with Comfort
Allow your subject to establish a comfortable position first. Start making small adjustments from thereon. Comfortable subjects appear natural and relaxed, while forced poses seem artificial.
The Demonstrative Approach
Instead of merely verbalising your ideas, demonstrate the poses too. This can significantly reduce confusion as your subject understands precisely what is expected of them.
Don't Stop Shooting
Often the best shots are captured in transit between poses. Keep the camera capturing continually as your subject moves and adjusts. The candid expressions captured in these spur-of-the-moment transitions often exude spontaneity and vibrancy.
Selection of Angles According to Face Shapes
Different face shapes are suited to different angles. Keeping this in mind can result in more flattering portraits.
Round Faces
Higher angles and slightly turned bodies are typically best suited for round faces. These angles add length and definition. Avoid straight-on shots which might emphasise the width. Side lighting can add enhancing shadows and dimensions.
Angular Faces
Softer angles and front lighting can balance the features of angular faces. Harsh side lighting should be avoided. Three-quarter views can work wonderfully in displaying bone structure without coming across as overly severe.
Heart-Shaped Faces
Eye-level angles synthesize naturally with heart-shaped faces. They align the proportions of the forehead and chin proportionately. Side angles can emphasise a narrow chin, thus use them with adequate lighting.
Equipment Recommendations
You don't need to break the bank on photographic equipment to capture great angles. Understanding your existing tools is more crucial than owning all possible ones.
Adjustments in Camera Height
Tripods with adjustable legs can help sustain consistent angles. This is particularly useful for self-portraits. Don't shy away from going low or climbing high. The best angles often demand a physical effort.
Impact of Lens Choice
Longer lenses create flattering results by compressing features. Wide lenses can distort faces if used too closely. 85mm to 135mm lenses are typically favoured for portraits - they create a lovely background blur and natural perspective.
Exercise Suggestions for Improvement
Theory can only get you so far. Practice exercises can amplify your understanding of angles.
The Mirror Exercise
Try practising poses in front of a mirror. This can help you understand how different angles can affect appearance. Try experimenting with varying heights and positions to observe how minor modifications can lead to stark differences.
The 360-Degree Challenge
Capture the same subject from all possible angles. Compare and analyse the results to understand what works best. This exercise will train your eye to identify the best angles intuitively.
Analyse Professional Work
Take a good look at professional portraits that you find appealing. Identify the factors (angles, poses, etc.) that make them effective. Deconstruct what makes each image work and incorporate these elements in your work.
Final Thoughts
Mastering portrait angles is a journey. It requires time and practice, but the outcome is certainly worth every bit of effort you put in. Start with the fundamentals and gradually build your skills, and soon you'll be creating stunning portraits that set you apart from the horde.
Remember, the best angle is the one that makes your subject feel both confident and beautiful. Technological perfection pales in comparison to genuine emotion and connection.
Continue practising. Stay curious. And above all, enjoy your journey into portrait photography.