Easy Nature Prints: Leaf and Flower Painting for Beginners
Simple Steps to Creating Nature Prints: A Beginner's Guide to Painting Leaves and Flowers
Ever thought about encapsulating the beauty of nature in your personal artwork? A gratifying starting point is creating paintings of leaves and flowers. You don't need top-tier supplies or a wealth of experience. Your eagerness to learn and a few basic materials are sufficient.
The Ideal Beginner's Art Form: Nature Prints
Nature provides us with exquisite templates for sketching. With wide-ranging shapes and hues, leaves and flowers are easily accessible, available in abundance, and possess the power to inspire.
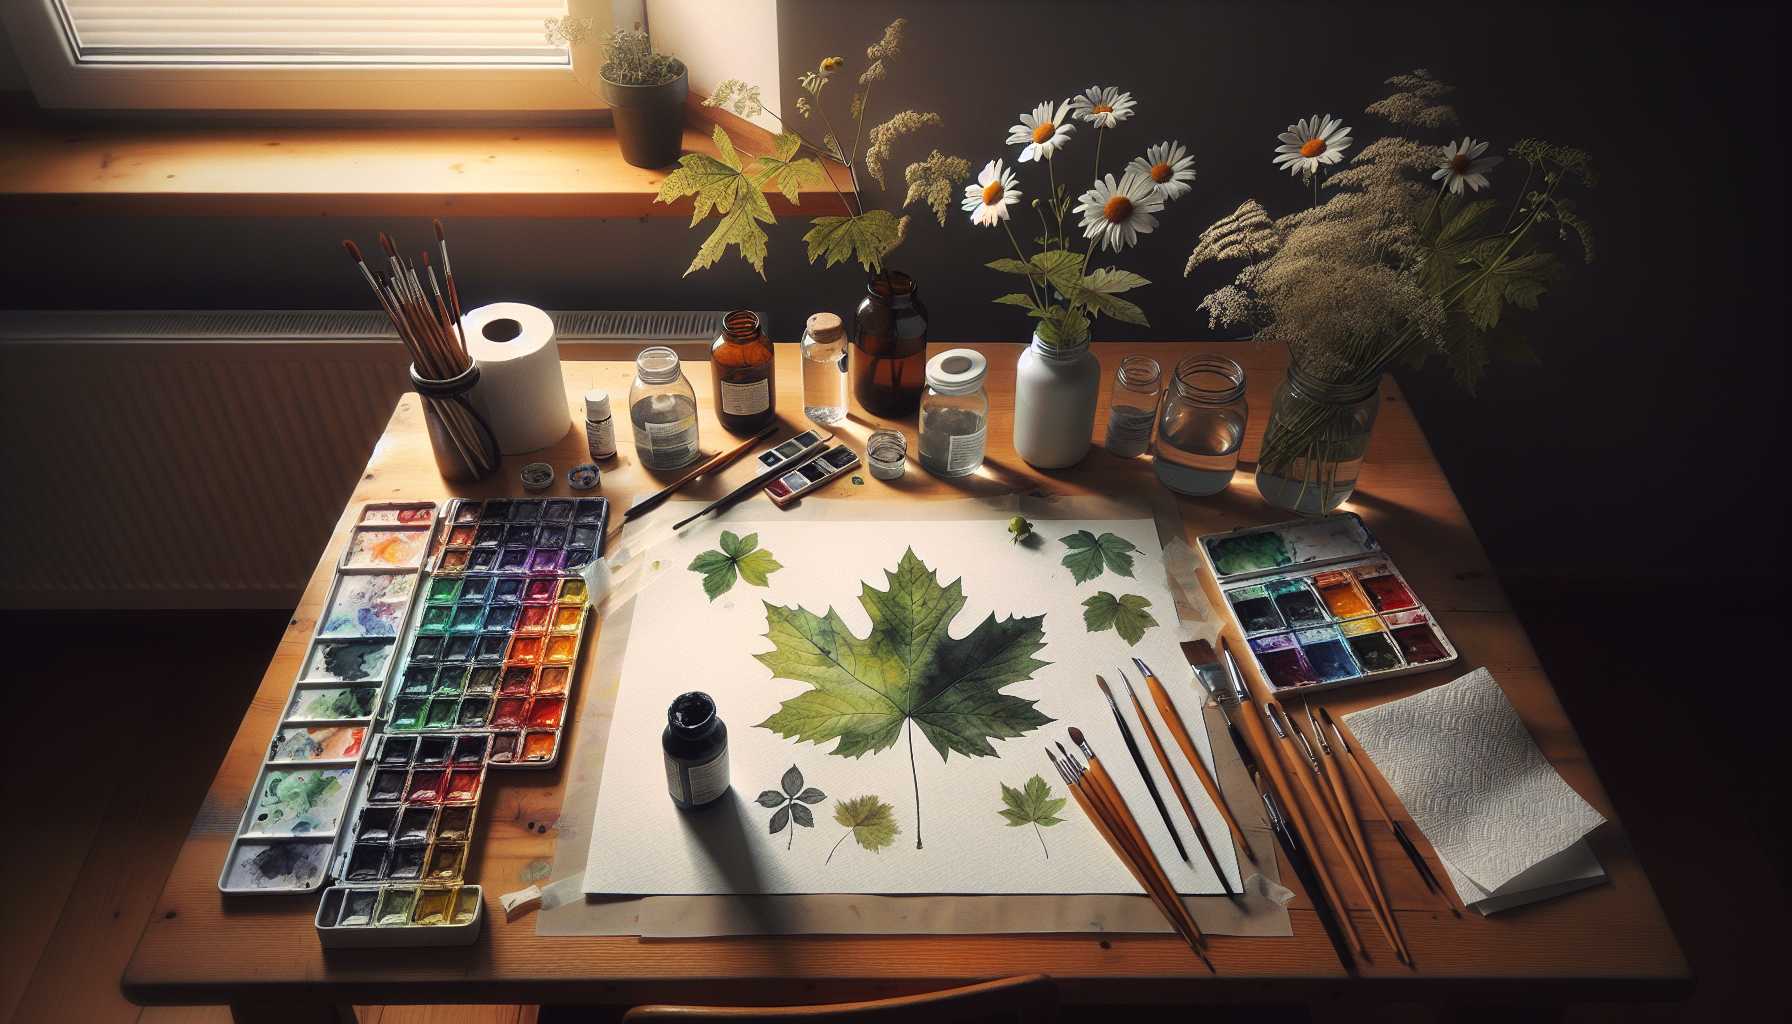
I remember starting my journey in botanical art. I had a maple leaf from my backyard and some leftover watercolors. Although the outcome wasn't ideal, it ignited a passion for nature painting that remains with me.
Commencing with real plants broadens your grasp of their structure. You begin to notice aspects that usually go overlooked: the intricate veins on a leaf or the slight color variation on petals. All these observations enhance your skills as an artist and deepen your appreciation for nature.
Fundamental Supplies Required
You likely have most of these things at home:
- Paper: Watercolor paper is preferable, but ordinary drawing paper would suffice.
- Paints: Acrylics, watercolors, or even poster paints are okay.
- Brushes: A mix of different sizes.
- Water vessels: Two jars would suffice.
- Paper towels: For cleaning and blotting purposes.
- Fresh flowers and leaves: Your primary subjects.
Don't fuss about purchasing high-end art supplies immediately. Start with what you have and progress as your skills improve.
Selecting Suitable Plants
For beginners, plants with uncomplicated and distinct shapes are preferable. Some of my top suggestions are:
Easy-to-start-with leaves: - Classic shape Maple leaves. - Interesting lobes Oak leaves. - Heart-shaped leaves from domestic plants. - Basic oval leaves
Beginner-friendly flowers: - Simple petals Daisies. - Flat faces Pansies. - Classic beauty Single roses. - Wildflowers from your garden.
Always choose fresh and healthy specimens. They maintain their shape for a longer period while you work on them.
Beginner's Guide to Leaf Painting
Let's kick off with an uncomplicated leaf painting, adaptable to all leaf forms.
Step 1: Examine your leaf Hold it against the light. Observe the central vein and smaller veins branching out. Paying attention to these details will help create a more realistic painting.
Step 2: Light sketch Draw a fundamental leaf shape with a pencil. Don't stress about perfection; nature isn't perfectly symmetrical either.
Step 3: Apply the base color Prepare a lighter version of the leaf's dominant color. Paint the entire leaf form and let it dry thoroughly.
Step 4: Accentuate with shadows Create a darker shade of your base color. Add shadows on one side of the main vein and other areas where the leaf naturally curves.
Step 5: Feature the veins Use a slightly brighter color to paint the central veins. Maintain a balance between firm and gentle brush strokes.
Techniques for Flower Painting
Flowers, although seemingly more complex than leaves, are just as attainable if you start with simple flowers like daisies or pansies.
Layering method: 1. Paint the back petals first with light colors. 2. Allow them to dry thoroughly. 3. Apply slightly different shades to the front petals. 4. Finally, paint the center.
Wet-on-wet technique: 1. Dampen your paper where you intend to paint the flower. 2. Pour in colors and let them merge naturally. 3. Once everything is dry, include the details.
The latter method results in somewhat softer effects that appear more natural.
Tips to Mix Colors for a Natural Look
Pure colors are not common in nature. For instance, a 'green' leaf might contain undertones of yellow, blue, or even purple. Here are some methods to mix colors realistically:
For greens: - Yellow mixed with blue equals basic green. - Incorporate small quantities of red or purple for shadows that resemble nature. - Add yellow for brighter, sunlit areas.
For flower colors: - Start with pure tube colors. - Add tiny amounts of contrasting colors for depth. - Incorporate white sparingly as it can make colors appear chalky.
Feel free to experiment. Most of my exceptional color discoveries were accidental.
Typical Mistakes and How to Prevent Them
All beginners make these mistakes, me included. Here are some common ones and tips to avoid them:
Excessive use of water This will cause your paint to trickle. Always start with less water than you think you need.
Striving for undue perfection Embrace the irregularities present in nature.
Rushing through the drying process Always allow each layer to dry entirely before introducing the next.
Over-manipulating the paint Sometimes, less is more. Be mindful of when to stop painting and let the viewer's mind fill in the details.
Advanced Techniques to Experiment With Later
Once you're comfortable with basic methods, you can experiment with these:
Negative painting: This involves painting around your subject instead of the subject itself for interesting background effects.
Dry brush technique: Involves using minimal water on your brush for a textured look.
Salt technique: Adding salt on wet paint for an organic and crystalline texture.
Masking fluid: Helps preserve white areas even while painting around them.
Showcasing Your Nature Art
Your completed paintings deserve to be seen! Here are some display suggestions:
- Frame individual pieces for wall art
- Assemble a botanical gallery wall
- Create greeting cards for friends and family
- Begin a nature journal featuring your paintings
- Give them as thoughtful gifts
I maintain a nature sketchbook which I frequently carry with me on walks. Quick paintings of unique plants have turned into valuable reminders of specific places.
Establishing a Routine for Your Nature Art
Consistency is key. Dedicate 15-20 minutes a few times a week for painting. Progress might surprise you.
Ideas for weekly practice: - Monday: Paint a leaf from your garden. - Wednesday: Try a simple flower. - Friday: Experiment with mixing colors. - Weekend: Take your art setup outside for plein air painting.
Consider joining online communities of nature artists. A platform to share your work and draw inspiration from others. Instagram and Facebook offer remarkable botanical art groups.
Discovering Inspiration Everywhere
Once you begin your journey, sources of nature art inspiration become more obvious:
- Plants in your backyard or balcony
- Public parks and gardens
- Farmer's markets (remember to ask before taking flowers)
- Houseplants (they're patient subjects)
- Pressed flowers from sentimental occasions
I once painted my daughter's prom corsage petals. Now, I'm flooded with pleasant memories every time I see it.
Closing Remarks
Painting leaves and flowers introduces you to a fresh way of observing nature. You'll start to notice plants you never did before and appreciate the sheer diversity in Nature's architecture.
Begin with simpler projects. Use readily available supplies. Paint what resonites with you. Most importantly, enjoy the process more than fretting over results.
Your first nature print may not turn out to be a masterpiece. I know mine wasn't! However, it marks the start of your beautiful journey into botanical art.
Pick up your paintbrush, find a leaf, and let your painting journey begin today. Nature is brimming with inspiration for your next artwork.