Liquid Art Creation: Essential Tools and Techniques Guide
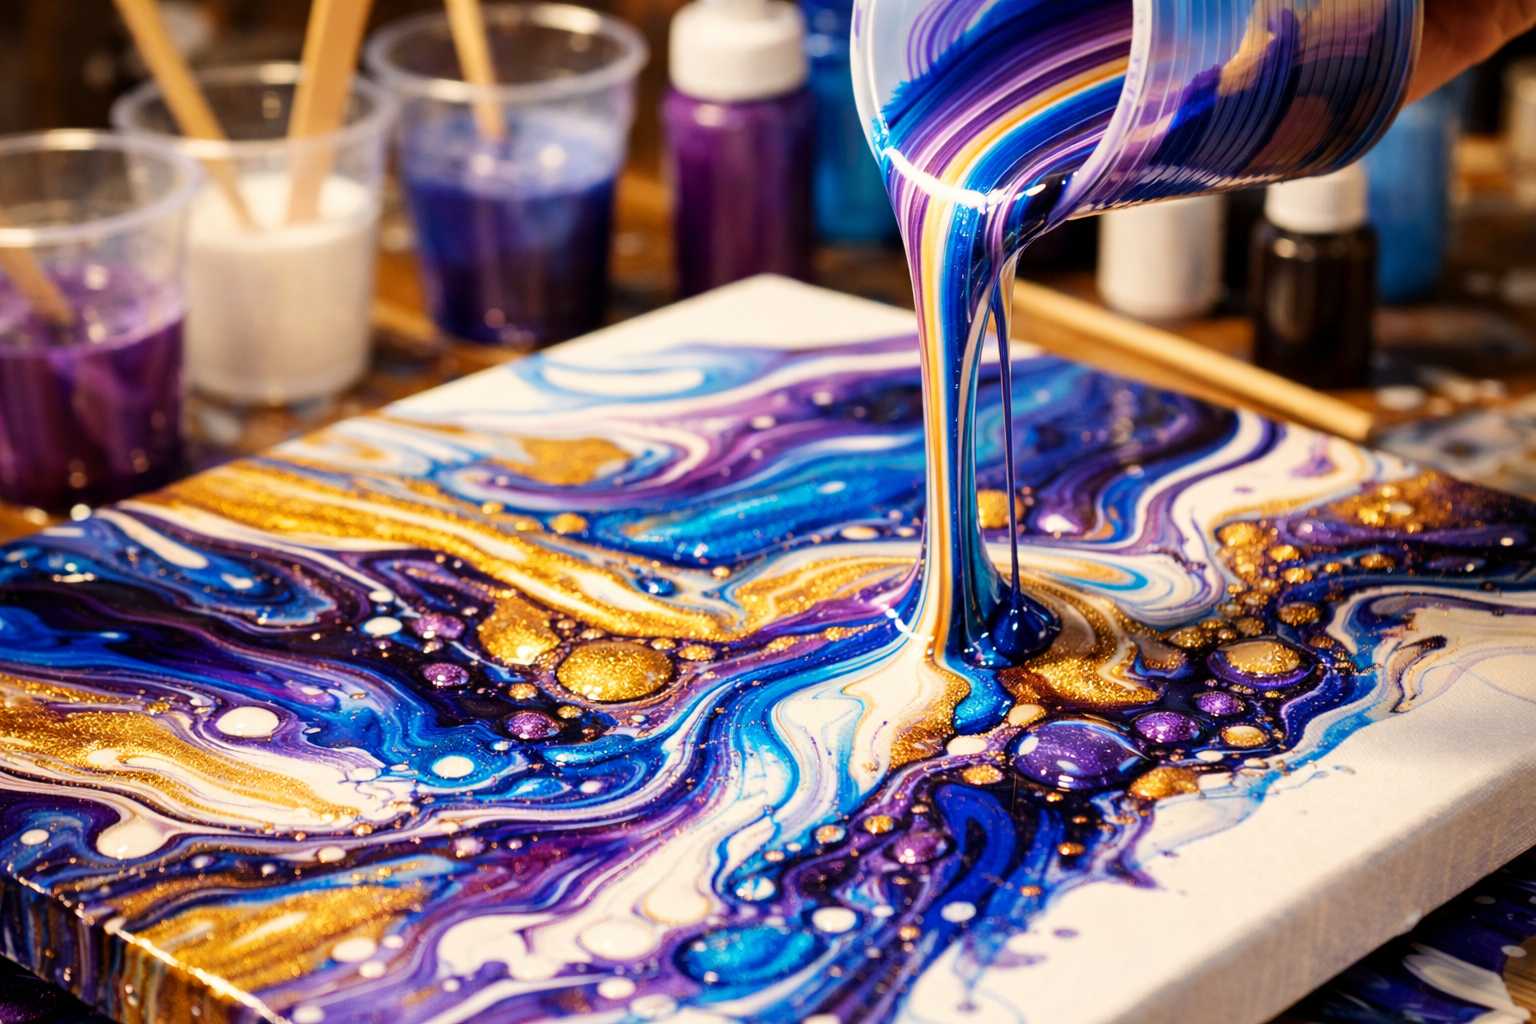
Guide to Creating Liquid Art: Necessary Tools and Techniques
Have you ever seen paint swirl and dance across a canvas in a hypnotic way? Well, that's the essence of liquid art. This captivating style of art has piqued interest globally. This article serves as a guide to help start your liquid art journey.
Understanding Liquid Art
Liquid art, also referred to as fluid art, leverages the fluidity of paint to form stunning patterns. In this form of art, artists pour, dribble, and modify liquid acrylic paints across different surfaces to produce unpredictable yet breathtakingly beautiful results.
The beauty of this technique is that you don't need the traditional painting skills. With the right set of tools and techniques, anyone can create mesmerizing art pieces.
Necessary Tools for Liquid Art Creation
Paints and Mediums
Acrylic Paints Start your liquid art journey with high-quality acrylic paints. These paints flow gracefully and dry permanently. It's advisable to select colors that blend well together.
Pouring Medium This essential component ensures a smooth flow of the paint. Popular options are Floetrol, Liquitex Pouring Medium, and GAC 800.
Silicone Oil Adding a few drops of this will yield breathtaking cell structures. Use this potent ingredient sparingly.
Canvas and Surfaces
Stretched Canvas Pre-primed canvases are ideal for beginners as they can be used straight from the packaging.
Wood Panels Wood panels offer a smooth, steady base. Many experienced artists favor wood because of its endurance.
Ceramic Tiles These are perfect for practice or smaller pieces. They're reasonably priced and easy to handle.
Mixing and Pouring Tools
Plastic Cups Disposable cups are ideal for paint mixing. Clear cups allow for a clear view of paint consistency.
Stirring Sticks Wooden craft sticks are highly suitable. Avoid excessive mixing to prevent bubbles formation.
Squeeze Bottles Using squeeze bottles allows for precise paint application. They're excellent for intricate work.
Common Liquid Art Techniques
The Dirty Pour
This technique, which is beginner-friendly, produces astonishing results. Firstly, mix your paints individually. Then stack them in a single container without stirring. Pour everything onto your canvas at once, tilting the canvas to evenly distribute the paint.
The Tree Ring Pour
This technique yields concentric circles that mimic tree rings. Begin your art by pouring paint at the center of your canvas. Add different colors in concentric circles around the initial pour. With time, the paint will naturally spread, forming beautiful organic patterns.
The Flip Cup Method
This method creates flowing, visually stunning designs. Start by layering paints in a cup with your base color at the bottom. Position the canvas over the cup and turn both rapidly in one swift movement. Lift the cup slowly to unveil your work of art.
The Dutch Pour
This method involves using a blow dryer or straw to push wet paint around. Start with a fundamental layer of paint on your canvas. Add drops of contrasting colors on top and blow air across the surface to form flowing, organic shapes. The result often resembles tree or flower patterns.
Step-by-Step Liquid Art Creation
Preparation
Cover your workspace with plastic sheets as liquid art can get messy. Be prepared by wearing old clothes or an apron. Ensure all your materials are within reach before starting.
Mixing Your Paints
Blend paint with pouring medium in separate cups. The consistency should be similar to warm honey. If it's too thick, it won't flow as desired, and if it's too thin, the colors will blend and become muddy.
Add silicone oil sparingly to generate cells. You only need 1-2 drops per cup.
The Pour
In the pouring stage, speed is crucial, but do not rush; be methodical. The liquid art medium doesn't wait for anyone. Pour your paint using your chosen technique, tilt the canvas delicately to guide the flow. Remember, sometimes less is indeed more.
Finishing Touches
Use a torch or heat gun to pop any air bubbles. Swiftly move it across the surface, taking care not to hold it in one spot for too long. Ensure your artwork dries completely flat to prevent paint pooling in corners.
Common Mistakes to Avoid
Over-Mixing Paint
Over-stirring creates bubbles and muddies the colors. Mix just until combined and stop when you achieve the desired consistency.
Incorrect Paint Consistency
Thick paint won't flow as needed, and thin paint produces weak colors. Practice finding the perfect balance.
Using Too Much Silicone
Less is often more with silicone oil. Start with a small amount and add more if required.
Rushing the Process
Creating liquid art spotlights patience. Allow each step to happen naturally, as rushing might lead to undesired outcomes.
Guidelines for Success
Start with Basics
Start with a maximum of two or three colors. Master the basic techniques before attempting intricate patterns.
Consistent Practice
Make several pieces using the same technique to understand how different elements influence the results.
Document Your Process
Take photos of your paint mixtures and ratios to replicate successful outcomes later.
Welcome Unexpected Outcomes
Some of the most stunning outcomes in liquid art are the unexpected ones. Don't be afraid of making "mistakes."
Care for Your Liquid Art
Drying Time
Allow 24-48 hours for your artwork to dry completely. Thicker applications may require additional time. Be patient during this crucial stage.
Varnishing
Apply a protective varnish once your piece is fully dry. This helps to preserve the colors and adds a professional gloss.
Display Considerations
Keep finished artworks away from direct sunlight. UV rays can fade even permanent paints over time.
Advanced Techniques to Try
Resin Art
For glossy, professional results, combine your liquid art with epoxy resin. This gives your artwork depth and a stunning shine.
Mixed Media
Add elements like glitter, beads, or metallic leafing to your artwork. These additions create unique texture.
Large Format Work
Once you have mastered the basics, consider trying larger canvases. Large pieces add a dramatic visual impact.
Enhancing Your Liquid Art Skills
Join Online Communities
Connect with other fluid artists online. Share techniques, ask questions, and seek inspiration.
Watch Tutorial Videos
Videos illustrating liquid art techniques can be very helpful. Many artists generously share their methods online.
Experiment Often
Allocate time for free experimentation. Attempt new color combinations and techniques without any pressure.
Take Progress Photos
Document your artistic journey. You'll be surprised how quickly you can progress.
Conclusion
Liquid art offers limitless possibilities for creative expression. With basic tools and techniques, anyone can create stunning artwork. Remember, practice is key to mastering this flowing art form.
Start with simple projects and gradually enhance your skills. Don't fear experimentation and making mistakes. Each artwork you create helps you learn more about this captivating medium.
The most important thing is to enjoy the process. Liquid art should bring joy to both the creator and the viewer. Allow the paint to flow and watch magic unfurl on your canvas.
Are you ready to embark on your liquid art journey? Gather your supplies and let the creative juices flow. Your first masterpiece is only a pour away.