Kinetic Art Painting: Moving Modern Art Tutorial
What is Kinetic Art Painting?
Kinetic art painting gives an impression of movement using clever visual manipulation techniques. The artist uses patterns, colors, and forms to trick your eyes into believing there is motion where there is none. The term "kinetic" is derived from the Greek word for motion. This art style simply tricks your brain into thinking there's apparent movement on the canvas.
The art world acknowledges well-known artists like Bridget Riley and Victor Vasarely for leading the way in this intriguing form of art. Their works continue to fascinate art lovers many years after their inception.
What Materials You'll Need
Enter your kinetic art painting journey with accessible and affordable materials. Here are the supplies you'll need for your very first kinetic art painting:
Fundamental Supplies: - A canvas or thick paper (A 12x12 inches size is ideal) - Acrylic paints including black and white, as well as 2-3 vibrant colors - Diverse brush sizes (flat and round shapes) - Pencil for designing - Any ruler or straight edge - A compass (helpful but optional)
Additional Advanced Tools (Optional): - Masking tape - Stencils - Paint markers - A color wheel reference
Begin with these fundamental items and as your skill-set grows, you can incorporate more tools to your art arsenal.
Basic Techniques for Beginners
Crafting Op Art Stripes
Op art (optical art) is the best starting point for beginners. You can start by drawing parallel lines all over your canvas. Paint alternate stripes in contrasting colors such as black and white. The magic happens when you subtly alter the spacing. Make some gaps narrower as they near the center. This creates a pulsing effect that seems to wobble!
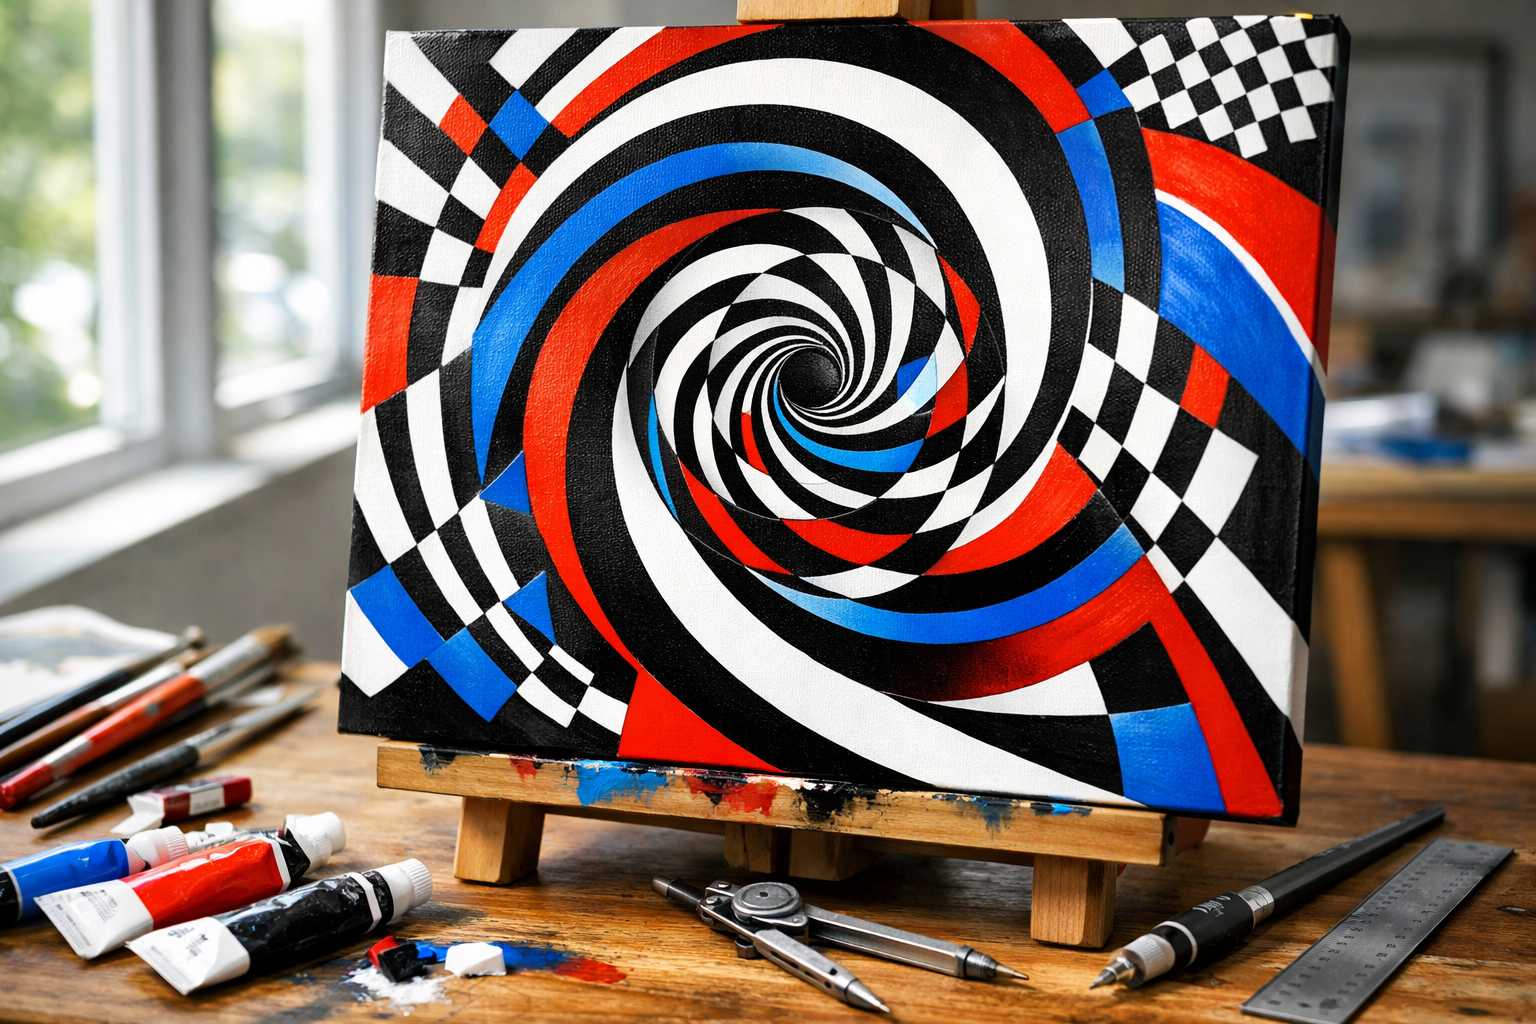
The Classic Spiral Technique
The spiral technique starts by drawing a spiral that starts from the center of your canvas and moves outward. At first, keep your lines evenly spaced. Paint alternate sections in contrasting colors. Here, black and white work perfectly.
Playing with Geometric Patterns
With simple shapes you can create astonishing kinetic effects. Start by drawing concentric circles and gradually alter their sizes. Paint each ring using alternating colors. The effect will lead your eyes to struggle to focus on a single band. Squares and triangles are also effective. The trick is replication with minor modifications.
Advanced Techniques for Kinetic Art
Color Vibration Effects
Once you've got the basics down, experiment with color combinations. Pairings of red and green create intense vibration effects. Similarly, teams of blue and orange can seeming make the paintings shimmer. Layering transparent colors over base patterns adds complexity and brings depth to the illusion of movement.
Perspective Tricks
Create patterns that look like they are receding into the distance. Begin with a square at the center of your canvas and draw larger squares around it. Paint them in alternating colors for an effect that draws viewers into the painting.
Wave and Ripple Patterns
Nature provides great inspiration for kinetic art with its wavy patterns. To replicate these, sketch wavy lines that flow across the canvas. Vary the distance between curves to create rhythm. Include gradated colors that shift from light to dark to enhance the wave-like motion effect.
Tutorial: A Step-By-Step Guide to Your First Kinetic Painting
Let's get hands-on and create a kinetic art piece together. A radiating circle design is a simple and effective way to start. It pulses with energy and makes a great first project..
Step 1: Prepare Your Canvas
Start with a clean, white canvas. Find the middle point by drawing light diagonals from corner to corner. Mark the point where these lines intersect as this is the focal point. Erase the diagonal lines gently while making sure the surface remains clean.
Step 2: Make Your Guide Circles
Using a compass or the string method, starting from your center point, draw concentric circles. Make about 8-10 circles in total. Keep them evenly spaced. Each circle should be half an inch from the other. Keep pencil lines light, as you'll be painting over them later.
Step 3: Bring in The Movement Effect
The fun starts here. Choose alternate circles to modify slightly. Shift those circles into slightly oval shapes instead of perfect round ones for a kinetic effect.
Step 4: Create Your Pattern
Begin painting from the center extending outward. Your darkest color, maybe black, will be perfect for the center circle. Alternate your chosen colors for each ring. Ensure your brush strokes are smooth and even. Take breaks and evaluate your progress from a distance to see the growing effect.
Step 5: Add the Finishing Touches and Cleanup
Use a small brush to clean up any shaky lines. Sharp edges amplify the kinetic effect. Add a final outer ring in your accent color to frame the artwork beautifully. Congratulations! You've just completed your first kinetic art painting. Make sure to sign your work.
Common Mistakes to Avoid
Hurrying Through the Process
Patience and precision are critical for kinetic art. Hurrying can lead to uneven lines and underwhelming visual effects. Take your time with measurements as even small inaccuracies can disrupt the illusion of motion. Allow each color to thoroughly dry before adding the next. Wet paint leads to muddy colors.
Using Excessive Colors
It's tempting to believe that more colors result in a better painting. However, in kinetic painting, having fewer colors often works better. Start with just 2-3 maximum colors for your first projects. Striking contrasts generally have a greater impact than having a wider color variety.
Ignoring Contrast
Insufficient contrast can inhibit the kinetic effects. Your colors need to significantly differ from each other. Test your color combinations on scrap paper first. They should create a visual pull when placed together. Black and white remain the strongest combination for starters. You can then diversify once you're comfortable with the basics.
How to Display Your Kinetic Art
Lighting
The right lighting can dramatically improve kinetic effects. Natural sunlight usually works best. Avoid direct, harsh lighting to prevent unwanted shadows. Gentle, even illumination is ideal. LED track lighting allows you to control intensity and direction. You can experiment with different angles for the best results.
Framing
For kinetic art, simple frames works best, because ornate frames can distract from the visual effects. Black or white frames typically complement most kinetic pieces and they don't clash with your carefully chosen colors. Consider floating frames that don't touch the artwork for a modern, gallery-like appearance.
Viewer's Experience
Mount your artwork at eye level for maximum impact. Kinetic effects are perceived best when viewed straight-on. Allow space for viewers to step closer or farther away since the effects can shift depending on the viewing distance. In some cases, some kinetic pieces are better displayed in groups. Consider creating a series of related works.
Inspiration and Future Directions
Learn from the Masters
Bridget Riley's black and white op art pieces are invaluable for study. Note how she uses simple elements to create elaborate effects. Victor Vasarely's geometric works illustrate how clever use of color can enhance kinetic illusions. His use of gradients and repetition is worth studying. Looking forward, Jesus Rafael Soto's three-dimensional kinetic sculptures can give inspiration for future projects. His works show that movement in art can go beyond illusion!
Experiment, Explore and Network
Try creating kinetic effects with photography, capturing your paintings from different angles and distances. Combining traditional painting with digital elements can also give interesting results. There are apps that can help you preview kinetic effects before you start painting. Joining online communities of kinetic artists can also be beneficial. Sharing your own work and learning from the experiences of others can pave the way for your own success.
Develop Your Skills
Practice basic drawing skills on a regular basis. Steadier hands create better kinetic effects. Studying color theory will help you understand why some color combinations create stronger visual vibrations. A sketchbook can be handy for noting down ideas for kinetic art. Inspiration can come at unexpected moments!
Conclusion
Kinetic art painting opens up a plethora of creative possibilities for artists of all skill levels. The principles and techniques of kinetic art may feel daunting at first, but remember that every expert was once a beginner. Every painting offers a learning experience about how our eyes perceive movement and color.
Take it slow, starting with simple patterns to gradually build your confidence. Soon, you'll find yourself creating stunning artwork that leaves your friends and family in awe.
Enjoy the process because kinetic art is meant to bring joy to both the creator and the viewer. Let your journey into moving modern art begin now. Start creating magic on canvas with the stroke of a brush.