Simple Gradient Painting: Color Transition Guide for Beginners
Simple Guide to Gradient Painting: How to Transition Colors for Beginners
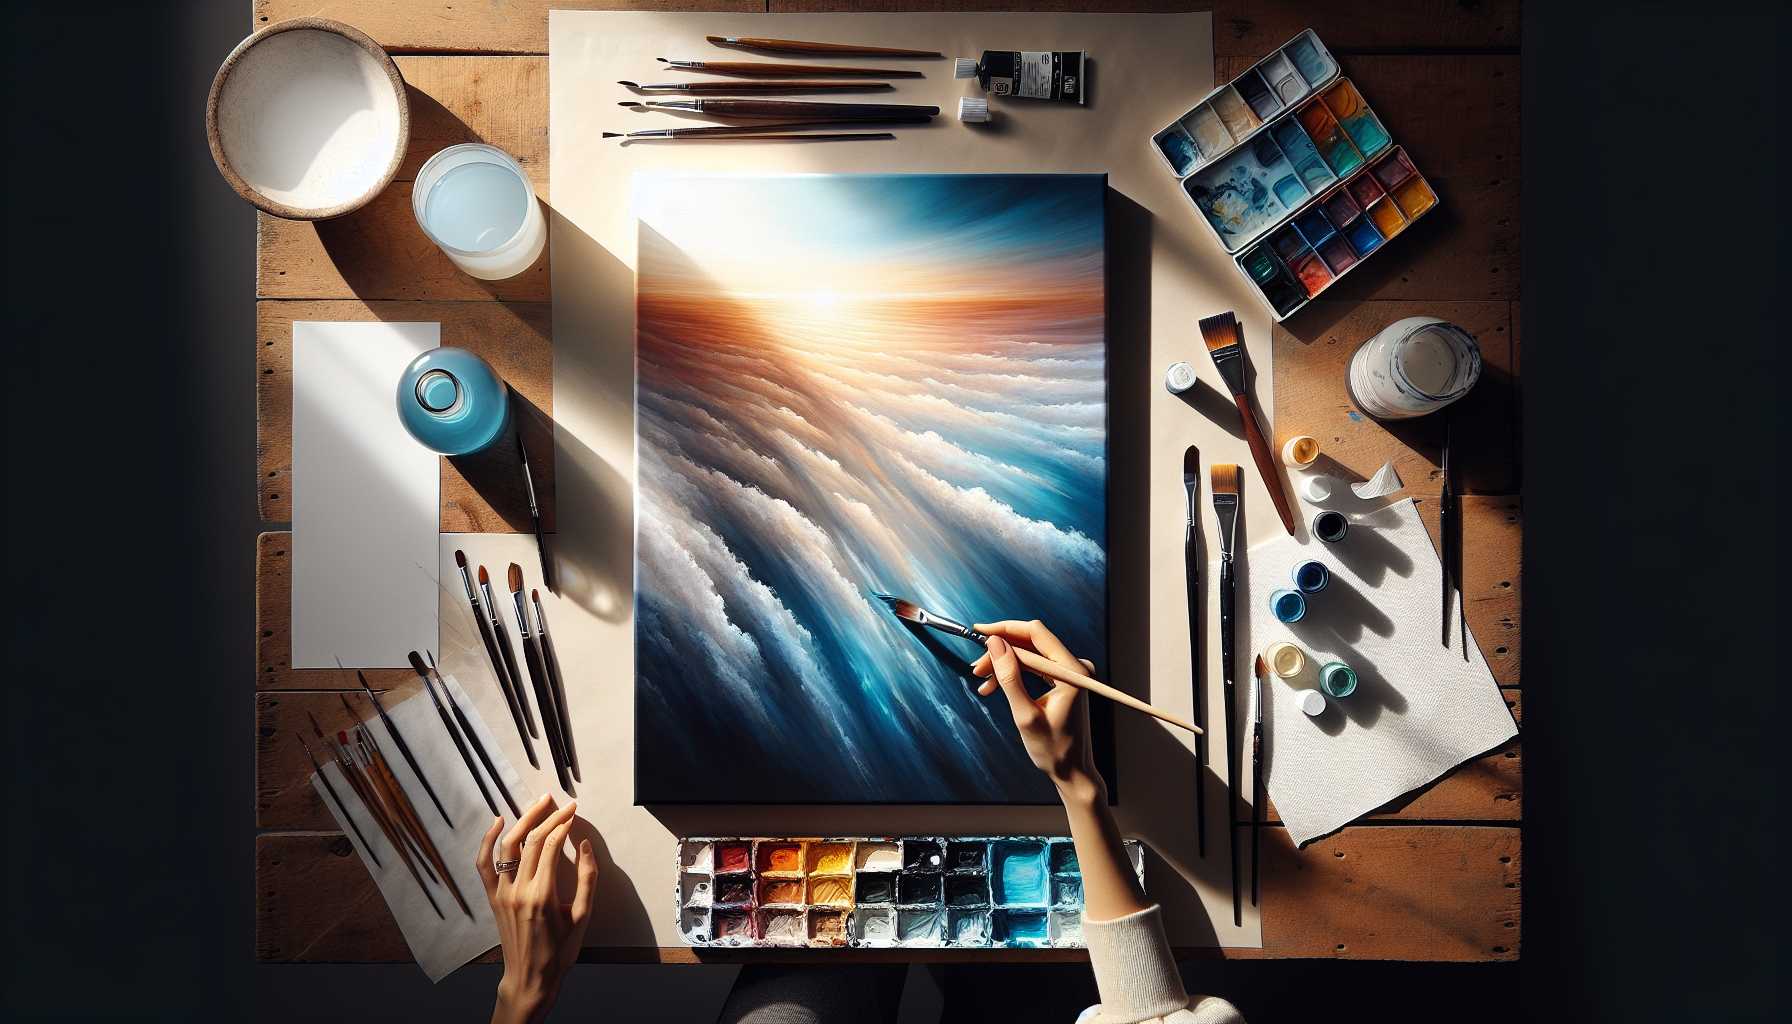
Ever gazed in awe at those elegantly painted sunsets with seemingly flawless color transitions that blend from orange to pink to purple? Those mesmerizing, smooth crests and falls of color can be magical to witness.
Well, here's some good news - you too can create such impressive gradient effects. In this guide, we shall arm you with everything you need to know about gradient painting. So, let's get started!
An Overview of Gradient Painting
In essence, gradient painting involves the careful blending of colors to create a smooth transition from one color to another. Picture a rainbow where colors naturally morph into one another.
This form of artistry is a reflection of depth and change, often applied when painting skies, waters, and other abstract pieces. And the truly great news? This skill can be mastered with practice and patience.
Necessary Tools for Gradient Painting
Before we get our hands covered in paint, let's ensure we have all the necessary supplies. No worries, you don't require any premium materials to get started.
Basic Painting Supplies
- Acrylic or watercolor paints
- Canvas or watercolor paper
- Flat brushes (preferably 1-2 inches wide)
- Palette knife for mixing colors
- Water in a container
- Paper towels
Beginners Tip
For your first go at gradient painting, stick to just two colors. A transition from blue to white makes a delightful sky effect. As you get the hang of it, you can venture into more complex combinations.
Selecting Your Color Palette
Your choice of colors can significantly influence your gradient outcome. Some combinations blend effortlessly, creating stunning visuals while others can result in unsightly mixtures.
Combinations That Blend Well
Warm Combinations: - Red, orange, and yellow - Pink to purple transition - An orange to red shift
Cool Combinations: - Transition from blue to purple - Green flowing into blue - A morph from purple to pink
Neutral Choices: - White, gray, and black - Beige formulation into brown
Colors to Steer Clear of as a Beginner
As you start, avoid using complementary colors. For instance, a mix of red and green typically gives a brown outcome. Similarly, orange and blue can lead to a muddy appearance.
Techniques for Achieving a Smooth Gradient Painting
Exited to get your first gradient painting rolling? Here's a step-by-step guide to help you achieve those effortless color transitions.
Step 1: Arranging Your Workspace
Set up your painting station in a well-lit area. Arrange your paints on a palette and have your brushes and water within easy reach. Being organized can assist you in working swiftly while the paint is still wet.
Step 2: Applying the First Color
Begin with your lightest color at the top, using it to paint a horizontal band across the canvas. Despite the need to work promptly, don't rush. Ensure you spread the paint evenly.
Step 3: Introducing the Second Color
Next, apply the darker color at the bottom, leaving a small gap between the two colors. This space is where the blending, our main focus, will occur!
Step 4: Merging the Colors
Get to the crux of the matter - blend the colors while they're still wet. Starting with light, moving into dark, and then back to light. Ensure your brush is clean for optimal results.
Step 5: Smoothing Over the Transition
Continue blending to allow for an even transition. Work while the paint is still wet and if required, add more paint.
Common Beginner Errors (And Their Remedies)
Every new skill comes with its set of initial learning challenges, and gradient painting is no exception. Here are some of the common ones together with solutions.
Error 1: Slow Work Pace
Paint tends to dry fast, especially acrylic. If your paint dries before you've blended sufficiently, you'll end up with harsh lines, not smooth transitions.
Remedy: Break down your work into smaller portions. Keep your paint wet using a spray bottle if necessary.
Error 2: Dirty Brushes
An undesirable mixture of colors often results from brushes that haven't been properly cleaned.
Remedy: Ensure your brush is cleaned in between colors. Keep some extra brushes for different shades.
Error 3: Overuse of Colors
In their excitement, beginners often throw in a bunch of colors, resulting in unclear, muddy gradients.
Remedy: Get the basics of two-color gradients down first. Then, as you get a good grip on the technique, start to include more colors as desired.
Additional Gradient Techniques to Experiment With
Once you've got the hang of basic blending, try out these interesting variations to add some flair.
Wet-on-Wet Technique
Apply wet paint on an already wet surface to create a gentle, dream-like effect - perfect for capturing clouds or painterly atmospheric scenes.
Dry Brush Technique
Another method entails putting together colors using a mostly dry brush, creating subtle, textured gradients. This can add depth to landscapes.
Sponge Blending
Using a natural sponge to dab on the color can blend color while providing an interesting texture, making it an ideal technique for abstract art and backgrounds.
Practicing Your Skills: Project Ideas for Beginners
Are you eager to put your newfound knowledge into practice? Here are some simple projects that can help you build confidence in gradient painting.
Project 1: A Simple Sky
For a beginner-level challenge, create a straightforward gradient painting depicting a beautiful blue sky turning white. Later on, you can add clouds for a bit more complexity.
Project 2: Sunset Tones
Try blending a beautiful gradient sunset with a yellow-orange-red color palette. Such warm hues are forgiving and naturally blend well together.
Project 3: Ocean Waves
Create a water effect using a palette that transitions from blue to green to white. This project can teach you about cool color blending, and you can use the dry brush technique to depict wave effects.
Overcoming Frequently Encountered Gradient Problems
Are you struggling to achieve your desired outcome? Here are some solutions to commonly encountered gradient painting issues.
Issue: Streaky Presentation
If your gradient comes out looking streaky rather than smooth.
Solution: To remedy this, use a wider brush and work at a faster pace, ensuring you blend the colors while they're still quite wet.
Issue: Muddy Colors
If your lovely chosen colors have turned a dreary brown or gray.
Solution: Ensure your brushes are clean before use, and do not overdo the mixing. Sometimes, less blending is better.
Issue: Obvious Lines
If you can clearly see the divisions between different colors.
Solution: Blend the colors more comprehensively while still wet. Furthermore, consider adding a medium tone between your chosen colors.
Advanced Tips for Perfecting Your Gradients
Once you have learned the basics, you can start to incorporate some more advanced techniques. These tips will elevate your gradient painting skills even further.
Usage of a Painting Medium
Consider using acrylic mediums that slow the drying process, ensuring you have ample time for smooth blending. For gradient painting, a glazing medium comes particularly handy.
Layering
Developing gradients slowly with thin layers can capture depth and richness in your painting. Although this technique is a bit more time consuming, it tends to yield professional-looking results.
Studying Real Life Gradients
Invest time observing the natural world. Pay attention to sunsets, shadows, and reflections to understand natural color transitions, thereby refining your color selection skills.
Taking Care of Your Gradient Paintings
Your stunning artworks deserve good care. Here's how you can ensure they last:
Let Them Dry
Allow an acrylic gradient painting sufficient time to dry before moving it; typically they need 24-48 hours. Watercolor paintings dry quicker but should be handled with care.
Final Touches
Consider applying a varnish to your acrylic paintings as a protective layer, which can also serve to enhance color and prevent fading. The type of varnish used should be compatible with your paint type.
Keep Practicing and Exploring
Remember, the key to mastering gradient painting lies in persistent practice and exploration of new techniques. Do not be disheartened if your first few attempts aren't flawless; each try serves as a valuable learning experience.
Begin your gradient painting journey by mastering simple two-color gradients. Once you've nailed the fundamental technique, you can explore more complex color transitions. Soon, you will find yourself creating awe-inspiring color transitions that catch everyone’s eye.
Your artistic journey has just commenced. The mastery of gradients will open up diverse painting opportunities. From realistic landscapes to abstract masterpieces, this artistic technique will be a valuable addition to your arsenal.
So, gather your brushes and let the exploration begin. The fascinating world of gradient painting eagerly awaits your creativity.