Simple Food Coloring Art: Affordable Painting for Beginners
Simple Art with Food Coloring: Budget-friendly Painting for Beginners
Have you ever had the urge to explore painting, but were put off by the costly art supplies? You're not alone! Many dreamers are deterred by the steep price tag of conventional paints and brushes. But brace yourself for a secret: your kitchen contains fantastic art supplies that you likely already have.
Art with food coloring is creating a buzz in the creative world. It's cost-effective, easily accessible, and ideal for first-time painters. Are you ready to embark on this rainbow-hued escapade?
Why is Food Coloring the Perfect Artistic Medium?
The woeful days of using food coloring only to bake cookies are over. These petite bottles hold immense artistic potential. They're vivid, mix effortlessly, and are wallet-friendly.
The best part? You can test and explore without fretting about squandering pricey resources. Make a blooper? No sweat! Just grab another sheet of paper and start afresh.
Additionally, food coloring produces distinctive effects not achievable with regular paints. The way the colors merge and spread can result in astonishing, organic patterns.
Basic Items Needed to Start Food Coloring Art
Getting your foot in the door of food coloring art requires surprisingly minimal supplies, and chances are, you already have them at home!
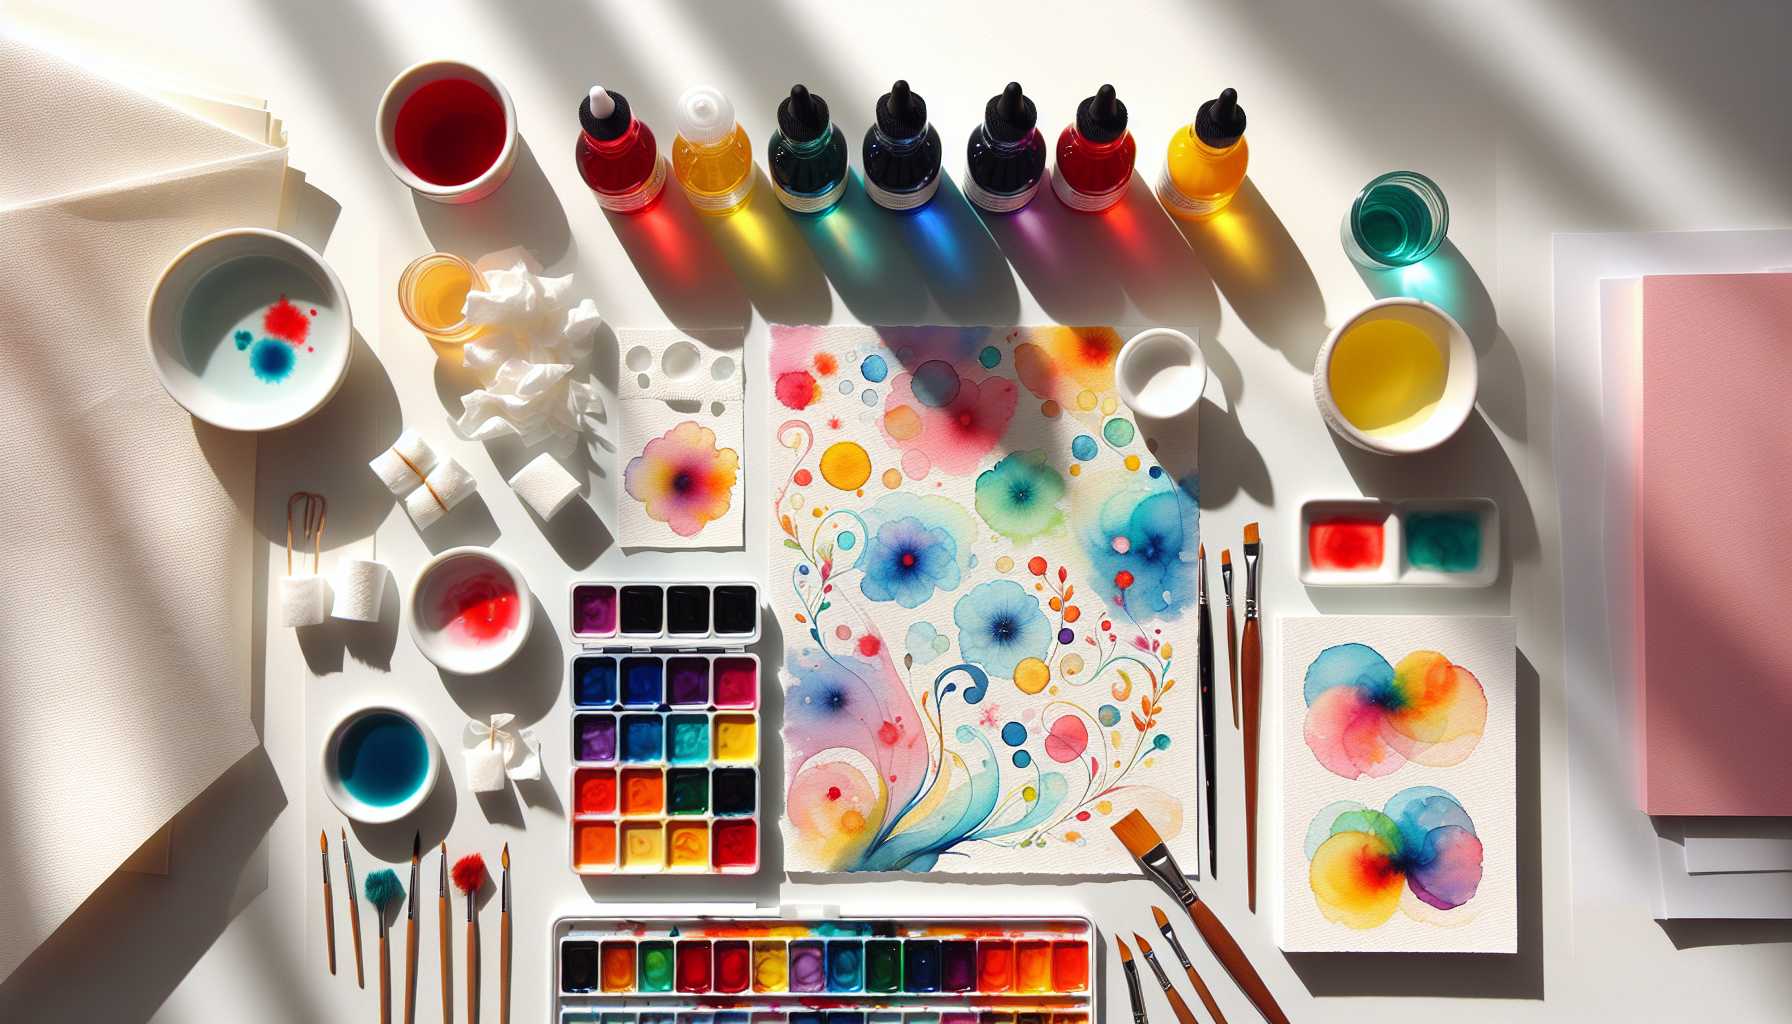
Here's your essential starter kit: - Liquid food coloring (brand doesn't matter) - Plain or watercolor paper - Tiny cups for blending colors - Brushes or cotton swabs - Water - Paper towels
That sums it up! No need for pricey easels or professional brushes. Your total expenditure may even be less than $10.
Key Techniques Every Novice Should Master
The Wet-on-Wet Approach
This method results in gorgeous, dreamlike effects. First, dampen your paper with clean water using a brush. Next, drop diluted food coloring onto this moist surface.
Now, watch the magic unfold! The colors will naturally merge and spread. This approach is just the thing for creating backgrounds or abstract works.
The Color Mixing Adventure
Color theory for food coloring is just like that of conventional paints. Mix red with yellow, and you get orange. Blue combined with yellow forms green. Blend red and blue, and you get purple.
Start with only the three basic colors. You'll be staggered at the sheer variety of hues you can generate just by mixing them.
The Gradient Miracle
Crafting seamless color transitions is a breeze with food coloring. Start with an intense color on one side of your paper. Gradually dilute it by adding more water as you move across.
This technique is brilliant for crafting sunsets, sea scenes, or abstract backdrops.
Exciting Projects for Your Initial Endeavours
Rainbow Blossoms
Paint basic floral figures using different hues of food coloring. Allow the colors to naturally seep into each other for a watercolor effect.
This exercise introduces color blending while creating a vibrant piece of art for your living room.
Abstract Rural Scenes
Apply the wet-on-wet approach to create misty landscape bases. Add intricate details with a more concentrated hue after the paper is completely dry.
Envision gentle mountains, rolling rivers, or serene pastures. Let go of your inhibitions and let your creativity soar!
Tie-Dye Paper Art
Bear witness to paper that resembles tie-dye textile! Fold your paper, apply contrasting hues of color, then unfold it to reveal stunning patterns.
This technique generates exclusive textures ideal for collages or backdrops.
Tips to Save Money on Art Supplies
Crafting masterpieces needn't be a drain on your finances. Here are some penny-pinching tricks of the trade:
Choose generic brands of food coloring. They work just as effectively as the high-end brands for craft projects. Check out discount stores for basic items like brushes and paper.
Recycle everyday items. Old glossies are excellent for practice and plastic containers can be used as color palettes.
Share craft supplies with friends or relatives. Split the cost of larger purchases to offset individual expenses.
Common Hiccups and Their Solutions
Every rookie blunders. That's how they learn! Here are the top ones and how you can dodge them.
Applying excess color at one go often results in blurred outcomes. Begin with a lighter shade and step up its depth slowly. Remember, it's easy to add extra color, but tough to take it away.
Hurrying up the drying process can ruin a beautifully crafted piece. Always allow each layer to dry fully before adding the finer details. Patience truly yields superior results.
Not testing colors beforehand often invites surprise. Always try out your color concoctions on scrap paper before you start working on your final assignment.
Building Assurance Through Practice
To develop any skill, the key is regular practice. Devote at least 15 minutes a day to experiment with food coloring art.
Don't aim for perfection in your initial attempts. Shift your focus to the process of creating art and understanding how different shades interact when mixed.
Maintain a simple art diary. Keep a record of your favorite color combos and techniques that work best for you.
Advanced Techniques to Explore Further
Once you've got the hang of the basic techniques, consider experimenting with these advanced ones:
The salt technique produces interesting textures when sprinkled on wet food coloring. As the salt soaks up the color, it creates speckled patterns resembling stars.
The alcohol effect is produced when rubbing alcohol is dripped onto the wet color, resulting in unique circular patterns and lighter patches.
The resist technique uses items like masking tape or wax crayons to create crisp, defined lines in your artwork.
Exhibiting and Protecting Your Artwork
Your food coloring creations deserve to be showcased! Here are tips on how to display your art for everyone to see and how to prolong their life.
Frame your preferred pieces using budget-friendly frames from discount outlets. While matting is optional, it does add a professional finish.
Scan or snap pictures of your art to digitalize them. This not only shields them from fading but also allows you to share your talent online.
To store unframed works, keep them flat between sheets of acid-free paper. This prevents curling and safeguards the surface.
How Food Coloring Art Boosts Creative Confidence
Dalving into art with food coloring effectively removes many hurdles that may prevent people from taking up creativity. The materials are user-friendly and approachable.
The forgiving nature of food coloring promotes experiment and exploration. Unanticipated results often lead to stunning discoveries.
Success in food coloring art boosts self-assurance, paving the way for exploring other mediums down the line. It serves as an excellent launch pad for artistic experiences.
Begin Your Journey Today
Are you ready to kickstart your food coloring journey? Remember, the key is to start with the basics and find joy in the process.
Choose one basic technique and repeat it several times. A strong foundation in the basics keys future growth.
Remember, every seasoned artist was once a novice. Your creative voyage commences with your very first brushstroke.
Conclusion
Food coloring art demonstrates how creativity is not reliant on expensive supplies or specialized training. With a couple of dollars and some kitchen essentials, you can produce stunning artworks.
The most important step is to start today, not waiting for perfect conditions or costly materials to fall in place. Your artistic journey begins with your first foray into color.
Now, grab some food coloring, get hold of some paper, and let your creativity take the reins. You might just stun yourself with what you can create!