Simple Fan Brush Techniques: Easy Tree Painting Tutorial
Article: Easy Techniques for Realistic Tree Art with Fan Brushes
An Introduction to Fan Brush Tree Art
Have you ever marveled at the intricate details in a tree painting and wondered if you could pull off the same feat? Well, you're not the only one! Beginner artists often grapple with the challenge of capturing the lifelike appearance and intricate depth of foliage in their tree paintings. But fret not, because the fan brush might just be the trick you need to master this art.
The fan brush, with its unique and adaptable application, greatly simplifies the otherwise intricate process of tree art. With a few easy techniques, you'll soon be on your way to creating mesmerizing landscapes.
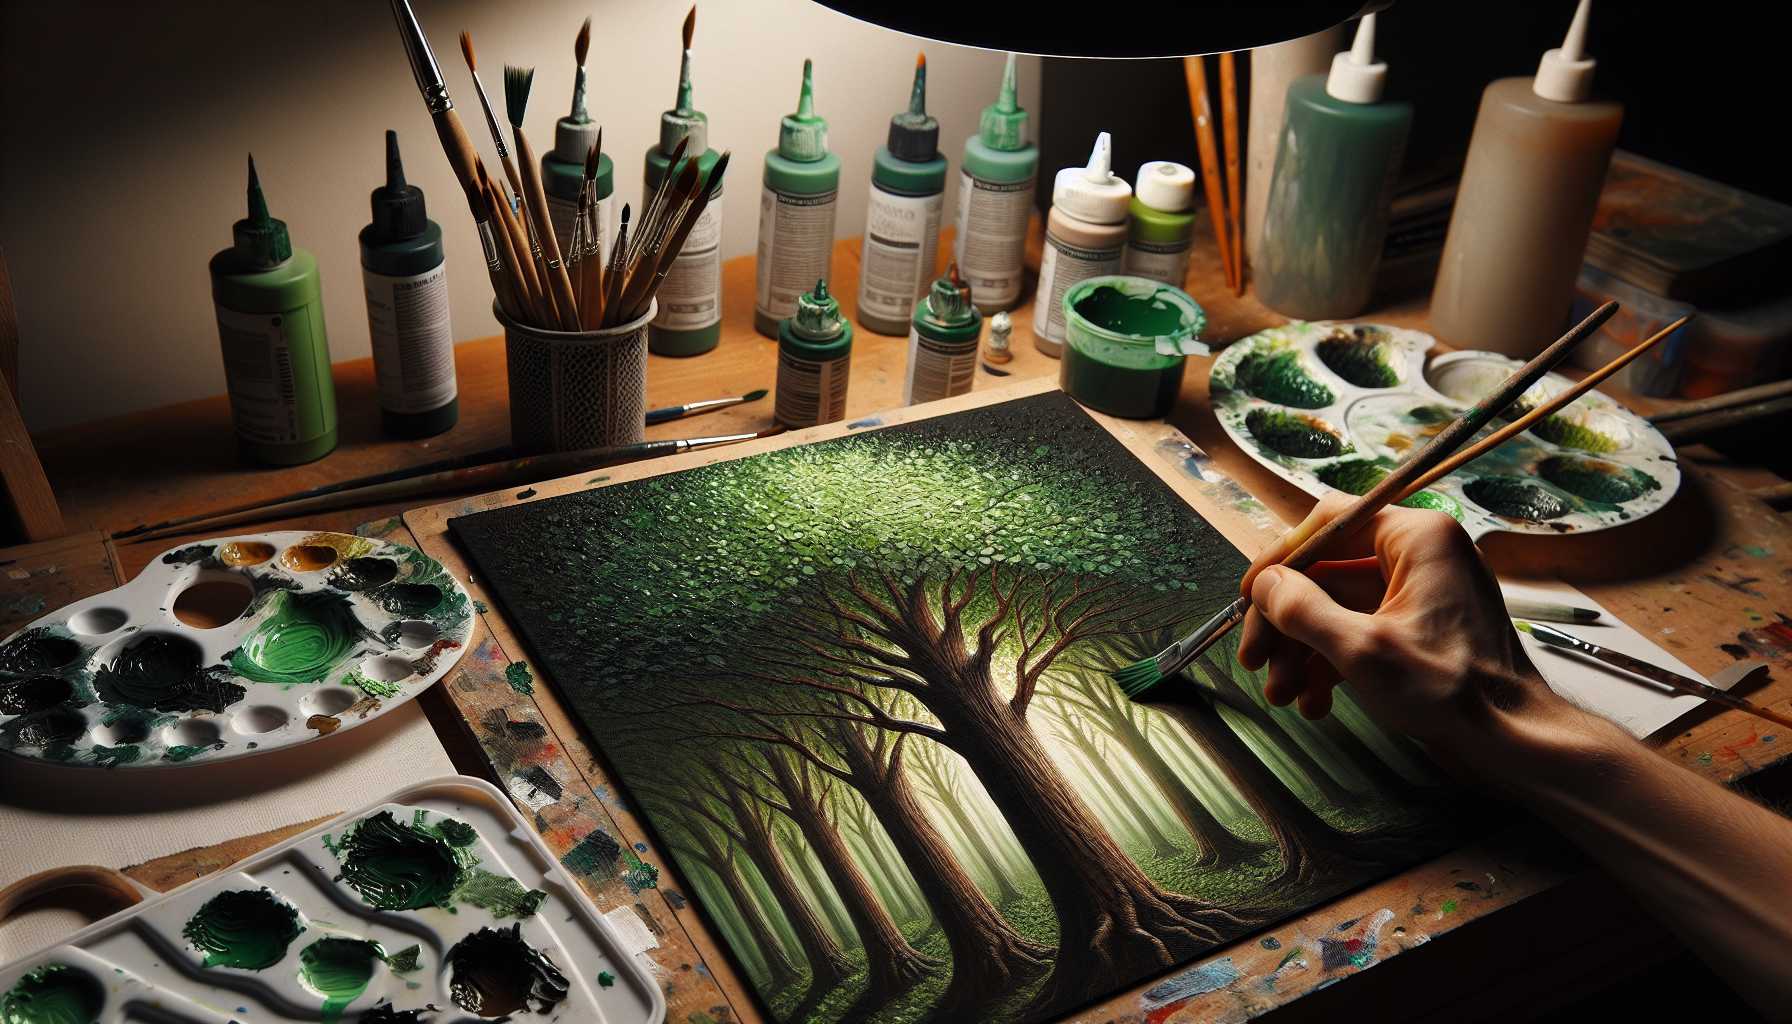
Essential Art Supplies for your Tree Painting Endeavor
Let's kick things off by preparing your art supplies. Here's the good news - they are nothing fancy!
- Fan brushes of various sizes (small, medium, and large)
- Acrylic or oil paints
- Canvas or painting surface
- Palette knife
- Paper towels
- Water container (for acrylics)
Among all these, the fan brush stands out as the main star of the show with its spread-out bristles aptly imitating the natural texture and feel of leaves. Isn't that neat?
Fundamental Fan Brush Techniques for Tree Art
The Core Stippling Technique
This is your go-to technique. Start by amply loading your fan brush with paint, but remember - moderation is key. Over saturation with paint often results in a muddled finished product.
Hold the brush perpendicularly to your canvas and gently press the brush against it before quickly lifting it thereafter. This simple act creates the essential leafy texture.
It may be beneficial to first practice this motion on scrap paper to better get a grip on the technique.
The Tugging Technique
For longer and flowing foliage, go with the tugging technique. Load up your fan brush with paint and gently pull it across your canvas. This turns out exceptionally well for painting weeping willows or trees swaying in the wind.
Varying the pressure applied will yield different outcomes. Light pressures translate to waftier images while heavier pressures portray denser foliage.
A Comprehensive Guide to Tree Painting
Step 1: Start by painting your Tree Trunk and Branches
The first step would be to sketch out the backbone of your tree. This involves painting your tree trunk and principal branches.
Keep it plain at the onset. You can always build on this base and add more details as you go along. Primarily, aim to get the basic structure right.
Step 2: Incorporate the Base Foliage Layer
Now to the exciting part! Amp up your fan brush with your darkest green shade. This will serve as your shadow hue.
Utilize the stippling technique to add foliage clusters. But remember, don't overdo it - leave some portions of your branch structure visible.
Consider where shadows would naturally cast. These areas ought to stay darker.
Step 3: Progress with Medium Tones
Next, adopt a medium green tone. This is typically your most abundant shade.
Apply this over and around your dark base layer. It's advisable to overlap some portions while leaving others darker.
Also, it's worth noting that real trees aren't uniformly colored. Therefore, variations in color make them appear more natural.
Step 4: Integrate Highlights and Sunlit Regions
This is where the magic happens and your tree really springs to life! Apply your lightest green or even yellow-green hues.
Focus these on regions where the sunlight would naturally fall. Commonly, this means the uppermost and outermost edges of your foliage clusters.
Go easy on your highlights. A minimal and delicate touch often goes a long way.
Expert Advice for a Lifelike Tree Art
Diversify Your Colors
Real trees aren't wholly green. Express your creativity by integrating yellows, browns, and subtle hints of purple. This unexpected burst of colors makes your artwork come alive!
Continue to switch up your colors as you continue with your work. Such dynamic change enhances depth and creates interest.
Consider the Direction of Light
Firstly, decide the source of your lighting. Ensure you maintain this throughout your painting.
Consistent lighting aids in making your trees appear three-dimensional and realistic.
Don't Overdo It
Fan brush artwork thrives on a confident and relaxed approach. Incessant tweaking and alteration can easily eliminate the spontaneous and natural texture your fan brush provides.
Take a step back every now and then to review your progress. Sometimes, what appears flawed up close looks perfect from a distance.
Common Pitfalls to Sidestep
Overload of Paint
This is a common blunder particularly among beginners. Excessive paint on your brushes often leads to untidy and undefined shapes.
Ensure to clean your brush regularly. Fresh paint tends to deliver cleaner results.
Uniformity in Size
Vary your foliage clusters. Some should be larger while others smaller, thereby mimicking the natural growth pattern of real trees.
Neglecting Negative Space
Don't make the mistake of overcrowding every possible space with leaves. Leaving empty areas between foliage clusters is essential for a realistic portrayal.
These spaces allow for light penetration and meaningful representation of branch structure.
Exciting Variety of Trees You Can Paint
Pine and Evergreen Trees
For conifers, opt for a downward tugging method. Begin at the highest point working your way down.
Incorporate different shades of green for depth. Introduce hints of blue-green for an interesting twist.
Full Blooming Deciduous Trees
These trees are perfect targets for the stippling method. Build up clusters of varying sizes.
Pay attention to the overall shape of the tree. Oaks are broad while poplars tend to be tall and slender.
Autumn Trees
This is your opportunity to experiment with a spectrum of colors! Incorporate shades of oranges, reds, and yellows.
Mixing colors on your brush gives a natural variation. Don't worry about being overly accurate.
Adding Final Touches and Textures
Once your basic tree outline is complete, take a step back to evaluate your progress. What additional elements does it need?
Perhaps some individual leaves need to hang loose? Utilize a liner brush for such delicate details.
You could also consider introducing some texture to your trunk. A dry brush technique is ideal for this.
Practice Tasks to Perfect Your Skills
Task 1: Practice with Colors
Paint the same tree under varying light conditions. Include lighting conditions such as morning sunlight, harsh midday sun, and the golden hour.
This practice gives you a deeper understanding of how light significantly influences color and shape.
Task 2: Paint Through Different Seasons
Paint one tree as it metamorphoses through the four seasons. This greatly enhances your understanding of tree structure.
Spring buds, lush summer leaves, autumn colors, bare winter branches - each stage presents its unique challenges.
Task 3: Experiment with Various Tree Types
Don't restrict yourself to one species. Experiment with oaks, maples, birches, or even pines. Each individual type has its unique qualities.
This practice broadens your artistic horizons and keeps the process engaging.
Broadening your Tree Art
Feeling up for a challenge? Try painting full forest scenes. Include trees from different distances for a sense of depth.
Trees in the foreground should appear detailed and contrasted. Trees farther in the background fade into softer and less defined shapes.
Overall, consider your composition and the flow of the viewers' gaze.
Maintaining Your Fan Brushes
Good brushes warrant adequate care. Ensure you clean them thoroughly after each use.
For acrylic paints, simple soap and water should suffice. Oil paints, however, would require a solvent before you wash with soap and water.
Never leave your brushes immersed in water or solvent. This damages the bristles along with the ferrule.
Store your brushes flat or with their bristles laid upwards. This helps maintain their shape for your upcoming painting session.
Conclusion: Your Journey to Master Tree Art
Kudos to you! You have now learned the fundamentals of creating exquisite tree paintings. The fan brush technique will now open up countless possibilities for you.
Each artist naturally develops their personal style over time. Start with these techniques and customize them to your unique personal style.
The most important aspect is frequent practice and having fun while at it. Trees are forgiving subjects with even delightful mistakes often looking natural.
So grab your fan brush and commence your exciting tree painting journey today!
SEO Slug: easy-techniques-fan-brush-tree-art
Focus Keyphrase: fan brush tree art
Meta Description: Master simple fan brush techniques for painting lifelike trees with our comprehensive tutorial. Gain insights into pro tips, sidestep common pitfalls, and practice exercises designed for beginners.