Simple Stencil Painting Guide: Foolproof Art for Beginners
Comprehensive Guide to Stencil Painting: An Easy Art for Novices
Ever wished to create a masterpiece, but intimidated by complicated artistic methods? Stencil painting could be the perfect art form for you! This beginner-friendly DIY activity opens a plethora of creative opportunities without the need for rigorous training.
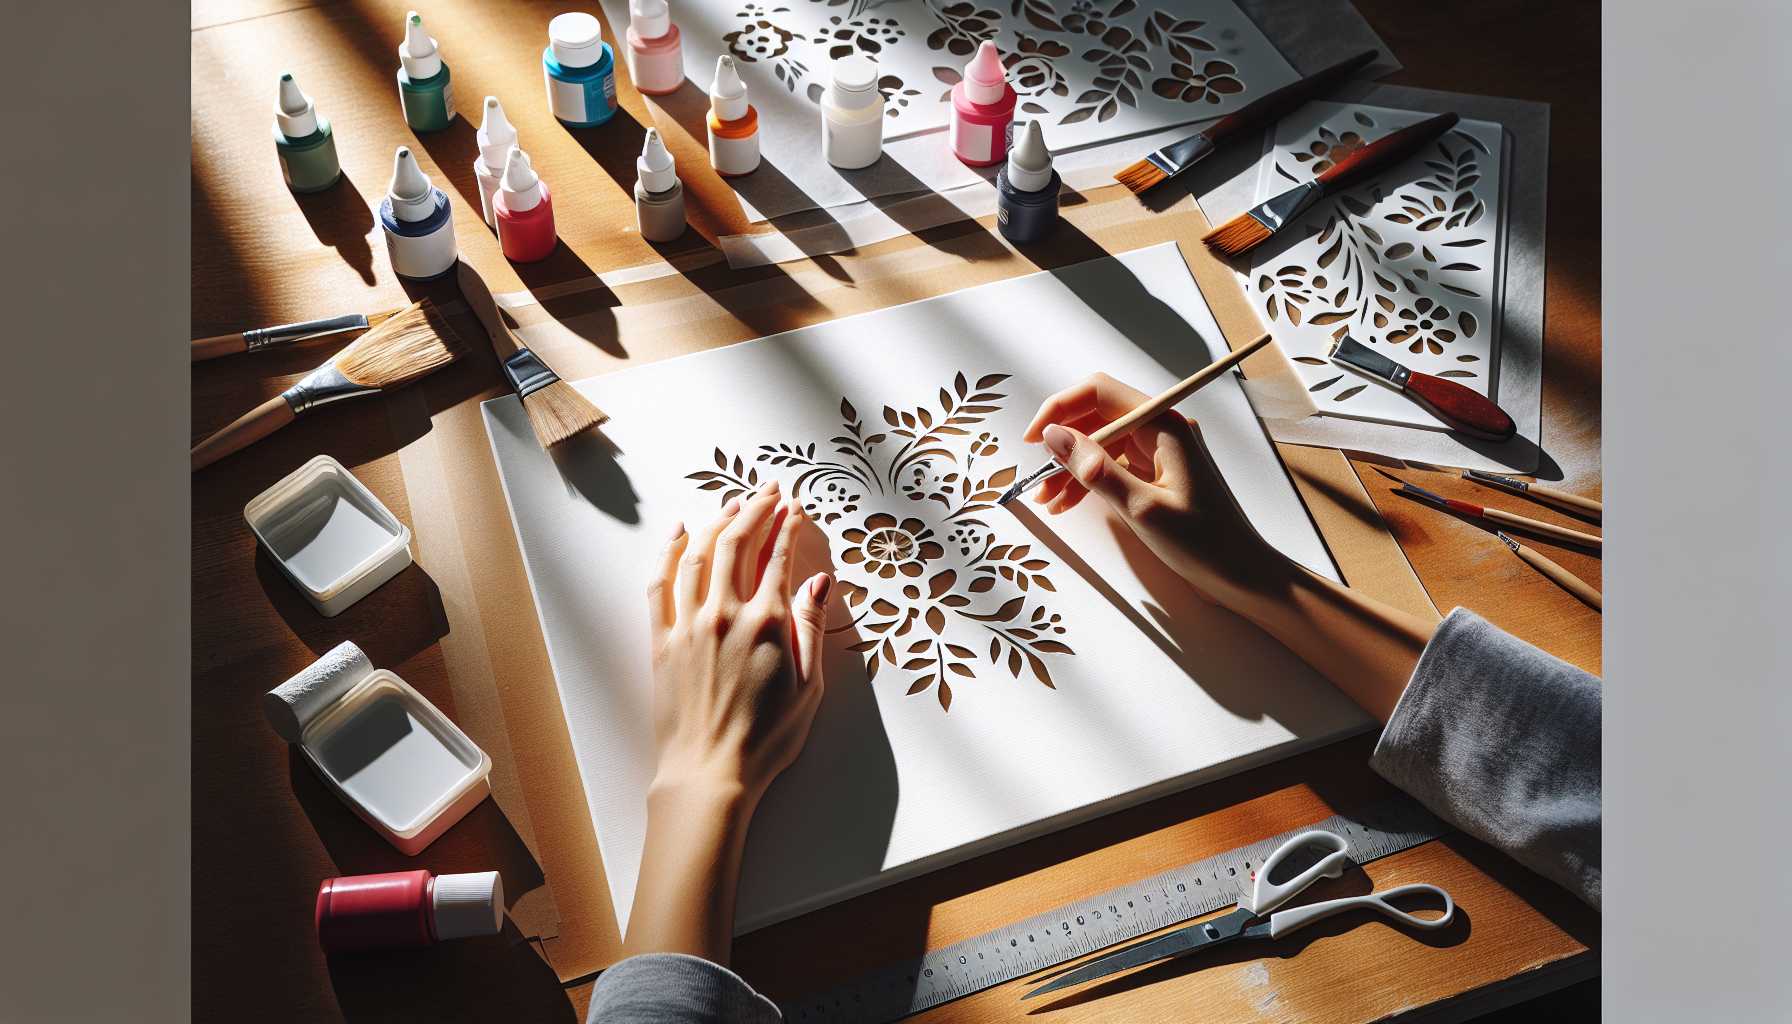
I recall my first endeavor with stencil painting. My hands trembled with fear of making a mistake. However, within a short time, I was astonished by the professional appearance of my simple flower design. This is the charm of stencil art — it empowers everyone to explore their artistic potential.
Why Stencil Painting is Ideal for Novices
Stencil painting simplifies the process of creating art. You don't have to stress about drawing accurately or maintaining correct proportions, the stencil does most of the work for you.
This artistic technique is also forgiving. Small errors often blend seamlessly into the whole design. Moreover, you can practice the same pattern until you feel comfortable and confident.
Many beginners cherish stenciling as the results are instantly achieved. Within an hour, you can finish a project that appears as if it took days to create.
Basic Stencil Painting Tools
You don't need to splurge on expensive art supplies. All you need for your first project includes:
Stencils: Opt for pre-designed stencils from craft stores or online platforms. Plastic stencils are recommended for beginners as they're more durable than paper ones.
Paints: Acrylic paints are highly recommended as they are suitable for most surfaces. Not only do they dry quickly, but they're also available in a vast color range.
Brushes: Stencil brushes that have flat, dense bristles are preferred for their clean and even coverage.
Tape: Utilize painter's tape to keep the stencil in place without damaging the surfaces.
Paper towels: These will come in handy for wiping off excess paint and cleaning up.
Practice surface: Start practicing on cardstock, canvas boards, or scrap wood before taking on actual projects.
Selecting Your Initial Stencil Design
Basic geometric patterns make an excellent first project. Consider designs featuring circles, triangles, or simple stripes. Such designs introduce you to essential techniques without becoming overwhelming.
Large-petalled floral motifs are also suitable. They're forgiving even if your brush strokes are not extremely even.
Intricate designs with small details should initially be avoided. Reserve those intricate mandala patterns for when you've gained more confidence.
A Stepwise Guide to Stencil Painting
Set Up Your Ensured Workspace
Arrange to work in an area with good lighting and ventilation. Protect your work surface with newspaper or plastic sheeting to save cleanup time later.
Arrange all your requirements within comfortable reach. This ensures that you won't have to search for materials mid-project.
Position and Firm Your Stencil
Place your stencil on the surface where you want the design to appear. Make sure it is completely flat with no bubbles or wrinkles that could interfere with your project.
Securely tape down all edges, paying special attention to corners and detailed areas where paint could potentially seep underneath.
Correctly Load Your Brush
Immerse your brush lightly into the paint. A lesser quantity of paint than you think you need is always better.
Blot the brush on paper towels until it feels close to dry. This action prevents paint from bleeding under the edges of the stencil.
Apply Paint with Precision
Hold your brush at a right angle to the surface. Use careful dabbing or stippling movements instead of brush strokes.
Start from the outside edges of each section, working towards the center. This technique minimizes the risk of paint seeping under the stencil.
Apply several light coats of color gradually. It's simpler to add more paint than to rectify heavy, messy applications.
Stencil Removal
Lift the stencil straight up whilst the paint is still slightly damp. This action stops dried paint from cracking or peeling.
Promptly clean your stencil with warm soapy water. Failure to remove dried paint can make stencils challenging to reuse.
Common Beginner Blunders to Sidestep
Overusing paint: This can lead to messy edges and paint bleeding. As a general rule with stenciling, less is always more.
Hastening the process: Ensure you allow yourself plenty of time, particularly when arranging stencils and applying paint.
Failing to secure stencils: During painting, loose stencils can move, resulting in blurred or doubled images.
Not practicing: Always test your technique on a scrape material first.
Creative Project Suggestions for Novices
Invitation cards: Stencil basic designs on cardstock for custom-made cards.
Wall paintings: Use canvas boards and harmonizing colors to create matching pieces for your home.
Furniture makeover: Upgrade old picture frames or small wooden boxes using stenciled patterns.
Material projects: Employ fabric paint to stencil designs on plain tote bags or cushion covers.
Garden markers: Stencil the names of plants on wooden pegs for your herb garden.
Enhancing Your Stenciling Skills
Initiate with single-color designs before venturing into multi-colored ones. It's essential to perfect the fundamental technique first before moving on to more complicated methods.
By creating repeating patterns, improve your proficiency in spacing and alignment. This skill comes in very handy for more substantial projects.
Try out different painting consistency levels. Depending on the project, a slightly thicker or thinner paint application might be beneficial.
Try layering stencils for more elaborate designs. After the first stencil dries, apply a different pattern with a second layer.
Stencil Maintenance
Clean stencils promptly after use. Unremoved paint can become a hindrance for future use and even reduce their durability.
Stow away flat stencils in protective covers or folders to prevent any damage. Bent or wrinkled stencils often do not lie completely flat.
For pliable stencils, carefully roll them and secure with rubber bands. Avoid tightly rolling them, which can lead to permanent curving.
Resolving Paint Problems
Paint seeping under stencils: Use less paint and make sure stencils are tightly secured.
Inconsistent color coverage: Build up thin layers instead of trying to achieve full coverage with a single application.
Visible brush strokes: Change to a stippling technique instead of using brush strokes.
Paint not sticking: Thoroughly clean your surface and ensure you're using the right paint for your material.
Advancing Your Skills
After mastering the basic techniques, explore making your own stencils. Simple designs cut from cardstock are an excellent starting point.
Consider joining virtual stenciling communities for inspiration and advice. Fellow craft enthusiasts love to share their favorite techniques and project ideas.
Experiment with specialty paints like metallic or chalk paints. Different paint types can lend unique textures and finishes to your projects.
Try combining stenciling with other artistic methods like distressing or layering for an enhanced look.
Final Note
Stencil painting provides countless creative possibilities without demanding superior artistic skills. The key lies in starting simple and elevating your confidence through incremental practice. Keep in mind that every maestro was once a novice. Don't strive for perfection immediately, rather enjoy the process and cherish your progress along the way.
Your initial stenciled project may not be a prizewinner, but it's your creation. It holds immense value for the investment of time and effort you've made in it.
Grab some supplies and start stencil painting today. You might astonish yourself with what you can create from scratch!