Beginner's Guide to Cotton Swab Painting: Simple Pointillism Art
A Simple Introduction to Pointillism Art through Cotton Swab Painting
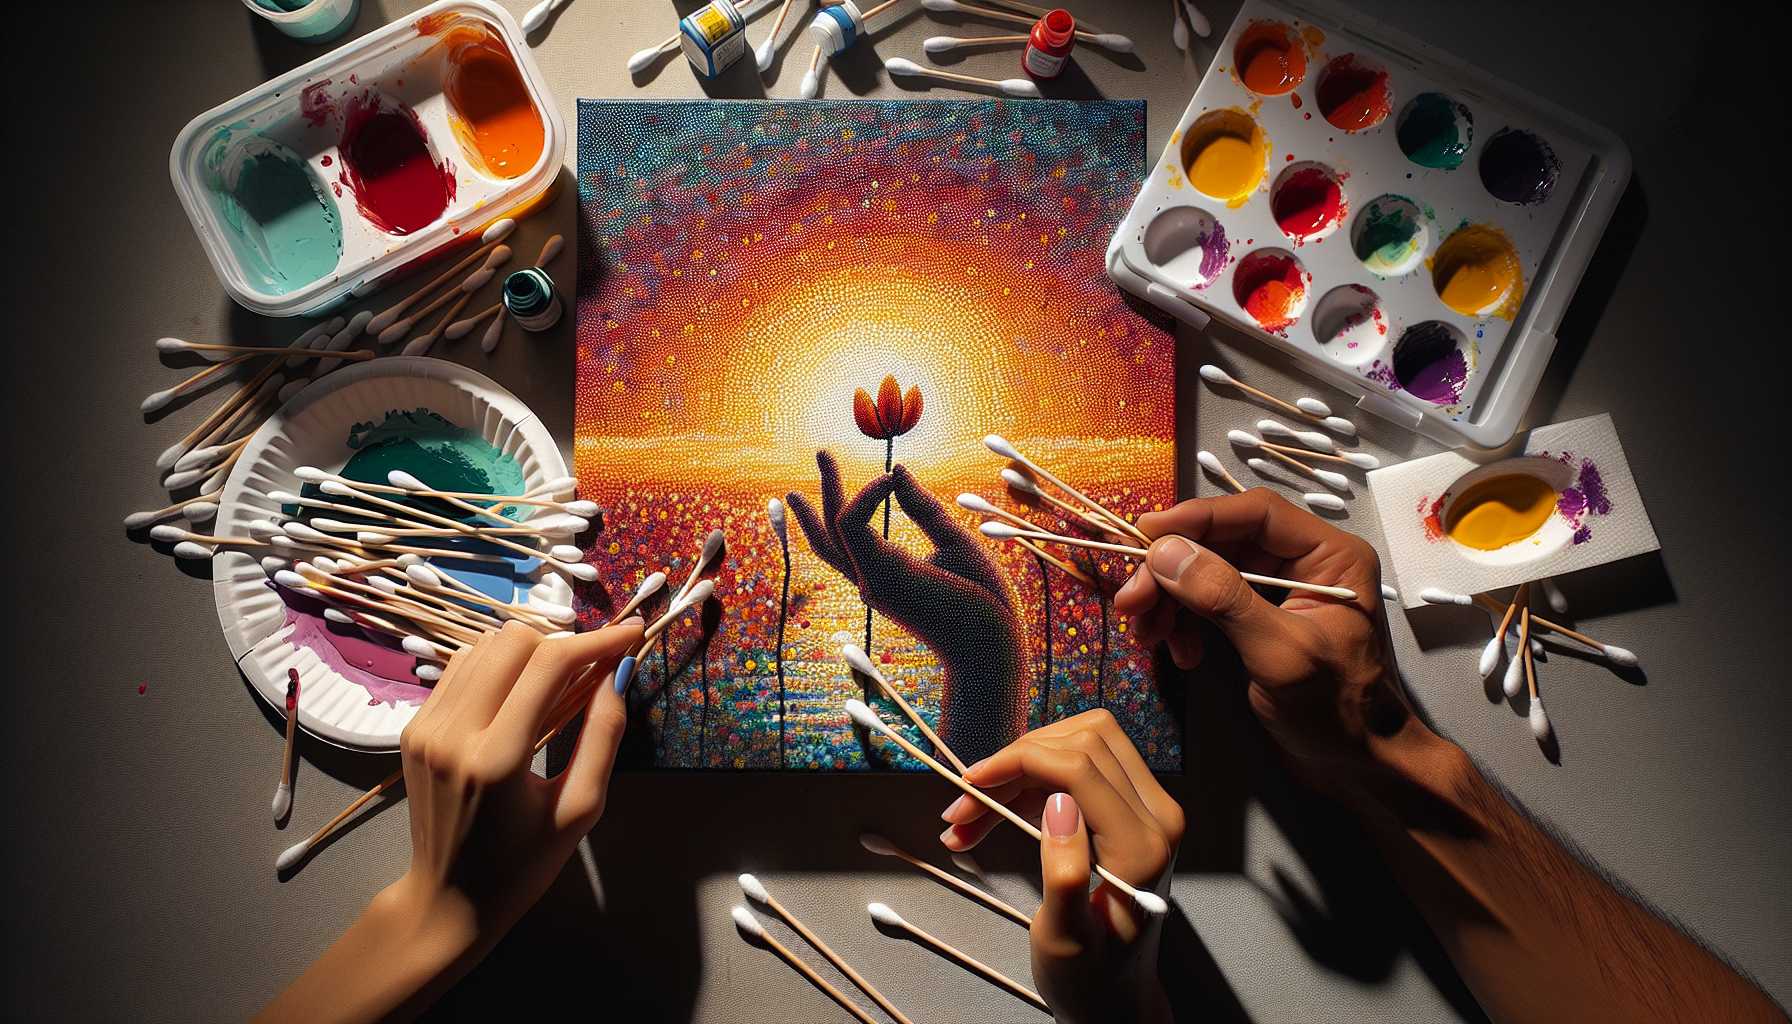
Have you ever thought of exploring the world of pointillism but found traditional brushwork daunting? Cotton swab painting could be your ideal entry point. This enjoyable technique makes creating impressive dotted art achievable for anyone.
A Primer on Cotton Swab Painting
Cotton swab painting is an easy modification of pointillism that substitutes brushes with ordinary cotton swabs. The process involves crafting images entirely with small dabs of color. The technique is somewhat akin to emulating the modern-era Georges Seurat, but utilizing supplies from your bathroom cupboard!
The results are breathtaking. Your completed artwork will exhibit a unique texture and mystical property that is challenging to obtain with regular brushes.
Necessary Items for Cotton Swab Painting
Getting started is considerably affordable. Chances are, you already own most of these items:
Indispensable Supplies
- Numerous cotton swabs
- Acrylic paints
- Canvas or dense paper
- Paper plates to serve as palettes
- Container for water
- Paper towels
- Pencil for sketching
Optional Enhancements
- Paint mixing substance
- Spray bottle to retain paint moisture
- Magnifier for meticulous work
- Adequate lighting or desk light
Selecting the Suitable Paints
For cotton swab painting, acrylic paints are ideal as they dry quickly and preserve vibrant hues. Start with fundamental primary colors along with black and white. These basic colors can be blended to form limitless combinations.
Initially, steer clear of watercolors as they're excessively thin and don't result in the bold dabs you desire. Reserve these for when you're adept at the technique.
Fundamental Cotton Swab Painting Techniques
Crafting the Ideal Dot
Hold your cotton swab vertically, lightly immerse it in paint, press straight down on your canvas, and raise it straight up without twisting or dragging.
Repeat this motion until it becomes intuitive. With consistent pressure, you can create equally sized dots.
Mixing Colors on Canvas
This is where pointillism truly shines. Instead of blending colors on your palette, position different colored dabs adjacent to each other. Your eye will combine them from a distance.
Try arranging yellow dabs next to the blue ones. Stand back and observe how they transform into green!
Dot Allocation
Altering your dot allocation can yield different effects: - Tight dabs result in solid areas - Spread out dabs permit background colors to break through - Irregular allocation appears more natural than impeccable grids
Step-by-Step Tutorial on Cotton Swab Painting
Step 1: Strategize Your Design
Start with the basics! Choose a rudimentary subject such as a flower, tree, or a sunset. Sketch it gently with a pencil.
Step 2: Decide Your Color Palette
For your inaugural project, select 3-4 primary colors. Numerous colors can bewilder beginners.
Step 3: Initiate with Background
Kick-off with your faintest background colors. Progress from light to dark to avoid blending colors and creating a murky effect.
Step 4: Integrate Main Elements
Employ fresh cotton swabs for each color. Construct your subject progressively with multiple layers of dots.
Step 5: Introduce Details and Highlights
Conclude with your brightest hues and finest particulars. This is when your artwork genuinely comes to life!
Step 6: Step Back and Evaluate
Take regular breaks to assess your work from far-off. This assists you in comprehending color fusion and deciding where additional dabs are needed.
Straightforward Cotton Swab Painting Ideas for Novices
Natural Sceneries
- Basic sunsets featuring gradient skies
- Cherry blossom trees
- Oceanic waves
- Mountainous landscapes
Static Life Alternatives
- Bowls of fruits
- Bunch of flowers
- Flames of candles
- Simplified geometric forms
Abstract Constructs
- Color gradients
- Mandala patterns
- Rainbow spirals
- Texture trials
Common Blunders to Dodge
Applying Excessive Paint
Less is often more! Over-saturated cotton swabs result in dirty blobs instead of neat dabs.
Failure to Change Cotton Swabs
Dirty cotton swabs taint your colors. Use fresh ones frequently, particularly when switching shades.
Hastening
Pointillism demands patience. Rushing leads to mismatched dots and incorrect color disposition.
Neglecting Composition
Don't get so engrossed in the technique that you miss out on the essential composition. Frequently step back to analyze your comprehensive design.
Tips for Superior Cotton Swab Art
Maintain Uniform Pressure
Practice applying the same force for each dot, manifesting visual symmetry in your finished work.
Use Adequate Lighting
Proper illumination helps in making out color relationships unambiguously. When feasible, natural light works best.
Maintain Paints Moist
Cover your palette with a damp paper towel while on breaks. Dry paint doesn’t transfer well to cotton swabs.
Record Your Progress
Capture photos of your work in progress. It's remarkable to watch your pointillist masterpiece evolve!
Advanced Cotton Swab Techniques
Having acquired the basics, try these advanced practices:
Varying Dot Sizes
Employ different sections of the cotton swab for variety. The tip crafts small dots while the side leaves larger marks.
Layering Shades
Establish transparent layers by allowing each layer to dry completely. This produces incredible depth.
Visual Color Fusion
Situate contrasting colors next to each other for vibrant visual effects. Red and green dots juxtaposed create stimulating energy.
Preserving Your Cotton Swab Paintings
Appropriate Drying
Allow your artwork a full drying period before handling it. Acrylic paint usually dries within 30 minutes.
Safeguarding Your Artwork
Think about sealing finished pieces with acrylic varnish. This shields against dust and color fading.
Framing Suggestions
Framed cotton swab paintings look fantastic! The texture stands out beautifully under glass.
Why Beginners Should Opt for Cotton Swab Painting
This technique poses several benefits for novice artists:
There's no scope for making "erroneous" brushstrokes because none exists! Each dab is deliberate and attractive.
Mistakes are easily corrected. Just let the problem areas dry and dab over them with the correct shades.
It's exhilarating and calming. The repetitive dabbing motion is almost meditative.
The results look incredible in a short time. Even novices produce artworks that look professional.
Enhancing Your Cotton Swab Painting Skills
Start Small
Begin on postcard-sized canvases. Larger pieces can feel overwhelming initially.
Practice Color Theory
Invest some time experimenting with how colors collaborate when placed side by side.
Study Renowned Pointillists
Peruse the works of Seurat, Signac, and other pointillist experts. Notice how they utilized color and spacing.
Participate in Online Communities
Share your works online. There’s always encouragement and tips to gather from other cotton swab artists.
Concluding Thoughts on Cotton Swab Painting
Cotton swab painting uncovers a completely new dimension in artistic expression - it’s easy, cost-effective, and captivating once you start!
Don’t stress about crafting masterpieces immediately. Concentrate on cherishing the process and experimenting with an array of colors.
Remember, each professional artist had a beginning. Your journey into cotton swab painting commences with that first dot.
Procure some cotton swabs and paints. Your excursion into pointillism awaits! You might just stumble upon your newfound hobby.
The charm of cotton swab painting rests in its straightforwardness and the incredible art it produces. Allow yourself a chance - you’d be surprised at what you can create with such simple materials.