Beginner's Guide to Coffee Painting: Simple Brown Art Effects
The Beginner's Primer to Coffee Art: Crafting Brown Toned Masterpieces
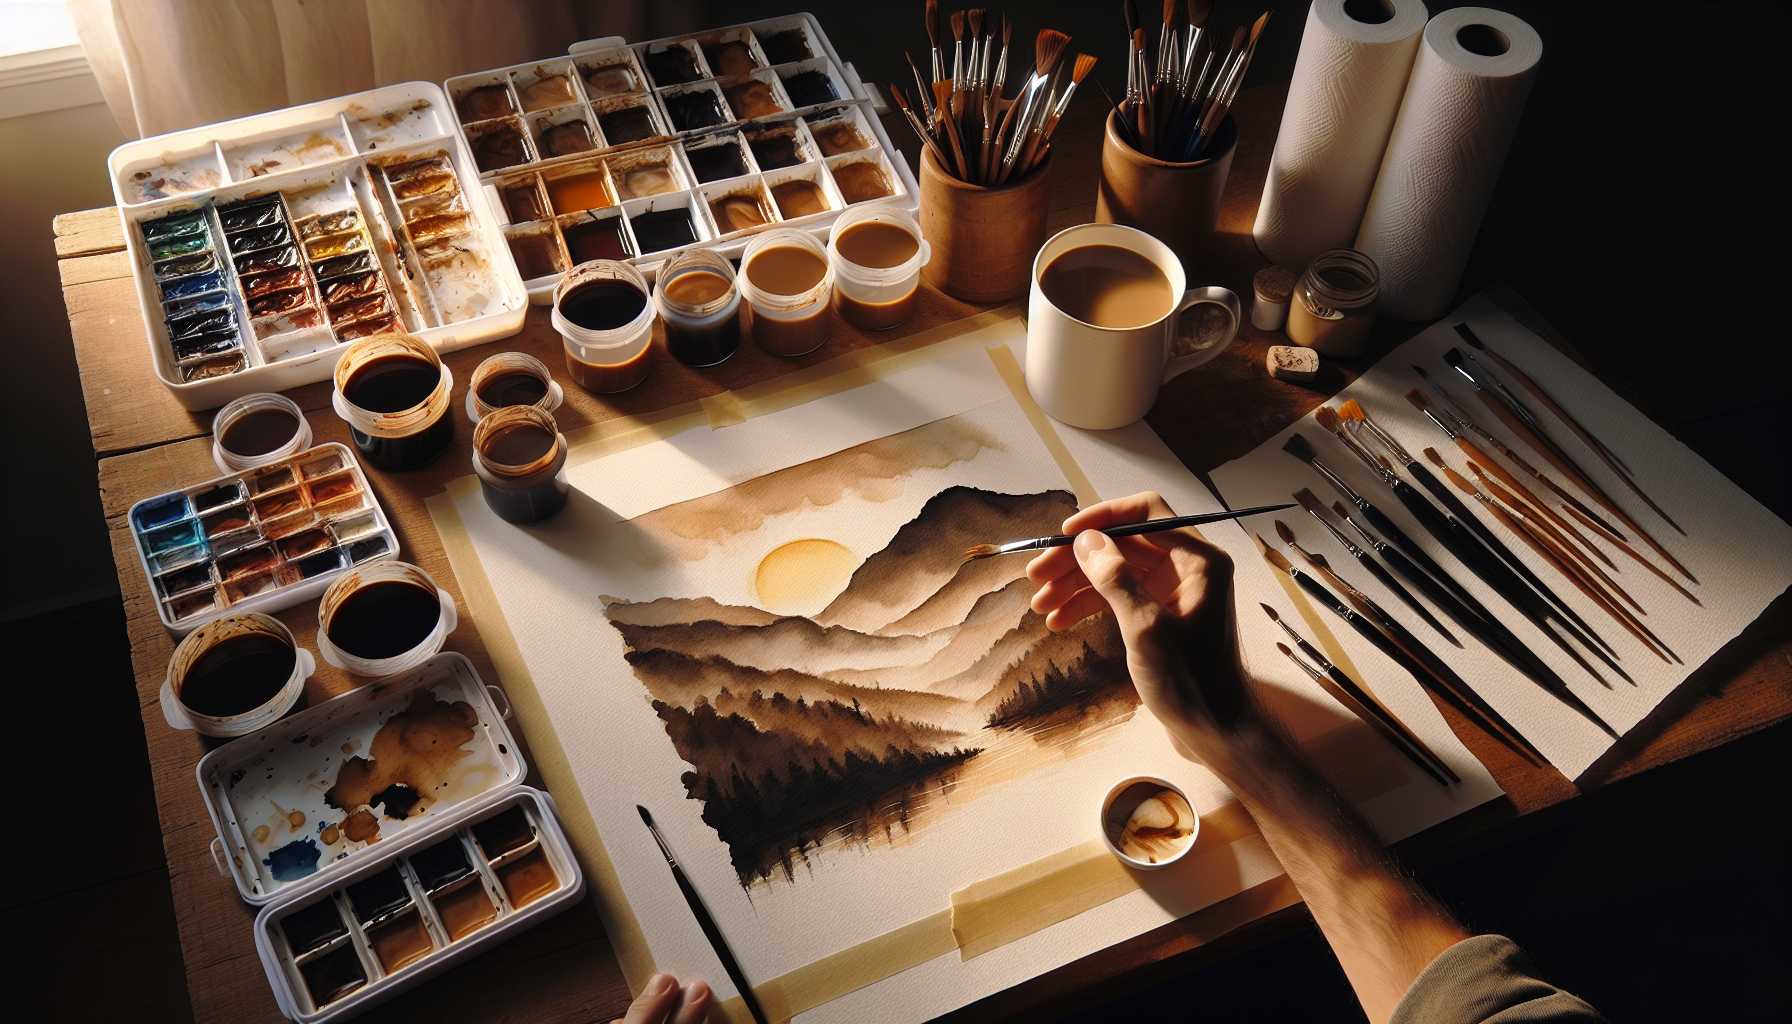
Have you ever thought about repurposing leftover coffee? Here's an innovative idea that might pique your interest. Coffee painting is an exceptional art form that's accessible to all - no required luxury art materials or years of expertise.
All you require is coffee, paper, and a painting brush. This age-old technique conjures gorgeous sepia-toned masterpieces. Let's investigate the fascinating world of coffee art together.
Exploring Coffee Painting and its Advantages
Coffee painting ditches conventional watercolors and instead employs brewed coffee as paint. Throughout the decades, artists have utilized this technique. The inherent brown tones craft a warm, retro-style piece of art.
This method is particularly suited to those new to the art world. Coffee provides a forgiving medium that's effortless to manipulate. There's no real way to falter, as even accidental outcomes can result in striking artistic features.
The best part? It's incredibly economical. Most likely, you already have all required materials in your home. There's no immediate necessity to invest in expensive art tools to kickstart your journey.
Must-Have Tools for Your Inaugural Coffee Painting
Embarking on your coffee art journey is simpler than you might think. These are the requisites for your coffee painting voyage:
Basic Supplies: - Instant coffee or strongly brewed coffee - Watercolor paper or dense sketching paper - A variety of paintbrush sizes (small, medium, large) - Containers for water - Paper towels - A palette or a few small plates
Additional Options: - Salt for creating textural effects - Sponges for blending shades - Pencil for initial sketching - Masking tape - Hairdryer for quick drying
The majority of these items could probably be found in your kitchen drawer. Begin with what's readily available. You can always upgrade your materials later.
Brewing Your Coffee Paint
The key to an excellent coffee painting lies in careful preparation. You'll need various brown shades to generate depth and diversity.
Start by brewing a strong batch of coffee. Allow it to cool thoroughly before use, as hot coffee can injure your brushes and paper.
Generate multiple shades by diluting your coffee: - Dark shade: Use pure, undiluted coffee - Medium shade: Mix coffee with an equivalent quantity of water - Light shade: Add more water for a lighter wash
Pour each shade into different containers and label them to avoid confusion whilst painting.
Test your shades on scrap paper initially, to gauge how dark or light each concoction will appear.
Basic Techniques for Impressive Outcomes
Coffee painting encompasses myriad exciting techniques. We'll start with the simplest ones, known for producing fantastic results.
Wet-on-Wet Method
First, apply clean water to your paper. Following that, introduce coffee paint onto the moist surface and observe the colors naturally merge. This results in a soft, dreamy finish, perfect for skies or backgrounds.
Wet-on-Dry Approach
Apply coffee straight to dry paper. This affords more control and carves sharp, distinct borders. Utilize this method for detailed endeavours such as buildings or tree branches.
Layering for Added Depth
Commence with light washes of diluted coffee. Let each individual layer dry entirely before adding the subsequent darker one on top. This method builds depth and nuance in your art piece.
Employing Salt for Texture
Whilst your paint is still damp, scatter some salt over it. The salt absorbs the coffee, thereby generating fantastic texture patterns. This works brilliantly for rugged surfaces or aged effects.
Your First Coffee Painting Adventure
Are you ready to create your first work of art? Let’s embark on a simple landscape project. This exercise will help you grasp fundamental techniques while crafting something beautiful.
Step 1: Light Sketching Sketch a straightforward scene with mountains or hills on the horizon. Keep it simple, the finer details can be added later.
Step 2: Fashion the Sky Use the wet-on-wet method for depicting the sky. Apply water first, then add a light coffee wash and let it spread naturally.
Step 3: Construct the Mountains Upon drying, paint the mountains with a medium coffee shade. Use the wet-on-dry method for clean, distinct edges.
Step 4: Generate the Foreground Introduce darker elements in the front using your strongest coffee mixture. This creates depth and draws attention to the front.
Step 5: Final Touches Add minor details like trees or rocks with a thin brush. Utilize your darkest coffee for these final additions.
Common Blunders and Prevention Techniques
Mistakes are part of the learning curve for every novice. Here are some typical coffee painting mishaps and how to elude them.
Utilizing Hot Coffee Hot coffee can distort your paper and harm brushes. Always ensure your coffee has completely cooled down before painting.
Not Examining Shades First Coffee strength fluctuates by brand and brewing methods. Always run a colour test on scrap paper before applying it to your artwork.
Over Manipulating Wet Paint Coffee paint remains mobile when wet. Refrain from repeatedly brushing over the same section. Instead, let it create its magic naturally.
Neglecting to Clean Brushes Coffee has the potential to permanently stain your brushes. Remember to rinse them regularly with clean water during painting sessions.
Accelerating the Drying Process Each layer must dry thoroughly before adding the next. Patience reaps higher rewards than haste.
Advancing Your Coffee Art Skills
Once you've mastered the fundamentals, you can dive into more advanced techniques. Coffee painting provides an endless avenue for artistic expression.
Consider blending coffee with other natural materials. Tea produces different brown shades and wine brings a reddish tint to your palette.
Experiment with diverse types of paper. Rough watercolor paper adds texture, whilst smooth paper yields crisp, defined lines.
Think of integrating coffee painting with other mediums. Introduce white gouache for highlights or charcoal for deeper shadows.
Join digital communities of coffee painters. Share your creations and solicit feedback. Gaining insight from other artists can expedite your progress.
Preserving and Showcasing Your Coffee Art
Your coffee paintings merit proper care. Implementing these simple steps will ensure their longevity.
Allow your paintings to dry entirely before handling. Coffee can sometimes dry slower than conventional paint.
Store the finished artwork flat, sandwiched between acid-free papers. This prevents any potential staining and keeps them from warping.
Frame your favourite pieces behind glass. UV-protective glass safeguards them from fading due to sun exposure.
Scan your artwork digitally. This enables backups and easy online sharing.
Embark on Your Coffee Painting Expedition Today
Coffee painting offers a realm of creative possibilities. Artistic skills or pricey supplies aren't prerequisites. Simply grab some coffee and start tinkering.
Remember, each accomplished artist began as a novice. Don't fret over creating flawless pieces at the outset. Focus on immersing yourself in the process and accruing knowledge.
Understand that your first endeavours might not match up to those of experienced artists. That's perfectly normal and part of the learning journey. Each painting enhances your skillset, preparing you for the next one.
The most essential step is to make a start. Allocate some quiet time this weekend. Brew a robust cup of coffee. Reserve some for painting, and savour the rest as you work on your creation.
Who knows? You might stumble upon a new hobby, one that infuses many joyful and creative moments into your life. Coffee painting carries the charm to transfigure ordinary instances into artistic explorations.
Happy painting, and always remember - every prominent artist commenced their journey with a single brushstroke.