Easy Q-tip Dot Painting: Simple Aboriginal Art Style Guide
Easy Q-tip Dot Painting: A Guide to Aboriginal Art Style
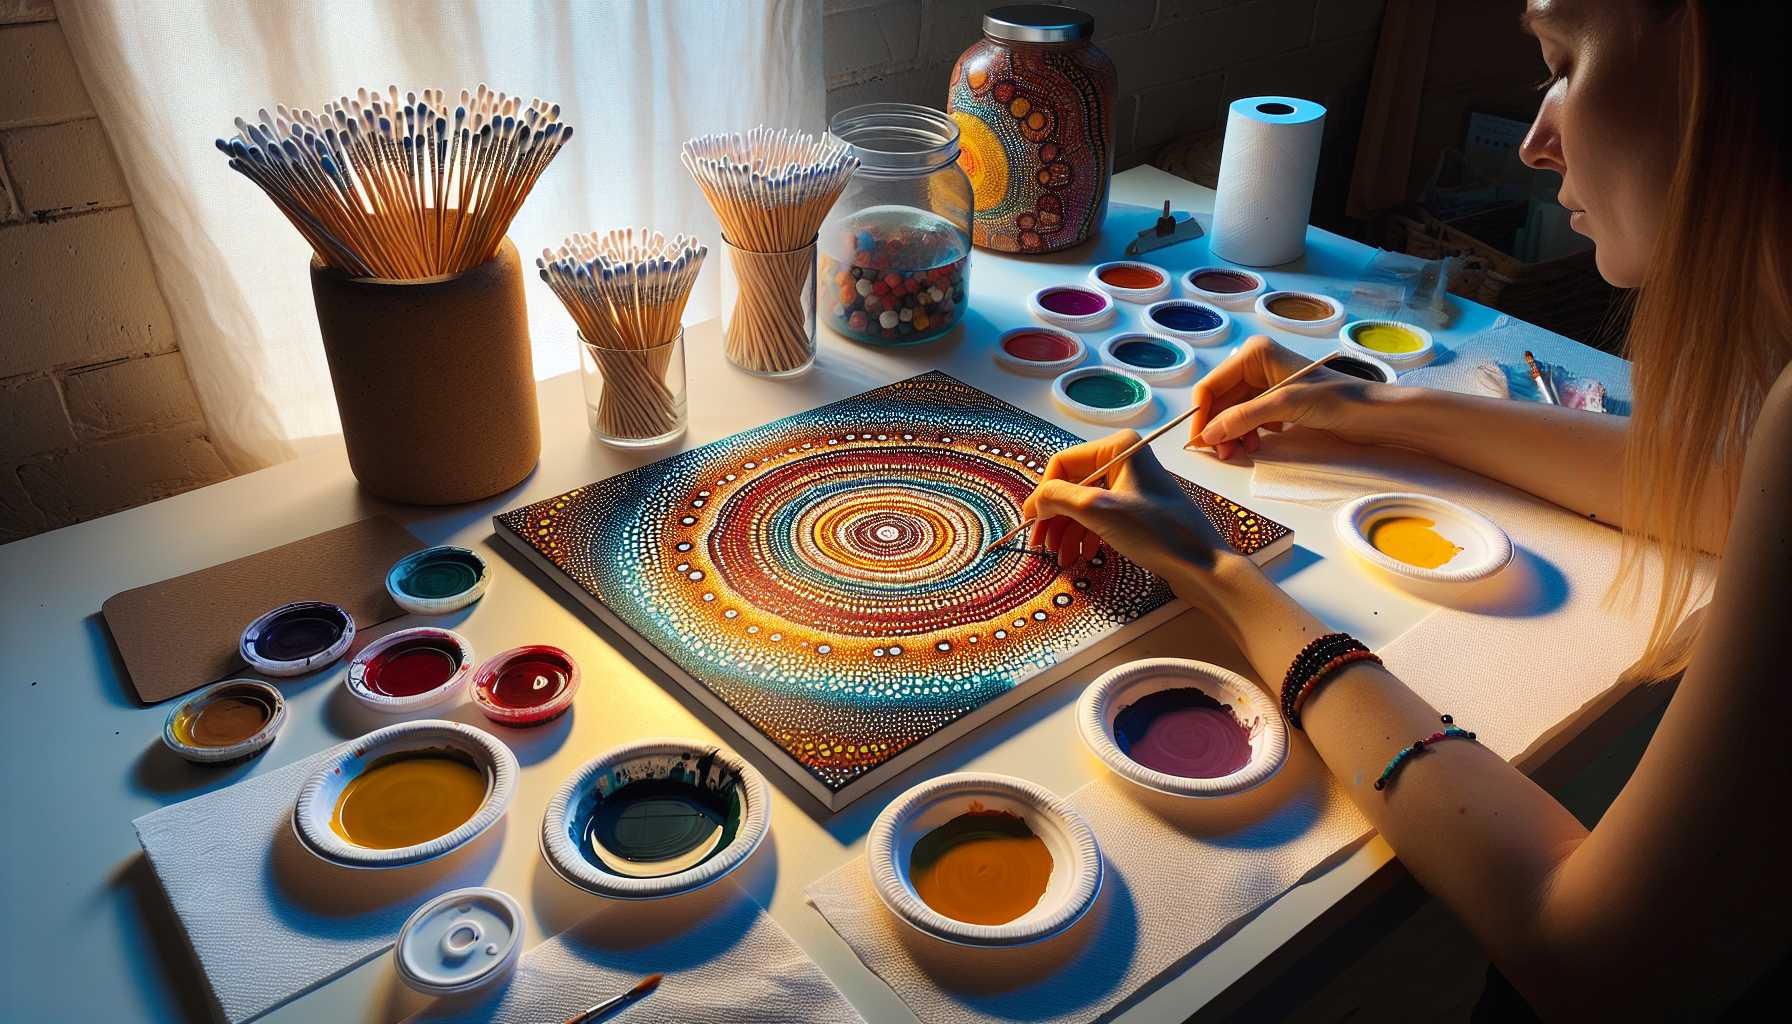
Have you ever considered trying out dot painting? This breathtaking art form is a lot simpler than it seems! Employing the technique of Q-tip dot painting enables you to craft beautiful art, drawing inspiration from traditional Aboriginal methods. It's a fun, soothing and gratifying hobby to explore.
Introduction to Q-tip Dot Painting
Q-tip dot painting is a fascinating technique which makes use of cotton swabs to design elaborate patterns. It emulates conventional Aboriginal dot painting from Australia, an art form that holds profound cultural significance by narrating tales about the land, animals and spiritual faiths.
Despite learning from this age-old tradition, it's essential that your dot art be genuine and original, focusing more on mastering the technique, rather than replicating sacred symbols.
Required Supplies
Getting started requires only the simplest of tools. Most likely, you already have these supplies lying around.
Basic Materials
- Q-tips or cotton buds
- Acrylic paints
- Canvas or sturdy paper
- Paper plates for containing paint
- A water container
- Paper towels
- A pencil for mapping out your design
Additional Materials (Optional)
- Wooden dowels of varying sizes
- Toothpicks for smaller dots
- Sponges for applying backgrounds
- Varnish to preserve your artwork
Choice of Colors
The colors you choose significantly impact your artwork. Traditional Aboriginal art often adopts natural tones, like ochre, red, yellow, brown and white.
However, don't limit yourself! In the realm of modern dot painting, you're free to indulge in an array of colors that include bright blues, purples, and greens. Start initially with maximum 3-4 colors to ensure a coherent piece of art, and as you progressively gain confidence, feel free to experiment with more hues.
Core Dot Painting Techniques
Achieving the Ideal Dot
By holding your Q-tip vertically, dunk it in paint. Press it firmly against your chosen surface, and then gently lift it upwards without dragging.
Through initial practice, you'll be able to apply steady pressure to achieve uniform dots, eventually leading to a gorgeous dot art.
Dots of Different Sizes and Tools for Them
You can create dots of varying sizes by using different tools: - The ends of Q-tips produce medium-sized dots - Pencil erasers create larger dots - Toothpicks can craft tiny, intricate, detailed dots - Wooden dowels are flexible for generating various dot sizes
Basic Patterns to Begin With
Concentric Circles
Ideal for beginners, this exercise involves the formation of a center dot with subsequent rings of dots around it in different colors.
The secret to a beautiful design is even spacing. You can count the dots to ensure consistency. This pattern is excellent for creating flowers, suns or abstract patterns.
Straight Lines
Perfect your craft by practicing the creation of straight dotted lines. These can serve as borders, paths or geometric shapes. Use a ruler initially if necessary.
Differing the spacing can create unique effects. Close dots can create firm lines whereas more spaced dots can bring in a lighter and airy touch.
Wave Patterns
This pattern adds rhythm to your artwork by creating oscillating wave lines with dots. Successfully practicing this pattern can offer the sensation of movement in your artwork.
Wave patterns work very well when creating the symbols of water, wind or energy. Layering different colored waves can add depth to your designs.
Stepwise Beginner's Project: Crafting a Simple Mandala Design
Step 1: Draft Your Design
Lightly sketch out a circle on your canvas, marking the center point as a reference for dot placement. Keep the design simple for your initial endeavours. You can progress to complex designs later on.
Step 2: Get Started with the Center
Choose your brightest color and make a center dot. Surround it with a ring of evenly-spaced dots.
Take your time when dot painting; it's intended to be a meditative act.
Step 3: Add More Rings
Choose your second color and add another ring of dots by placing them in the gaps of the first ring.
Continue this process with a third color. With each new ring, increase the number of dots.
Step 4: Frame Your Mandala
The outer ring can act as a frame for your mandala. Use your darkest shade for this ring and create slightly larger dots if you prefer.
Step 5: Fill in the Empty Spaces
Examine your design for gaps that require filling. Add smaller dots using your lightest color for highlights.
Now pause and admire your creation. You've completed your initial dot painting!
Common Beginner Errors
Overloading Paint
Remember in dot painting, less is more. Overloading paint can result in untidy, oversized dots. Remove excess paint on a paper towel.
Unsteady Pressure
Uneven pressure can lead to uneven dot sizes. Practice consistent pressure on a scrap piece of paper first.
Hastening the Process
Dot painting is a relaxing exercise and is not meant to be rushed. Each dot requires attention, as the mindfulness contributes to the charm of the art form.
Overlooking Wet Paint
Before working with adjacent dots, ensure each section is dry. Wet paint smears easily and it’s wise to plan your sequence of colors to avoid any mishaps.
Progressive Tips for Better Outcomes
Blending Colors
To create smooth transitions between colors, start working from your lightest shade and progressively add darker dots between them. This methodology creates gorgeous gradients.
Techniques for Texture
Change your dot size within patterns to create a variety of textures. Larger dots can create bold and smaller dots can add intricate detailing. Mix your sizes for interesting effects.
Preparing Background
For your artwork, consider painting the background first. Earth tones often turn out well. Ensure it’s completely dry before adding dots.
Planning Complex Designs
Sketch your ideas first. Employ graph paper for geometric patterns to avoid goof-ups on your final canvas.
Respect and Appreciation for the Culture
Aboriginal dot painting embodies deep spiritual sentiments. Each symbol tells profound tales and it’s possible to appreciate the technique without imitating these revered designs.
Focus on creating abstract patterns and innovating your own symbols and meanings. This attitude portrays respect and allows you to delve deeper into this creative form of art.
Consider learning about Aboriginal culture. Understanding the history enriches your admiration of dot painting techniques.
Tips to Maintain Your Artwork
Drying Time
Permit your painting to dry entirely. Acrylic paint usually takes 2-4 hours to dry, however, thicker layers might need more time.
Protective Layers
Once dry, apply a clear layer of varnish for protection against dust and fading.
Ideas for Display
Dot paintings look outstanding when framed and displayed on walls. Smaller pieces make excellent gifts, too.
Tips for Storage
Store unframed pieces flat and use tissue paper to prevent sticking and damage.
Troubleshooting Common Problems
Paint isn’t Sticking
Your canvas might be too smooth causing the paint to not adhere properly. Consider lightly sanding glossy surfaces or applying a gesso primer to help paint stick better.
Colors Look Blurred
This occurs when wet colors accidentally mix. Ensure each section is completely dry before moving on to the next.
Dots look Uneven
Practice is key here. Use the same tool consistently and adjust your grip and pressure technique.
Running Out of Paint
For custom colors, mix large batches and remember to jot down your 'color recipes' to ensure consistency throughout your project.
Enhancing Your Skills
Join Art Communities
Online communities offer an array of tips and generate inspiration. Local art centers frequently conduct dot painting classes too.
Experiment with Surfaces
Explore painting on various surfaces such as rocks, wood or fabric. Each surface results in different effects but canvas remains the simplest surface for beginners.
Series Artwork
Create multiple pieces revolving around similar themes. This helps develop your unique style and these series look fantastic when exhibited together.
Learning about Traditional Techniques
Delve deeper into authentic Aboriginal art methods to increase understanding and respect for the tradition.
Concluding Thoughts
Exploring Q-tip dot painting opens doors to a world of creativity.It's a therapeutic, gratifying and surprisingly addictive journey. Start with simple patterns and basic colors and strive to perfect your technique.
Keep in mind that the process is as important as the outcome. Each dot represents a moment of mindfulness and a stepping stone towards perfection.
Remember to maintain respect for Aboriginal culture and its art forms. These beautiful techniques are a gift that we can honor by creating thoughtfully and continuously learning.
So grab your Q-tips and paints and let your dot painting adventure begin! You will be amazed at what you can craft with just these few simple tools.
Enjoy your painting journey.