Easy Geometric Art: Simple Shape Painting Guide
Beginner’s Guide to Geometric Art Painting: Fun With Simple Shapes
SEO Information
Keyphrase Focus: geometric art painting SEO Slug: beginner-guide-to-geometric-art-painting Meta Description: Explore a detailed guide to create beautiful geometric art paintings, even as a beginner. Learn about vital tools, fundamental techniques, and step-by-step instructions that make shape art fun and easy.
Are you craving an exploration into the captivating universe of geometric art? Look no further! This comprehensive guide has all you need to create fabulous art pieces using simple shapes and painting techniques.
Why is Geometric Art Exceptional?
Geometric art can be likened to a visual symphony that combines shapes, lines, and colors to create pleasing compositions on canvas. The best part is that you don't need to be as renowned as Picasso to create stunning art pieces - with basic shapes can accomplish wonders. Expressive stories can be told using simple shapes like circles, triangles, and squares. Your imagination is the only boundary!
Gathering Your initial Geometric Painting Tools
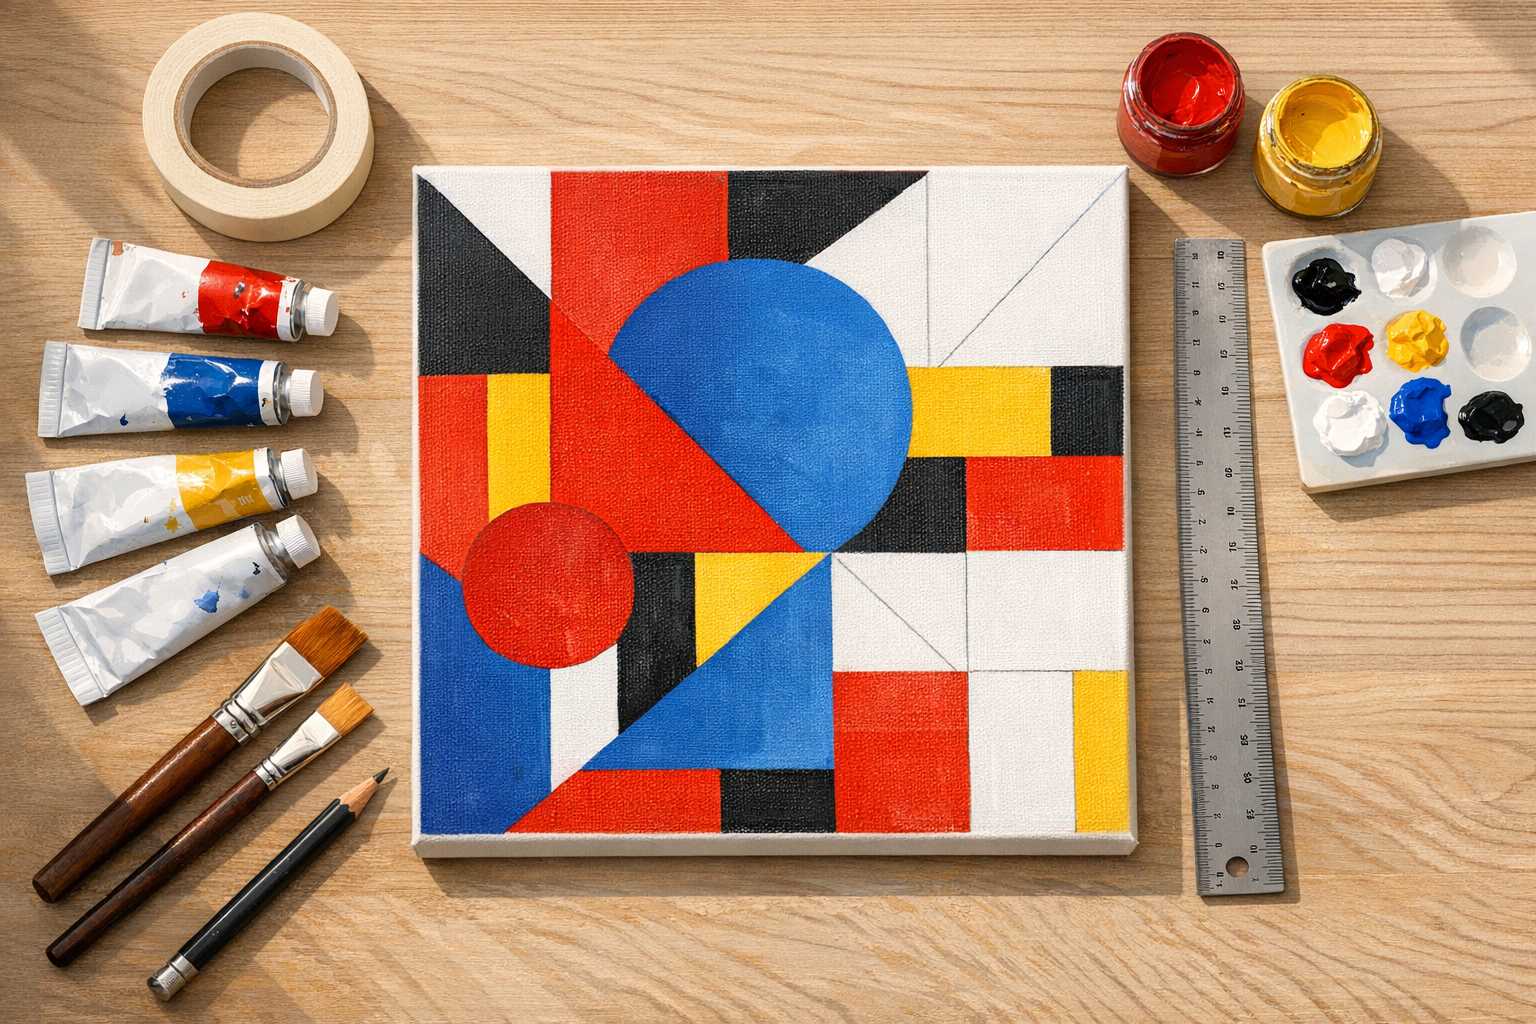
Preparing your art supplies is your first step. You need not worry about extravagant tools here.
Basic painting materials: - Canvases or sturdy paper - Acrylic paints (begin with primary colors, alongside black and white) - Various sizes of flat brushes - A straight edge or ruler - A sketching pencil - Masking tape - Water jars - Paper towels
Smart tip: Consider starting with dollar store supplies designed for beginners. As you become more adept, you can then upgrade your materials.
Sketching Your Geometric Showpiece
Spend a few moments to plan before you delve into the painting process. Lightly sketch your design with a pencil. This can help prevent errors and save time.
Reflect on color combinations. Vibrant contrast can be obtained using complementary colors, while smooth harmony can be achieved with analogous colors. However, don’t stress on it too much, rely on your intuition.
Remember the rule of thirds. To create more dynamic compositions than centering everything, place crucial components along imaginary grid lines.
Fundamental Geometric Shapes to Begin With
Circles and Curves
Circles lend a softer ambiance to geometric art pieces. These shapes are a bit tricky to paint freehand, so consider using stencils or household objects like cups or plates for tracing. Painting overlapping circles in varying shades can add depth and make for appealing intersections.
Triangular and Angular Shapes
Triangles infuse artwork with a sense of animation and dynamism. They can convey stability when positioned upwards or create tension when directed downwards. Sharp angles introduce a dramatic effect to your composition. With the help of masking tape, you can achieve clean, straight lines.
Squares and Rectangular Shapes
These shapes often form the core of many geometric designs, serving ideally to create patterns or grids. They also come in diverse sizes depending on the desired appeal. Squares, which can be overlapped, scattered, or stacked on your canvas, are the metaphorical building blocks as every setup narrates a unique story.
Step-By-Step Painting Guide
Step 1: Set the Foundation
Start with a light background wash to unify your composition. Once fully dried, sketch the main shapes lightly. These lines will be painted over later, so don’t press too hard.
Step 2: Shape Mapping
Start sketching your larger shapes first using flat, evenly dispersed brush strokes. Don’t aim for precision - even slight imperfections can contribute character to your artwork. Always work from light to dark since it's easier to darken a shape than to lighten it. Make sure to apply your colors gradually.
Step 3: Inclusion of Details and Refinement
Once your base shapes are dry, you can begin adding smaller features like thin lines, dots, or smaller shapes. Additionally, these elements bring your artwork to life. Be sure to frequently assess your painting from a few steps back - this helps identify elements that work and those that need tweaking.
An Easy Guide to Color Theory
A better understanding of color relationships can make the difference between a good and great geometric art. Here's the basics you should know:
Primary colors like red, blue, and yellow are your base colors that can't be mixed from other colors.
Secondary colors, such as orange, green, and purple, are derived from mixing primary colors and can bring a sense of harmony to your painting.
Warm colors like reds, oranges, and yellows appear to move forward, while cool colors like blues, greens, and purples seem to recede. This trick can be used to create depth in your artwork.
Avoiding Common Beginner Errors
It's easy for beginners to rush things, but it's imperative to let every layer dry before adding the next to avoid accidentally creating color mixtures you didn’t plan on.
Don't overcomplicate your paintings. Sometimes, simplicity can be more impactful. Understanding when a piece is complete is as crucial as knowing when to stop.
Avoid incorporating too many divergent colors in one artwork. Three or four colors, along with white, can create a more harmonious artwork.
Simple Project Ideas for Starters
Project 1: Layered Circles
Experiment with a composition that only utilizes circles of different sizes and colors. Let some circles overlap to create a sophisticated end result.
Project 2: Mountain Range in Triangles
Create a representation of a mountain range using a series of triangles in varying shades of blue and purple. Add a basic sun circle for added contrast.
Project 3: Angular Cityscape
Use rectangles and squares to craft the impression of buildings, adding triangular roofs for a touch of creativity. Adhering to a limited color palette could bring unity to the piece.
Adding Textures for Excitement
Geometric art doesn't need to be flat and monotonous. Here are some techniques for added visual attraction:
Dry brushing can provide a textured, rough effect on your painting. Just brush lightly over your painting after removing excess paint on a paper towel.
Stippling offers a unique color build-up by using dots. Varied dot density can introduce different impacts on your painting.
Cross-hatching using paint can provide interesting line textures. Use a tiny brush to paint lines in diverse directions overlapping each other.
Finishing and Flaunting Your Artwork
Once your painting is completely dry, assess it from a distance. Sometimes, adding fine outlines can help shapes stand out. Consider using simple frames to elevate your geometric art - white or black frames usually complement most color schemes.
Capture photos of your finished artworks in good lighting. Sharing them on social media or with friends provides valuable feedback and helps you learn and grow as an artist.
Enhancing Your Geometric Art Skills
Consistent practice, even if for short durations, is key when learning new skills.
Expand your inspiration by studying geometric art from various cultures and times. Elements from Islamic tile work, Native American patterns, and modern abstract art can all provide inspiration.
Experiment with various mediums like watercolors for softer effects or markers for more bold and graphic impressions. Each medium offers different lessons.
Conclusion: Kickstart Your Geometric Art Journey Today
Creating geometric art is an engaging and rewarding activity that continually ignites creativity. Armed with the necessary tools and knowledge, you're all set to start creating beautiful masterpieces.
Keep in mind that all great artists started as beginners. So, instead of comparing your work with others, focus on enhancing your own skills and savor your progress.
Start your journey with the basics and soon you will be creating your unique, artistic expressions. Your contributions can add more beauty to the world through geometric art. Imagination has no limits, so what will you create today?